DIY Halloween Clouds Card
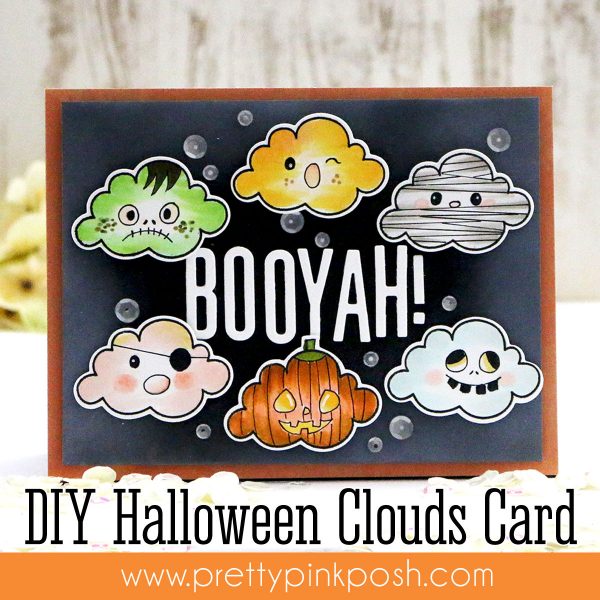
Hello everyone, Joni here with another cute tutorial using the open cloud image from the Rainy Days stamp set. Really versatile and creative use for Halloween cards!
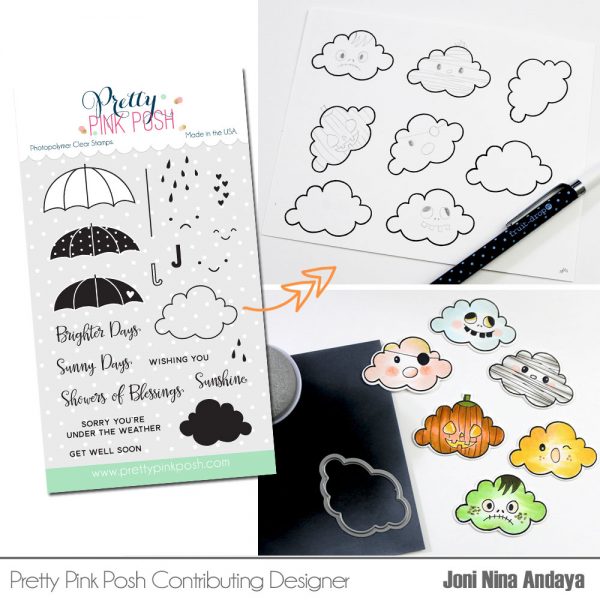
To begin, I stamped the clouds multiple times onto white cardstock.
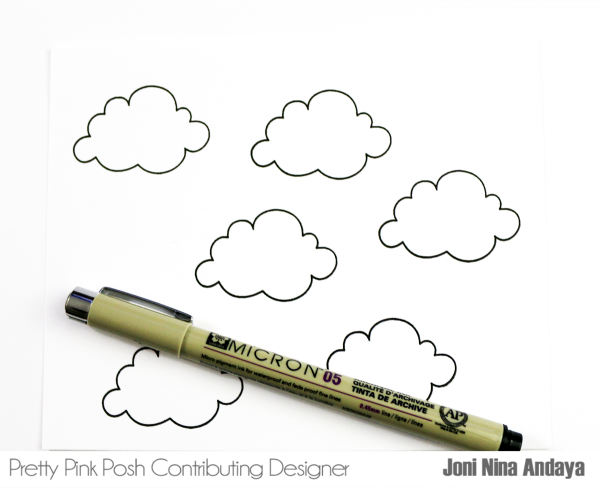
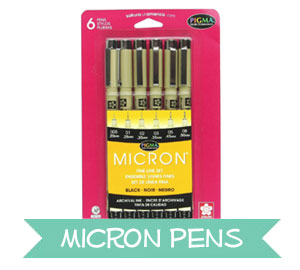
Next, I drew some faces on the clouds using the pencil first, then I added the Micro Pen on the top of the pencil marks and erased the leftover.
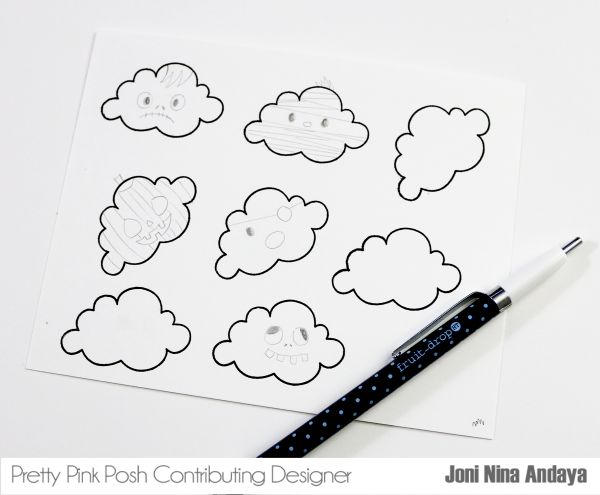
Then I distressed the black cardstock with white pigment ink to create that chalk finished. Next, I colored the clouds with Copic markers and die-cut it with Rainy Days coordinating die.
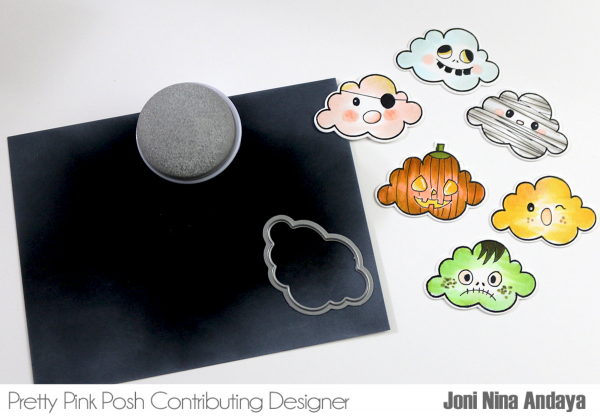
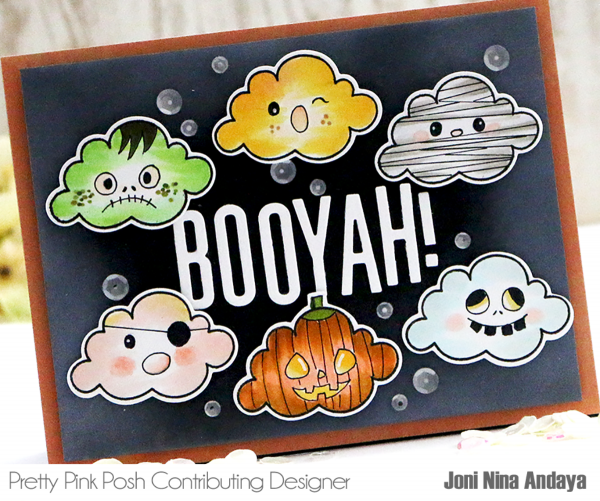
I then adhered the clouds with foam tape. The die-cut “booyah!” were from the Papertrey Ink Headline Alphabet dies. I also added some Pewter sequins for added interest.
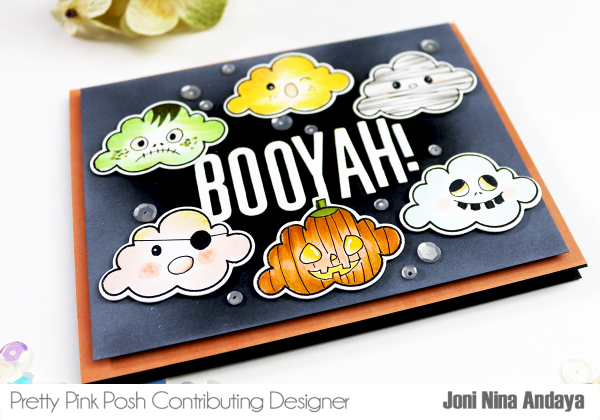
Here’s a closer look at the card. You can create so many fun designs, even for Thanksgiving or Christmas!


That’s brilliant!
So cute! Love it
Such a cute, fun, and creative idea! Thanks for sharing.
What a cute idea, great Halloween creation! TFS!
Wow This is so creative and awesome. Thanks for sharing
Super fun and cute card!
Way too cute
These are so adorable!! I would have never thought about making monster faces with the cloud stamp and die, awesome
I love this card the and the Halloween faces on the Rainy Days clouds. I would love to see face stamps for all the different seasons and holidays to stamp on the fun clouds. Thanks for sharing.
What a wonderful idea!!! Thanks!
What a great idea! This card is just the cutest thing!
fun! love the pirate and mummy!