
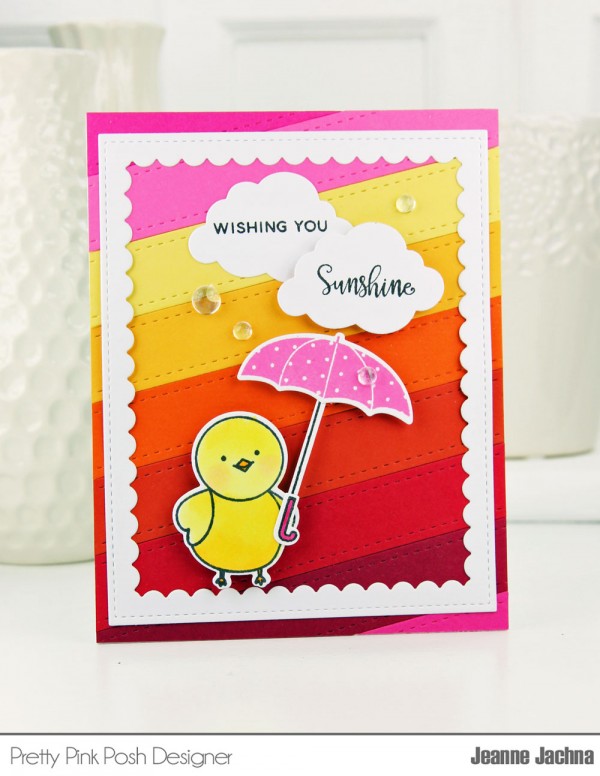
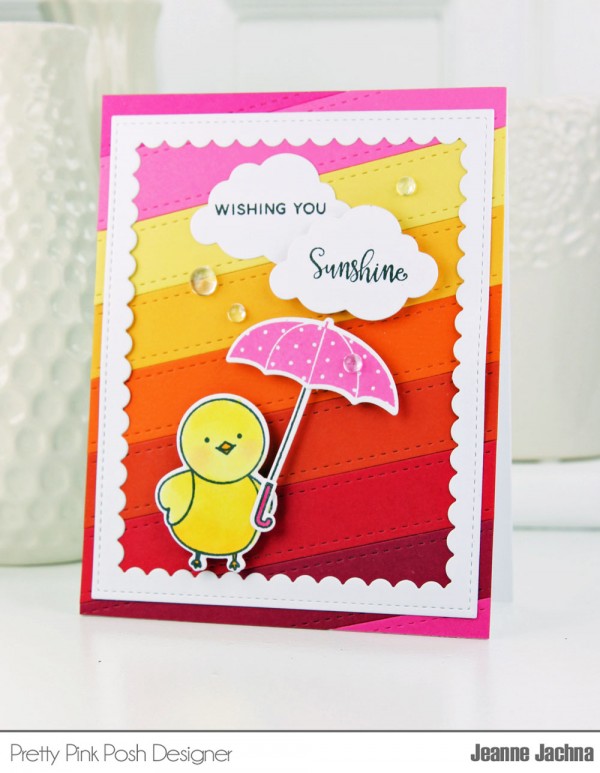
Wishing You Sunshine
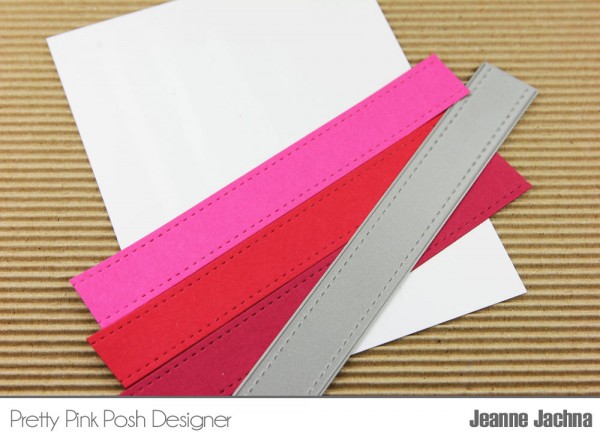
 Jeanne here today! I wanted to share how easy it is to create color block backgrounds for your projects using the largest border from the Stitched Borders 3 Set.
This die is ¾” x 6” long with a stitching along both longer edges of the die. Simply cut several strips in different colors and attach them to a panel of card stock.
Different color combinations can be used to create lots of great looks like ombre and rainbow patterns in your favorite colors for different occasions. I chose a rainbow background of brights for the little birdie from Birdie Friends today!
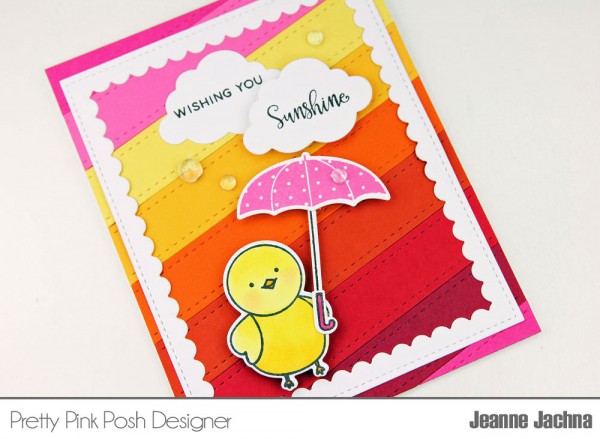
When you have all your stitched borders arranged on the panel, trim the panel to size. Now for the fun part – creating a scene!
I topped the panel with a die cut Scallop Frame cut from white card stock for contrast.
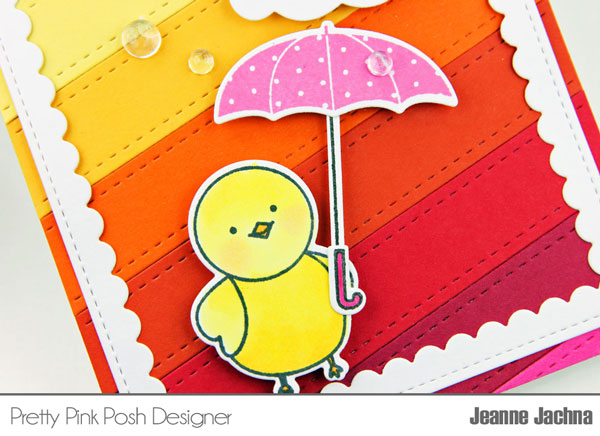
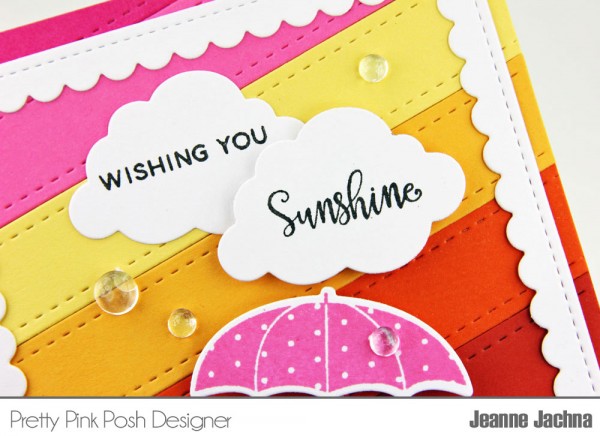
I stamped little birdie with Memento Tuxedo Black ink and colored it with Copic Markers before die cutting and attaching it with adhesive foam tape. The sentiment, umbrella and clouds are from the Rainy Days Stamp Set with coordinating dies. I love that Pretty Pink Posh die sets are complete with cuts for every single image in the stamp sets.
The final touch is a sprinkle of Clear Droplets for rain – I used the small and the large here. They shine like morning dew!
Thanks for stopping by! What will you make today?
That’s adorable! :-)
Love the stitched edge dies! What a cheerful card! I hope to get some watercolouring done today.
What an adorable card Jeanne.The colours are so happy and fun. Love it!
This card will make anyone smiling !
I just want to let you know that I love how you use your stamps and dies more than once in PPP blog . I have found so many ways to use the bird stamps and all other PPP products. Thank you very much.