Tutorial: DIY Easter Basket
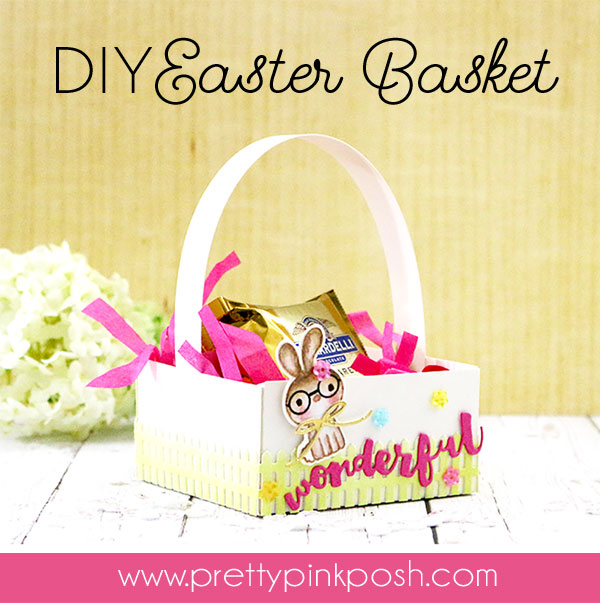
Hello everyone, Joni here with another tutorial. Today I’ll be showing you how to create a DIY basket for your Easter goodies.
To begin, I cut my cream cardstock to measure 6×6 inches and scored each side by 1 ½ inches.
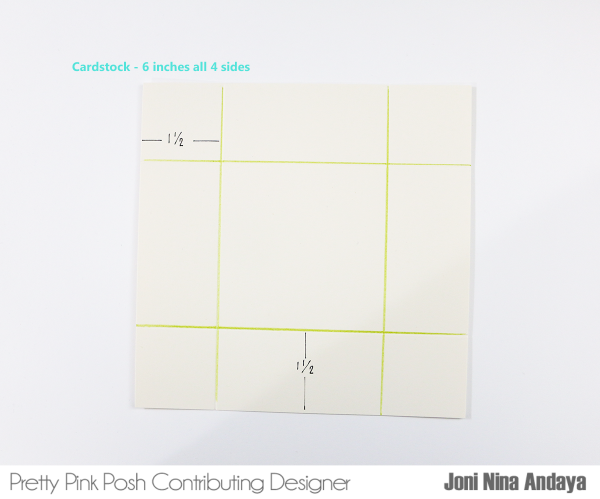
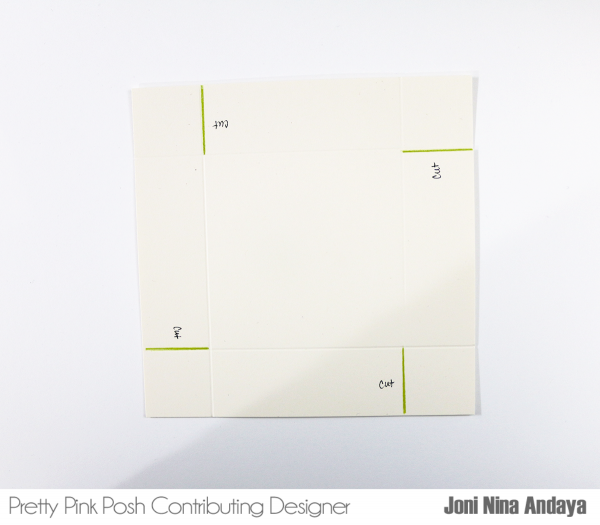
Next, I cut all four sides. Just as the green lines I drew on this cardstock below.
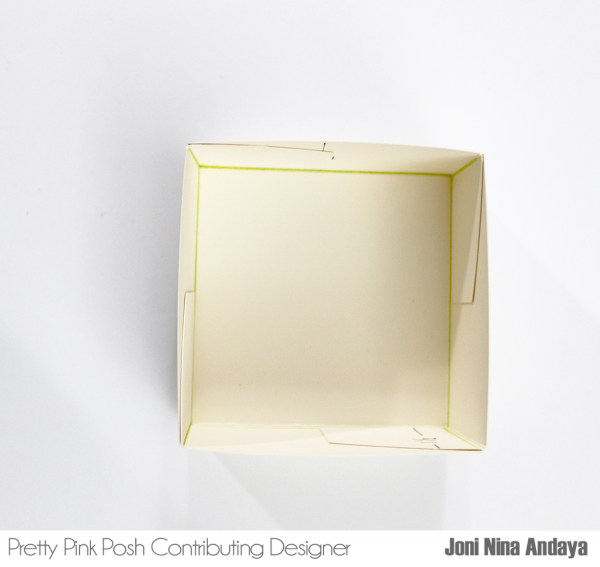
Next, fold the sides of the cardstock that was cut to make it into a box for a basket.
To add decorations on the basket I die-cut the picket fence from Pretty Pink Posh Picket Fence die. This will be added at the bottom of the box for added interest.

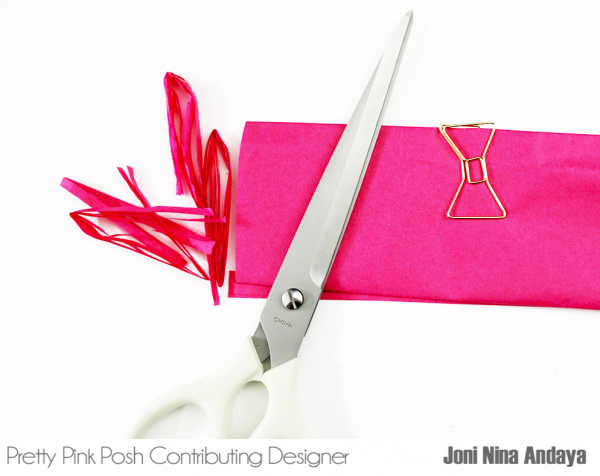
I also added this fuchsia tissue paper to put inside the basket after cutting into strips. This would be so nice too if you have a green tissue paper (to look like a grass).
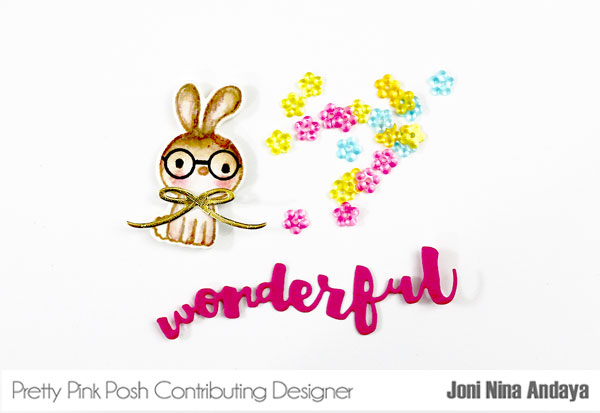
For added simple décor on my basket, I added the bunny from the Holiday Pals stamp set and Holiday Pals Coordinating die set. The gold bow on the bunny is from Twine and Bows dies that was die-cut on a piece of gold cardstock. I also added some flower sequins from Summer Flower Sequins Mix. For the sentiment, I used the Brushstroke Wonderful from Essentials by Ellen.
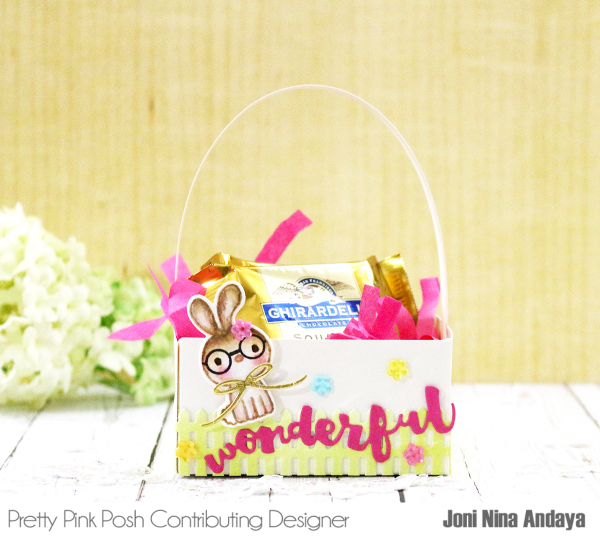
Here’s a look at the basket all assembled and decorated. You could use so many fun stamp set, dies and sequins to make it your own style.
I hope you guys enjoyed! Have a wonderful week.


There’s something about a cute little Easter basket that’s so stinking fun! I like the tissue shreds!
What a wonderful little basket and so simple. Often the best things in life are the simplest. Thank you, Joni, for sharing your creativity with all of us!
Very cute!
Sweet little basket. Thanks for sharing.
Oh how adorable! Love this little basket.
Such an adorable gift idea, so creative!
This is an adorable Easter basket, I already created one!
Love it a tons, thank you so much for sharing such great tutorial!!!
Love this Easter basket …Thank You so much for sh