
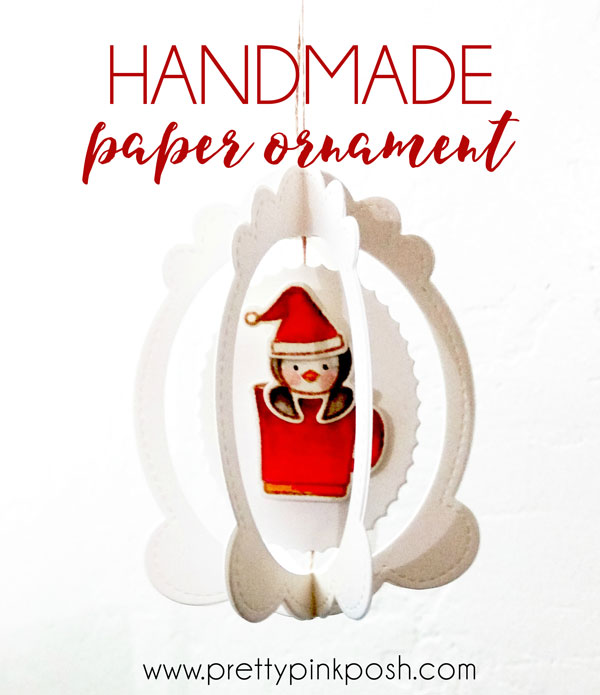
Tutorial: Handmade Ornament
Hello everyone, Joni here!
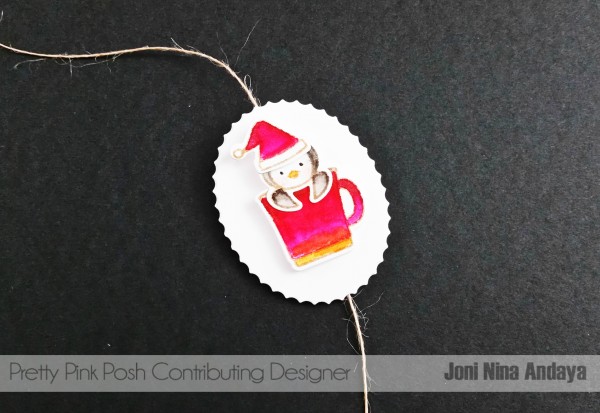
I am back for another tutorial using Pretty Pink Posh stamps and die sets. For this project I used the recent released Winter Friends stamp set, Winter Friends coordinating die set, and Decorative Tag 1 die set. This tag is really awesome to use to create your own ornament for your tree, along with the countless ideas for cards!
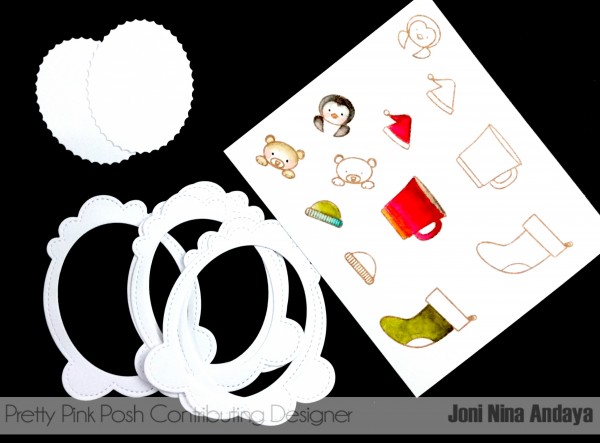
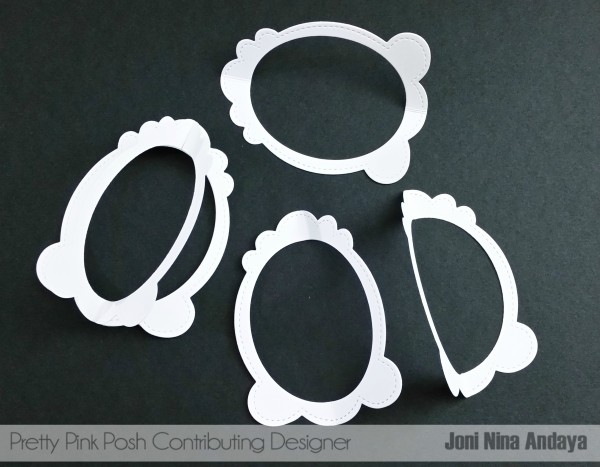
 To begin I die-cut the tag die 6 times and removed scallop die-cut but left the middle part of the tag like the picture below, you just need 2. I also stamped the critters from Winter Friends stamp set on a watercolor paper and used the Zig Clean Color Real Brush, 60 set to color the images in.
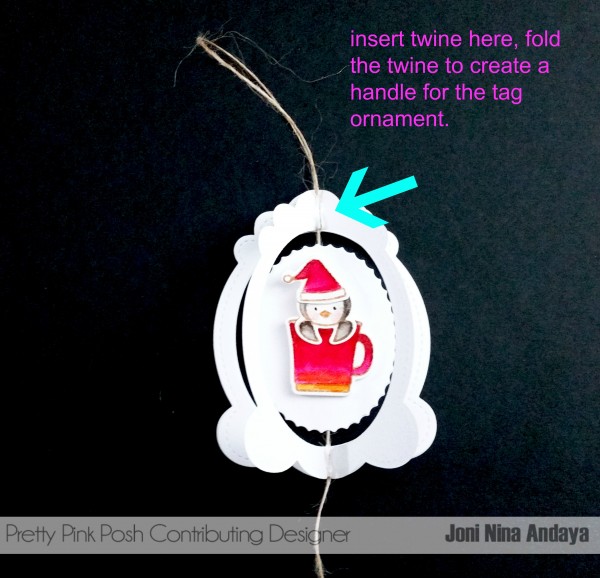
Next, I scored the middle of the tag and adhered the 3 together and another 3. This will help you insert the middle part for your tag ornament.
Next, I adhered the critter on one side and adhered the twine below.
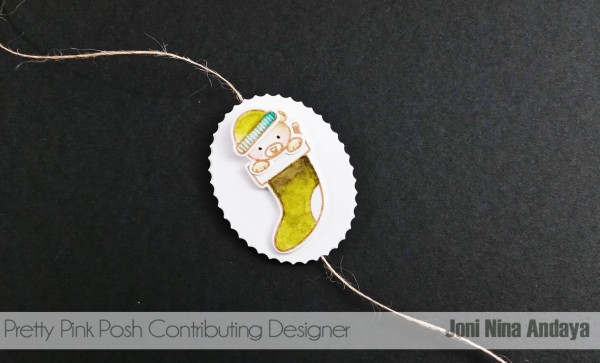
Next, I adhered the other middle portion of the tag die with another critter to sandwich the twine in the middle.
Next, I inserted the twine in the fold of the die-cut, once the twine was secured, I adhered the other half of the tag ornament to finish off the ornament tag.
If you missed the newsletter over the weekend, we have a sale on all the stamp sets and coordinating die sets until December 16, 2015 in the Pretty Pink Posh Shop. Hurry, while supplies last!

I hope you guys enjoyed this tutorial! Thank you so much for stopping by.
Have a WONDERFUL week.

Oh my word, that ornament is adorable. Very, very creative of you.