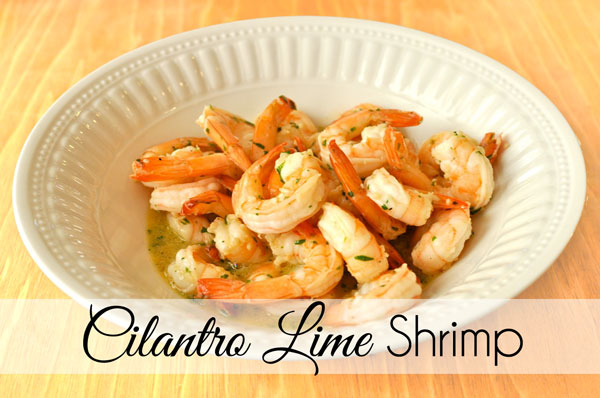
Cilantro Lime Shrimp
It has been a while since I’ve posted a guest post! What I am sharing today is a favorite between Paulina and I that we can eat day or night, hot or cold. It is more of a “sunny day” dish, but definitely still enjoyable in times when the sun is in dire need of showing itself.
I absolutely love this dish and am happy to say that I eat it all the time. It’s easy to make, doesn’t require a lot of ingredients and tasty!
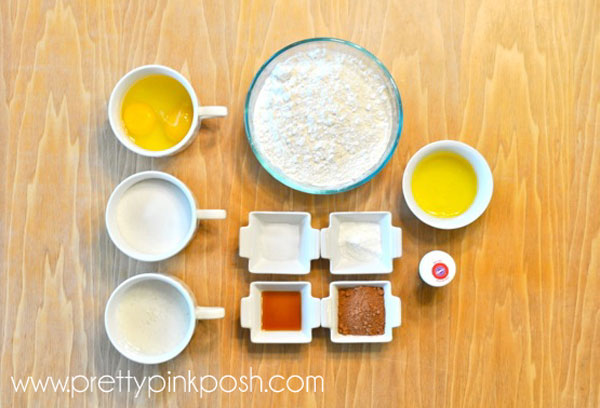
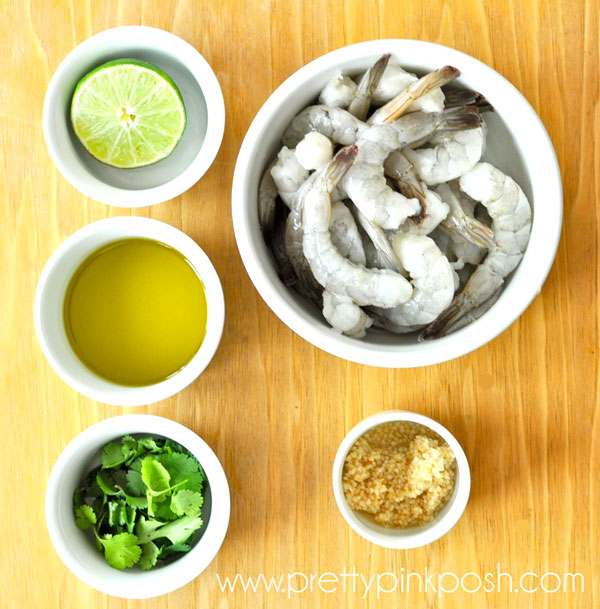
- 1/2 lime
- 1/4 cup Extra Virgin Olive Oil
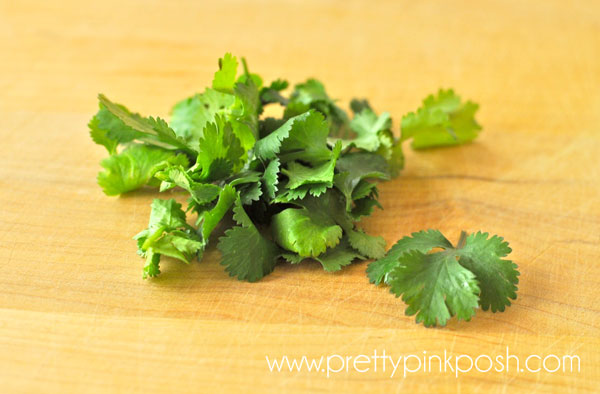
- 1/4 cup picked cilantro
- 3 T minced garlic
- 1 pound Shrimp, peeled and uncooked
- Salt
- Pepper
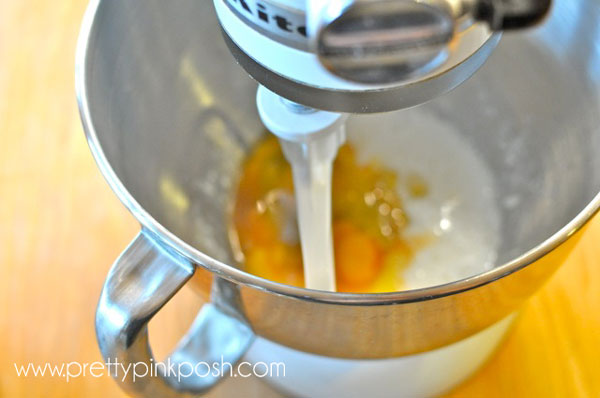
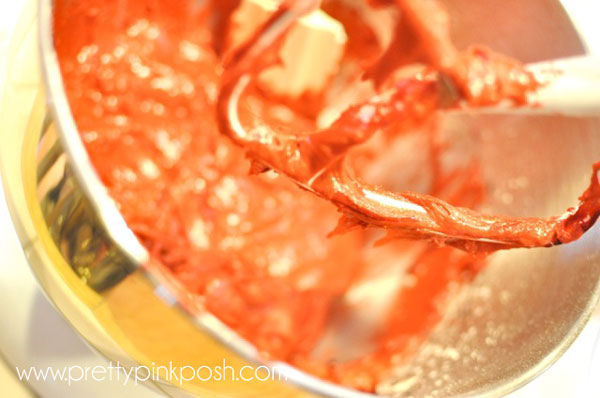
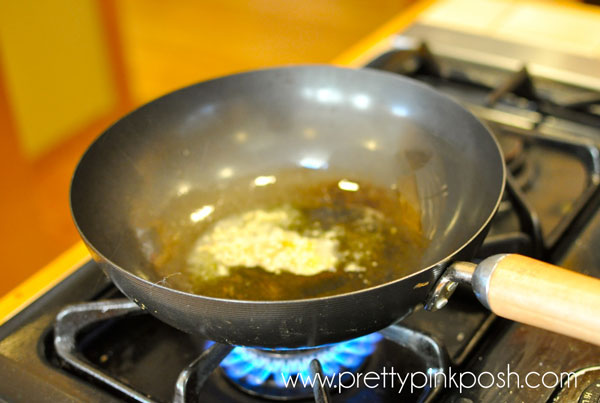
- Heat wok on high heat. Add half of the Olive Oil and Garlic.
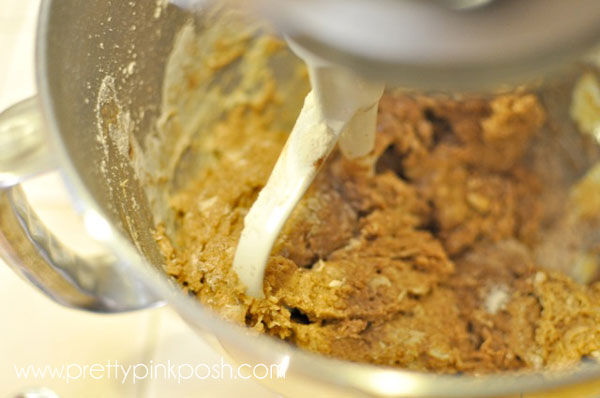
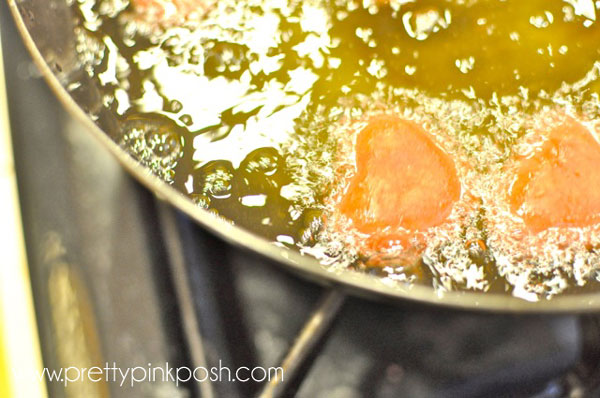
- Add shrimp and cook on medium heat. Season with salt and pepper.
- Chop up cilantro until desired size, mix with shrimp.
- Once shrimp is opaque in color, squeeze in the juice of the lime. Turn heat off and add the rest of the olive oil for an even coat. Finish and serve.
Heat wok on high heat. Add half of the Olive Oil and Garlic.
Add shrimp and cook on medium heat. Season with salt and pepper.
Chop up cilantro until desired size, mix with shrimp.
Once shrimp is opaque in color, squeeze in the juice of the lime. Turn heat off and add the rest of the olive oil for an even coat. Finish and serve.

I have just flipped to a new chapter in life by moving to San Francisco this past week. I’ll be working in a kitchen here and will be playing with local ingredients and playing with new recipes. I hope that you won’t mind a few new and exciting ingredients that I will have in future posts! The beauty of the internet, I can still contribute from a different location!
Thank you so much for reading. I hope that some of you will try out this recipe. If you do, be sure to let me know! Also, if you want to see specific recipes (appetizers, entrees, desserts), I want to hear that too. Enjoy!

Find Pretty Pink Posh on Facebook ~ Twitter ~ Pinterest