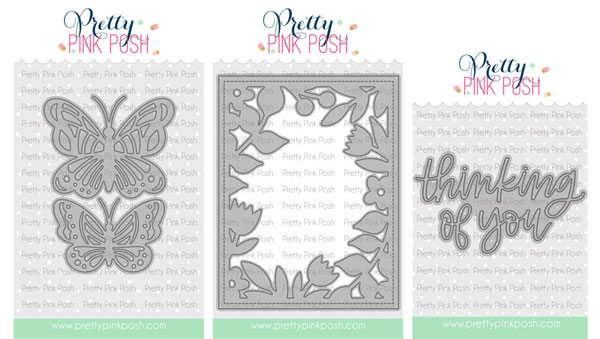
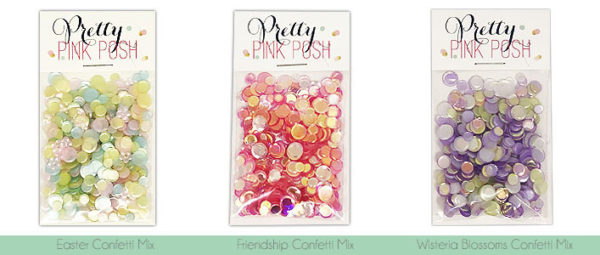
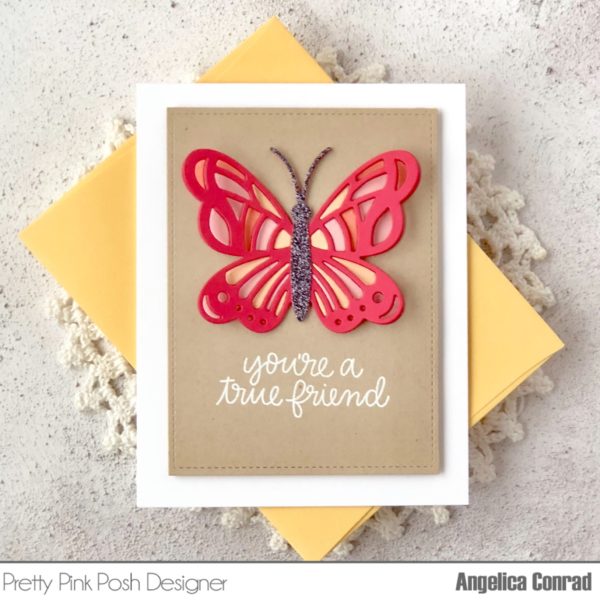
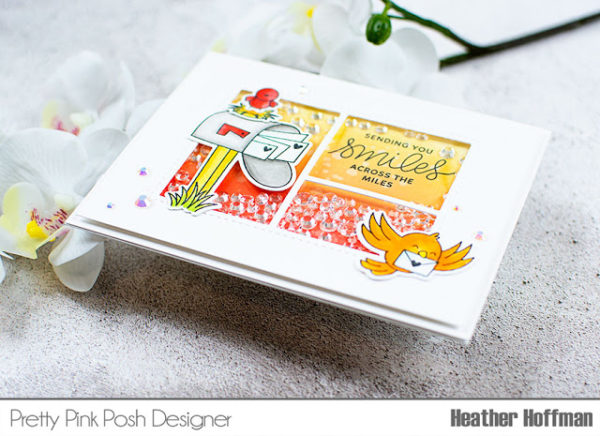
Our May 2017 Release is now available in the Pretty Pink Posh Shop and select retailers that carry our products. If you missed our post yesterday, we revealed all of the products in picture form, but if you would like to see them also in a video, we have you covered!
We’ll have lots of great posts and videos coming soon with our new products (and our old ones). In addition, I had a special guest film a special video with a trendy new product and that’ll be released very soon.
If you aren’t subscribed to our blog already, click here to get an email every time we have a new post! Thanks for all your excitement about the new release!
I hope that you have enjoyed the sneak peeks leading up to our May release. We are so excited about these new products and this week I’ve been getting all of these items stocked up so they are ready for your orders!
Last release we revealed the products before the release and you all seemed to enjoy that. Let’s take a look at the pretty new sequin colors and mixes first, shall we?
Here’s a look at the six new stamp sets that will be available for purchase- Bee Friends, Happy Owls, Bold Blooms, Build A Bloom, Woodland Critters and Thoughtful Greetings.
Here are the three new individual die sets that will be available- Scallop Circle Tags, Scallop Borders 2 and Scallop Hexagons.
Based on requests from this release, I have a limited amount of bundles available where you can buy the whole collection in one easy click. Plus, you’ll get 15% off! These are in the shop NOW!
We will see you tomorrow as we show you the new products in a video and the individual products go live in the shop!
Hello, Pretty Pink Posh fans! This is Yana and today I wanted to share a quick card using the Woodland Critters set(releases on May 1st) as well as a fun way to add details to colored images using beads.
Woodland Critters stamp set features a number of cute forest animals and a few additional images such as mushrooms and flowers. One of the critters, the hedgehog, is mirrored – there are two identical images facing each other and you can use those for spinner cards – you can have a critter on the front and back of your spinner or just have two hedgehogs looking at each other for a cute love or friendship card.
This stamp set works really well with an older Camping Friends set – many images from both of these complement each other and let you create fun scenes with woodland critters.
Since I love to stamp my own patterns I wanted to show you how you can use critters and create a partial stamped pattern for a simple card.
Watch my video tutorial below to learn how I made this card.
I used Copic markers to color my stamping and I went with:
YG99, YG95 and YG93 to color grass, bird’s wing and butterflies;
E79, E37, E33 and E31 to color bear, deer and hedgehogs;
RV29, R24 and R22 to color mushrooms and bird’s belly;
W3, W5 and a colorless blender marker to color bunnies.
After my coloring was done I foam mounted my colored panel onto an A2 top folding card base made out of white cardstock and embellished my card using beads. I wanted my hedgehogs to carry something on theirs backs, but I didn’t want to add any additional stamped and colored images (you can add mushrooms, apples and even leaves to their backs), I decided I would add beads in red, green and cream colors.
I also added several sparkling clear sequins in different sizes and tied a natural twine bow at the top of my card.
We hope you’ve been enjoying all the sneak peeks of the new sets. Join us tomorrow as we reveal all of the new products that will be available on May 1st.
Hello Pretty Pink Posh Friends! Suzy here and today I get to show you one of the soon to be released stamp sets called Bee Friends. This was the stamp set that came free with an $80 purchase during the last release in March, so you’ve probably seen a few projects made with this darling stamp and die set. During this latest release, it is now up for sale! Today I have three projects to share with you featuring Bee Friends.
If you look close, there are some other sneak peeks on this image as well – three new stand alone die sets: Scallop Hexagon Dies, Scallop Circle Tags Dies, and Scallop Borders 2 Dies. Paulina always knows how to create dies that are irresistible and different than anything else on the market!
This shaker card was made using the new Scallop Hexagon Dies. I die-cut the medium sized hexagon out of the top half of watercolor paper. I painted the front of the card with a yellow and orange watercolor wash. I used foam tape to create a shaker card and filled the opening with the new Mini Sparkling Clear Flower Sequins.
I stamped the images on white cardstock with black ink and colored them all in with Copic markers. I attached them to the front of the card. I stamped the sentiment on the bottom of the card with Versamark Ink and embossed it with white embossing powder. Last, I added some more of the Mini Sparkling Clear Flower Sequins around the flowers and some 4mm and 6mm Marigold Sequins around the Hexagon.
This card is made using the new Scallop Borders 2 Dies. I die-cut a stitched rectangle out of watercolor paper and then used a border die along one edge. I stamped and embossed all of the heart images in the stamp set with white embossing powder randomly over this piece. I then water colored it with light blue watercolor. I layered it over a piece of patterned paper that shows along the bottom edge.
I stamped the sentiment with Versamark Ink and embossed it with blue embossing powder. I cut around the edges and attached it to the front of the card. I then stamped all of the other stamped images on white cardstock with black ink and colored them in with Copic markers. I attached them to the front of the card around the sentiment.
I used the new Scallop Circle Tags Dies for this little gift tag. Wouldn’t this be so cute tied to a plant as a gift? I die-cut two tags out of watercolor paper and I painted one of them with blue paint. I die-cut the opening piece out of the center of this one and attached it to the unpainted tag. This gave me white under the opening and also made the tag thicker.
Next I stamped a sentiment from the Everyday Greetings stamp set in the opening. I stamped all of the images on white cardstock with black ink and colored them in with Copic markers. I layered the flowers around the opening and added a bee on top of the opening. I finished it with some of the new Mini Sparkling Clear Flower Sequins.
Thank you so much for visiting the Pretty Pink Posh blog today! I hope you enjoyed these projects with the new Bee Friends stamp set. I can’t wait for you to see all of the new stamps and dies being released – they are some of my favorite PPP products ever! Have a great week!
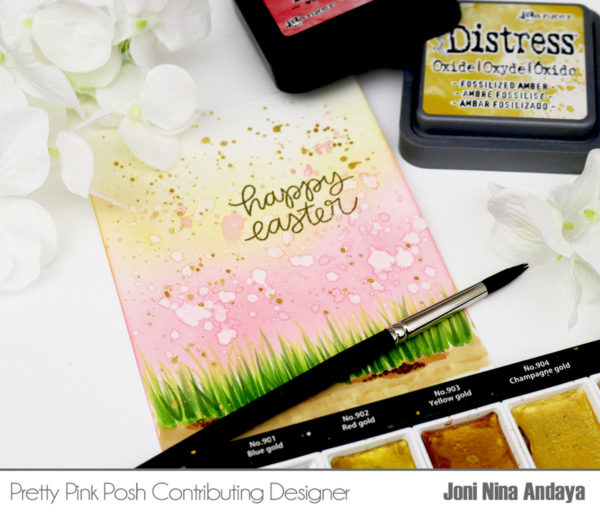
Good morning Pretty Pink Posh friends! Heather here this morning – to show off some of the gorgeous new product coming very soon! I used a couple new stamp sets and dies, as well as some of the new embellishments for my card today!
I used the beautiful new Build A Bloom stamp set and coordinating dies to create the floral clusters on my card, stamping various layers and adding some black for bold contrast with the soft colors.
The sentiment is from the beautiful Thoughtful Greetings Stamp Set – you are going to LOVE these so much! I used two sentiments together for my card.
Another favorite of mine is the new Scallop Borders 2 Dies – I couldn’t pick which one I wanted to use on my card – so I used ALL three of them! I also added a few little flowers from the new Hydrangea Flowers Sequin Mix, picking out just the white flowers to coordinate with my card.
Thanks so much for stopping by today! Join us tomorrow for another look at a new set from our May release!
Hello Everyone, Joni here sharing with you one of the upcoming mini stamp set called Happy Owls that will be available on May 1st.
To begin my card I first distressed my white cardstock panel using Tim Holtz Distress Inks in Mowed Lawn and Peacock Feathers. Then, I die-cut the bottom of the panel using the new Scallop Borders 2.
Next, I stamped the images from a white cardstock and used the new Happy Owls coordinating dies to die-cut the images.
Then, I stamped some flowers from the set and added some white dots everywhere on the card using Signo Broad pen from Uni-ball to add interest.
Next, I added some new Spring Meadow Mix that will also be available in the May release.
I hope you enjoyed this preview of some of the new products. Join us tomorrow for a look at another one of the new sets!
Hello, Pretty Pink Posh fans! This is Yana and today I wanted to share a technique video to show you two different ways to add color to outline images from the Bold Blooms stamp set that releases on May 1st!
Bold Blooms is a smaller set that features a number of beautiful floral and greenery images. There are coordinating dies available for this set but you can always use your stamps with or without the dies.
I started working on my card by stamping floral wreaths onto white cardstock panels cut to 4×5 ¼“. I made sure to outline a circle shape using a pencil to assure my wreath would be perfectly round.
For my stamping I decided to use just one flower shape – rose and two leaf shapes. I first stamped a number of flowers using black ink following my pencil line and later came in and stamped the leaves. You can chose to have a smaller wreath if you like, but I wanted to make sure my wreath would fit a sentiment so I made mine pretty large. As I was stamping my roses I made sure to rotate my image every time I made an impression. I wanted my wreath to look more organic, I wanted roses to face different directions and I also wanted to somewhat group my roses – I made little clusters with two flowers in each.
For my sentiments I used the new Thoughtful Greetings stamp set and stamped them messages in black ink. One of my sentiments reads “I Appreciate You More Than Words Can Say” and the second one reads “Thank You for Everything You Do”. I love the font used for these sentiments and I can see myself using it often on different projects.
After my stamping was done I used a pencil eraser and erased that circle pencil shape I had on my panels.
To do my coloring I used solid layer stamps to color one of my panels and also alcohol markers to color another one. And this is what is great about this set – you can chose to use solid layer stamps to add color to your outline images or you can use your favorite coloring mediums – pencils, markers, and even watercolors.
I used two shades of green ink to “color” my leaves; as for the roses – I went with lots of pink and just a hint of yellow. These images are rater easy to align – these are simple shapes so the solid layers fit inside outline layers very easily. By the way, you can always go for a slightly offset look if you want – I love how that looks.
To color my second wreath I used Copic Markers. I used the following colors: YG67, YG17, YG03 – to color leaves; RV14, RV13, RV10 to color pink flowers; Y19, Y15 and Y13 – to color yellow flowers.
To add some details to my wreath and my images I used a black pigment pen and a white gel pen.
I adhered my panels onto A2 top folding card bases made out of light gray cardstock and to spice one of my cards up I foam mounted a few stamped and die cut flowers. I wanted to add some interest to this card and I decided to do that using little die cut pieces.
Hi there, Joy here today bringing you a post for the Pretty Pink Posh blog using the Friends Forever set that released in March!
I have something a little different for you from me of course, I created a video, yep I don’t do them often but I do try and well once I sort out the light situation in my room maybe then I may create more LOL I do try…
I created a couple of cards in this video and you will notice what card I share in the still shots in the video is not the one I create on the video, but I wanted to give you option of 2 different colours and how super easy these can be to create, so why make 1 when you can create 2 right..
Creating shaker cards with Pretty Pink Posh product is so fun and easy, so sit back and watch how I create these cards for you…
Hello everyone, Eloise here and today I have a 1 stamp set, 3 cards video for you all. I’m going to be using the Friends Forever stamp set today since there is a lot of images as well as a lot of sentiments, which is what I want. Along with the stamp set I’m also using a few Pretty Pink Posh dies and sequins, too.
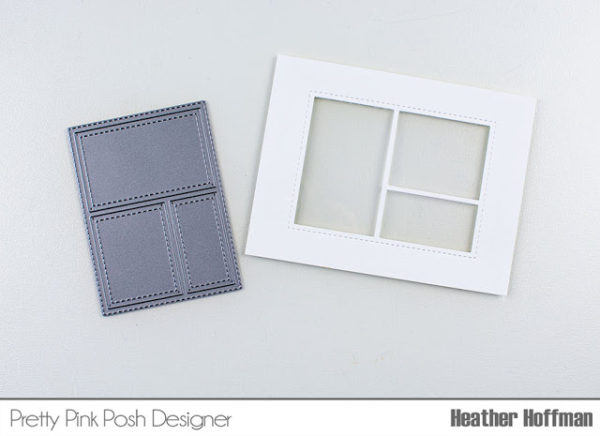
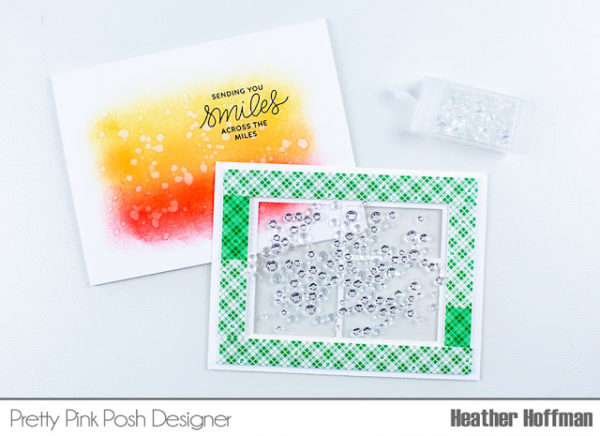
For my first card today, I used the Window Frames dies to create an opening into some watercolour cardstock, ink blended some Squeezed Lemonade and Mustard Seed Distress Ink on top of the panel and created a shaker card using the Friendship Mix, Petunia Seed Beads, Sparkling Clear Stars and Sparkling Clear Seed Beads. I used a double layer of foam tape, since I wanted a lot of shake to happen. I sealed off the shaker using some white cardstock.
On top of my window shaker, I added some images I previously coloured with my Copic Markers and then adhered them with glue dots. For my sentiment I used some Twisted Citron Distress Ink onto some more cardstock and cut out a banner using the Stitched Notes dies. I then stamped the ‘Love You’ sentiment from the Friends Forever stamp set on top of the banner with black ink. I added foam tape onto the back and added onto the top of my panel. I then wrapped around some hemp cord and tied a bow. I mounted the entire panel onto a blue card base and the card was complete.
For the second card, I die cut the Stitched Film Strip from some white cardstock first and then moved onto my background. I laid out my elements on the background first to see where I wanted everything placed, once I knew I took some Wild Honey and Spiced Marmalade Distress Ink and used a piece of acetate, smooshed the ink on top, sprayed it with water and pressed down onto the cardstock. I repeated this until I was happy with the result. I then dried it off with a heat tool and stamped the sentiment ‘Hello Friend’ on the left with black ink.
I then adhered my kids that were previously coloured also with Copic Markers and adhered them to the back of the film strip. I then added foam tape all along the back and adhered it down to the card panel. To finish it up I added some Sparkling Clear Confetti Mix and then adhered the entire panel to a card base.
For my third card I first cut a piece of watercolour paper with the frame die that comes in the Stitched Notes die set. Once that was cut I used the Peekaboo Windows dies and cut the rectangle one out of the panel and also out of some masking tape. I then masked off the windows and used the Twisted Citron Distress Ink to colour the top of my piece and then fading it out to white. Once the green was blended I used the negative masking tape piece and placed that around the windows and used some painters tape to help hold it down and then used the Squeezed Lemonade to do the same inking to the windows. I then splattered on some water and dried it with a heat tool.
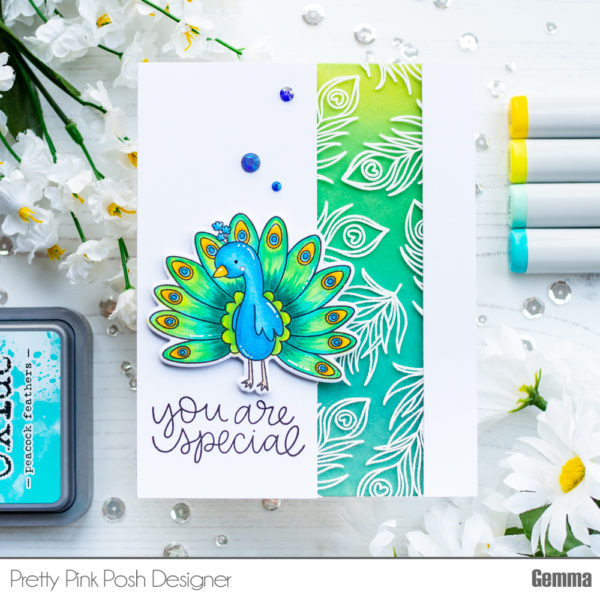
After everything was adhered and dried, I added my sentiment ‘I’m So Glad That We’re Friends’ from the same Friends Forever stamp set and stamped that underneath the windows with some black ink. I then went ahead and added adhesive to the whole back of the die cut panel and then added my images behind the window. I then added some foam tape behind the entire panel and kids and then I added some colour onto my card base. I used Tumbled Glass Distress Ink and ink blended it onto my card base, blending it out to white. I added my panel on top and my card was complete.
I hope you enjoyed my cards today and got inspired! I love using a stamp set more than once, but sometimes struggle to use it again once I’ve already used it! So this works great if you colour a ton of images at once, then make so many different cards with them all.
Hello friends! Amy K. here for another Throwback Thursday where I feature an older Pretty Pink Posh Die. This month I am sharing a cute “baby” Congrats shaker card using Storybook 2.
I used the Storybook 2 Die as a traditional “frame” out of white cardstock to make a shaker card. I adhered a panel of clear acetate to the back of the panel. My sentiment, from Everyday Greetings, was stamped directly onto the long panel of acetate with StazOn black ink. I set this panel aside to finish the rest of my card.
To create the rest of the shaker, I adhered a piece of shimmer polka dot paper to a white notecard as my shaker “background”. I combined several things for my shaker contents…….die cut stars (using Stitched Star Dies), Hydrangea Seed Beads, and Iridescent Mini Star Confetti. I love the combination and even though there are bigger shaker contents, it still shakes perfectly!
My focal point is the adorable bird and chick from Birdie Friends. I’ve Copic colored them with B21, B93, B95, and B97. After diecutting the images with the coordinating Birdie Friends Dies, they were added with foam adhesive over a larger Stitched Star Die on the Storybook 2 panel. My finished panel was then foam adhered to my prepared notecard and shaker contents. As a last touch, I added a blue twine bow.
Along with this shaker card by Amy, I have a few cards that have used the Storybook 2 in the past. Click on the photos below to see the original post from the designers
I hope you are inspired to create new cards using this older die set!