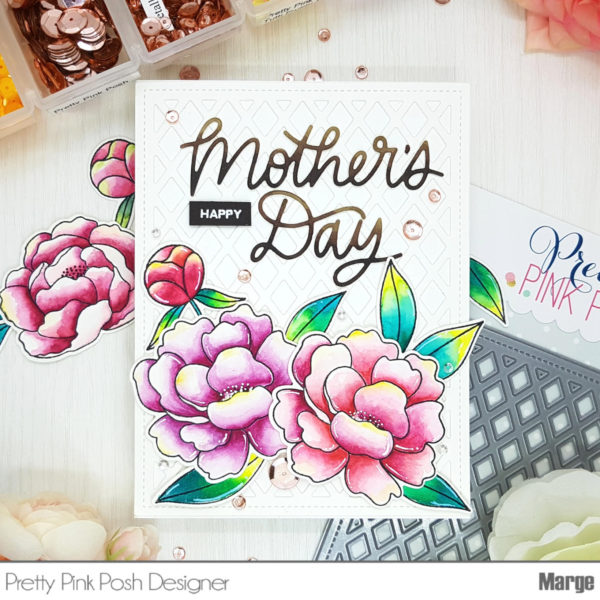
To Bee Or Not To Bee Blog Hop
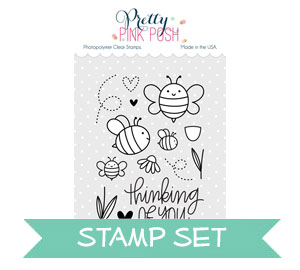
Hello, crafty friends! Thi here for a fun blog hop and today I am sharing a BEE-autiful shaker card for World Bee Day and using the adorable Bee Friends stamp set! Pretty Pink Posh is participating today to support bees and raise awareness for the importance of bees. It’s a great cause and we have the perfect stamp set to celebrate these amazing insects!

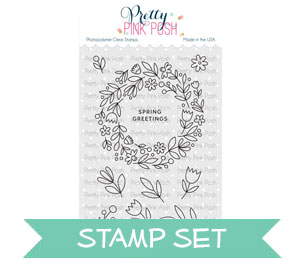
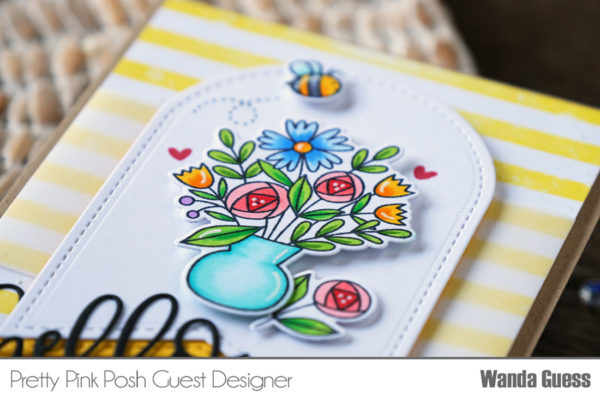
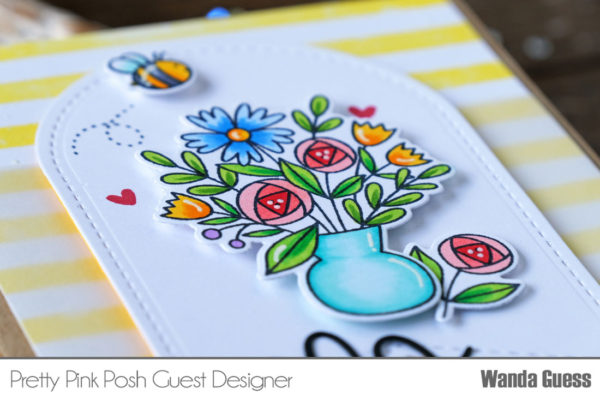
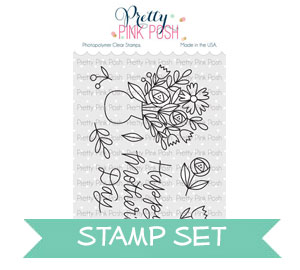
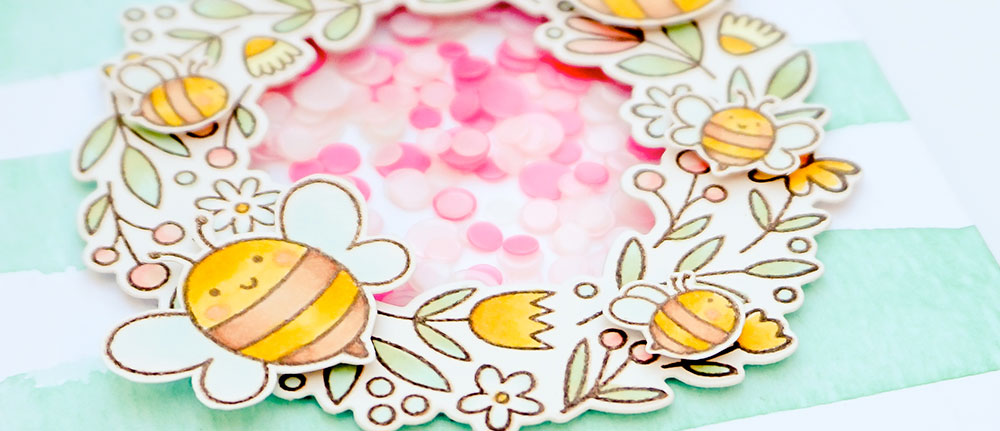
Let’s start the card making! I first stamped the images from Bee Friends and Spring Wreath with brown ink and colored with Copic markers. I cut these little guys out and set aside to work on my background and shaker elements.

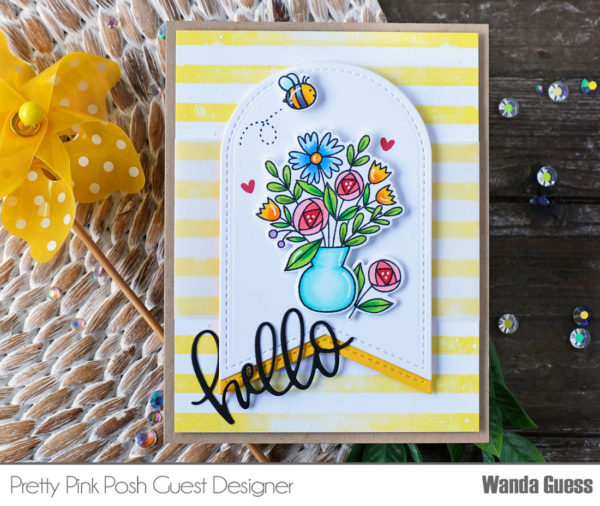
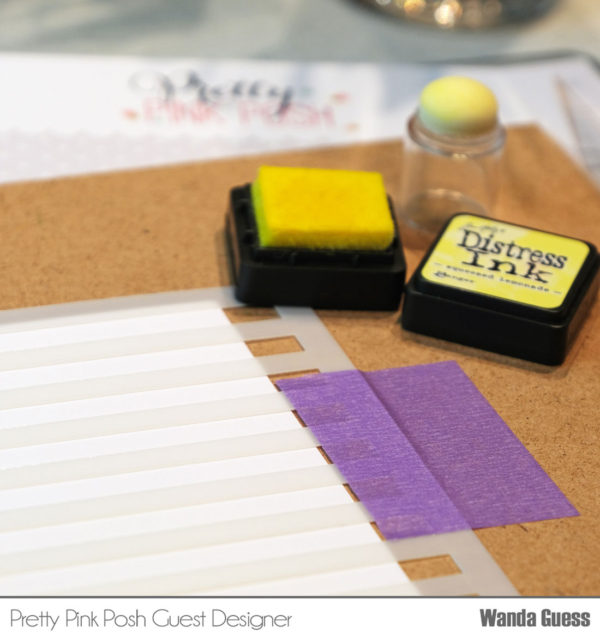
For the front panel, I freehand watercolored some light teal stripes onto watercolor paper and let this dry. After it dried, I die cut a circle and taped acetate to the back of this panel. Next, I used foam tape and built a well for my sequins to go in. For this card, I used Valentine Confetti Mix and filled the entire well. I then backed it with some white card stock. I adhered this panel onto an A2 top-folding card piece and moved on to decorate the front of my card.

I put some foam tape behind the wreath and adhered it over the shaker window. For more dimension, I also put my little bees on with foam tape so it would stand out. Basically, I was trying to make a bee wreath.
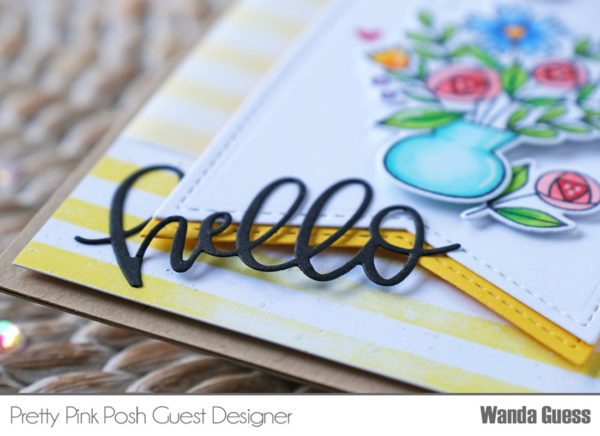
For my sentiment, I die cut just “hello” from the Hello Friend Script die three times on white card stock. I glued them together and glued to my card front. I finished this off with two of my little bee images and my card is finished.

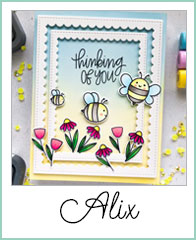
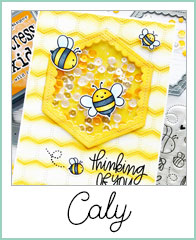
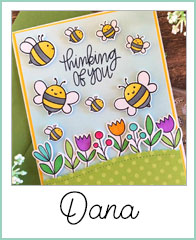
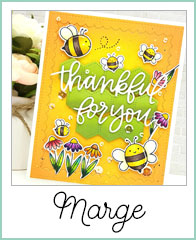
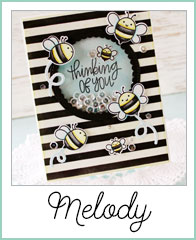
Some of the Pretty Pink Posh team have also created inspiration with our Bee Friends set. You don’t want to miss them!
Here’s a list of the sponsors for this fun blog hop. There are lots of great prizes you can win if you leave comments!

Ready to hop along and see lots of great bee inspiration and possibly win some prizes?
Blog hop list:
- Milka Gubo
- Alexandra Suta
- Alice Huang
- Amy Tsuruta
- Donna Mikasa
- Kathy Curry
- Ksenija Rizova
- Larissa Walgemoed
- Neha Bhatt
- Nonni Niskanen
- Samantha Mann
- Sonja Kerkhoffs
- Tina Pavlovic
- Valentina Bizjak
- Gerda Steiner Designs
- Honey Bee Stamps
- Lawn Fawn
- Newton’s Nook Designs
- Paper Smooches
- Pretty Pink Posh <—you are here
- Uniko
- Your Next Stamp
- Milka Gubo (InLinkz – return after commenting and add your name to InLinkz)
Thanks so much for stopping by. I hope you enjoyed all the cute bee inspiration!


