Tag Theme Week: Day 3
Hi crafty people! It’s Rachel here, I hope you’ve been enjoying the Tag Theme Week so far. Today I have two birthday tags using the biggest die from the Stitched Arches Dies set for the base.
I instantly knew I wanted to use the Birthday Holder Additions Die. Then came the difficult choice of which holder die critter I wanted to use and whether I also wanted to use the adorable mugs.
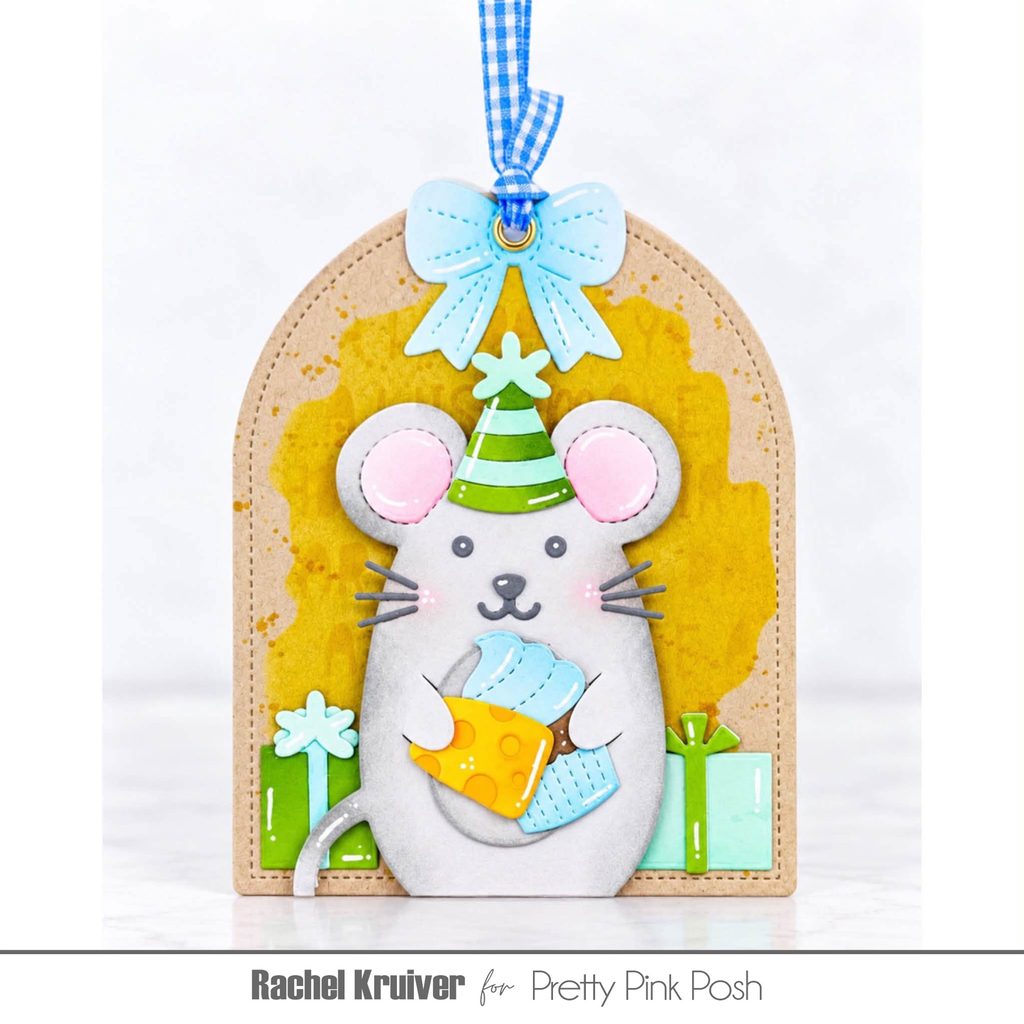
For my first tag, I decided to go with the Mouse Holder Die. I cut the biggest die from the arches set out of some kraft-colored cardstock. I grabbed the Watercolor Oval Stencil and inked my background in light yellow. After that, I placed the Birthday Words Stencil over it and used a darker yellow to add a subtle detail. I added some gold splatters to my background.
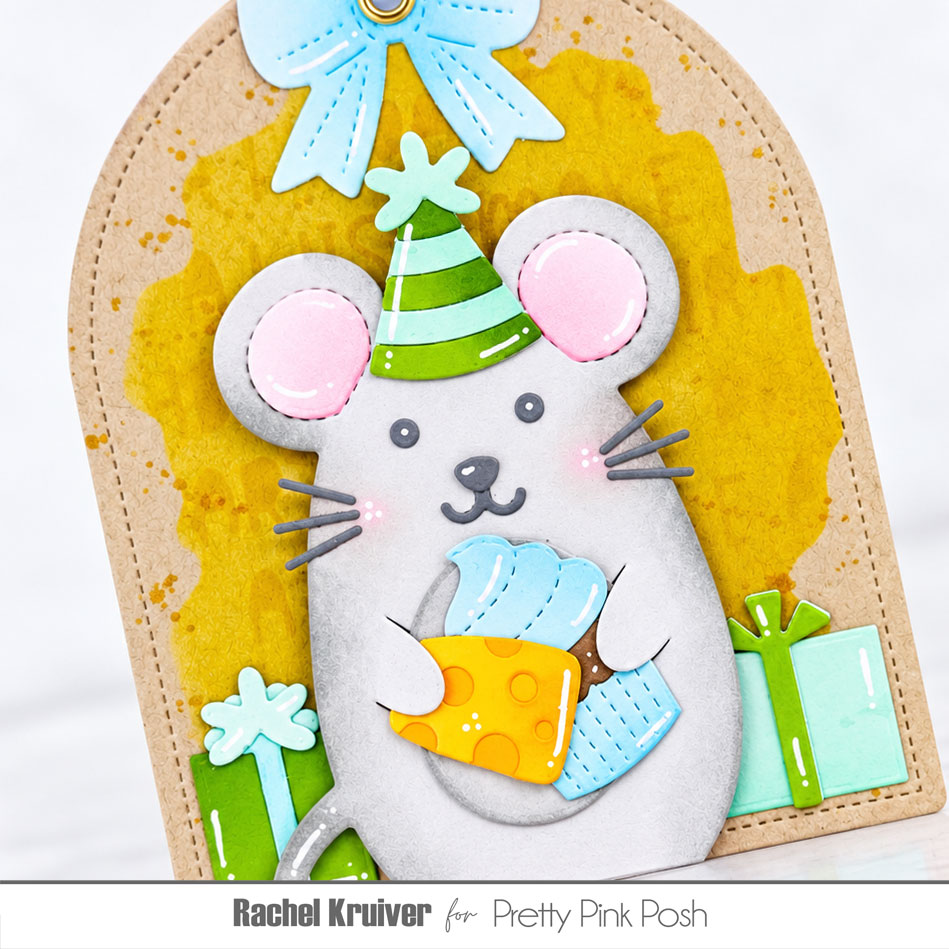
While my backgrounds were drying, I put my die-cutting machine to work and started die-cutting the elements for my Mouse Holder Die tag. I went with greys for the mouse and yellow, blue, and green for my accessories from the Birthday Holder Additions. I also pulled in the Birthday Treat Box Die to create a bow.
I shaded my die cuts with darker ink colors and glued everything together. I laid all the elements out on my tag. I also grabbed some foam tape and used it to adhere everything to my tag. I then punched a small hole at the top of the tag, inserted an eyelet, and added a blue ribbon.
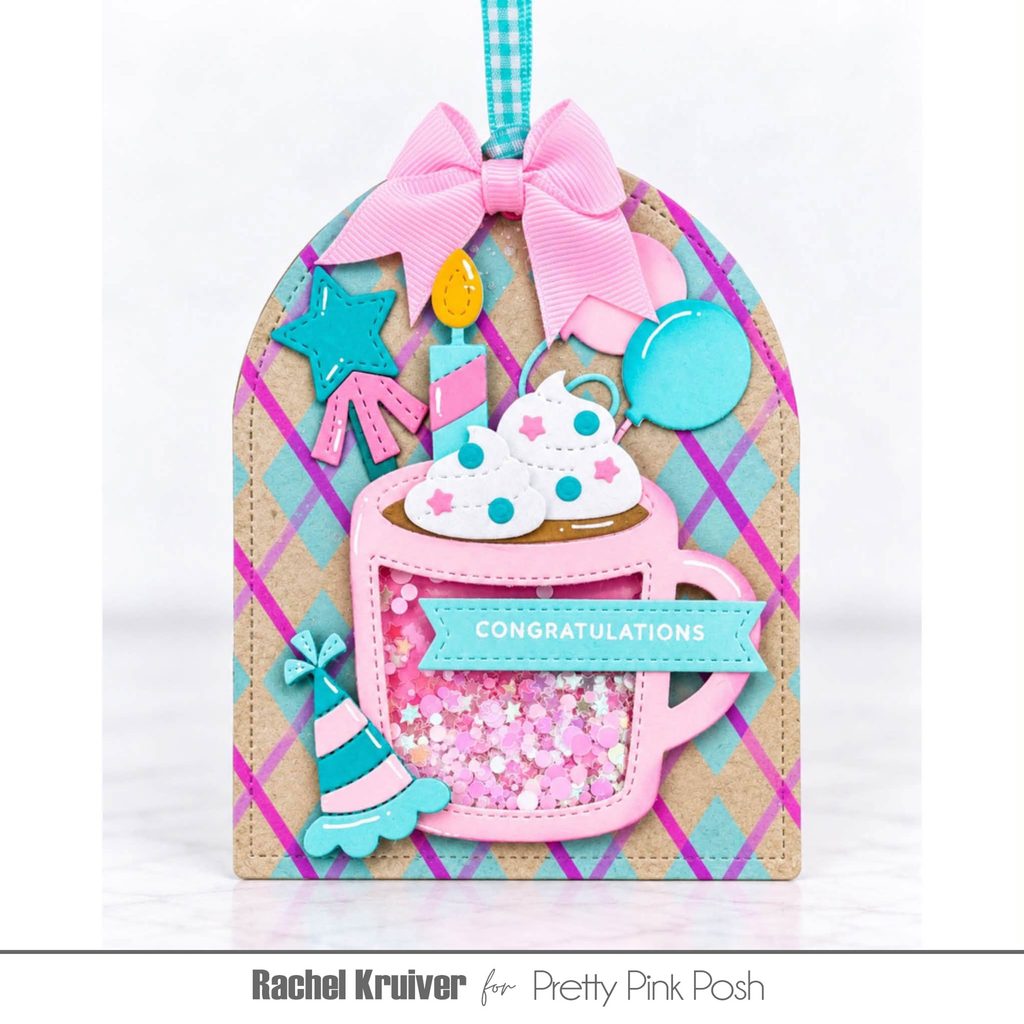
For my second tag, I cut all the elements from the Winter Mug Die, Birthday Mug Additions, and Birthday Holder Additions in pink and teal. I also added my beloved shading using darker ink colors. I decided to turn my mug into a shaker, so I cut out the frame and attached some acetate behind it using double-sided tape.
I also cut my background panel out of kraft cardstock. I went through my collection of beautiful Pretty Pink Posh stencils and settled on the Layered Argyle Stencil. I used light teal, pink, and a darker pink. Then I splattered it with silver.
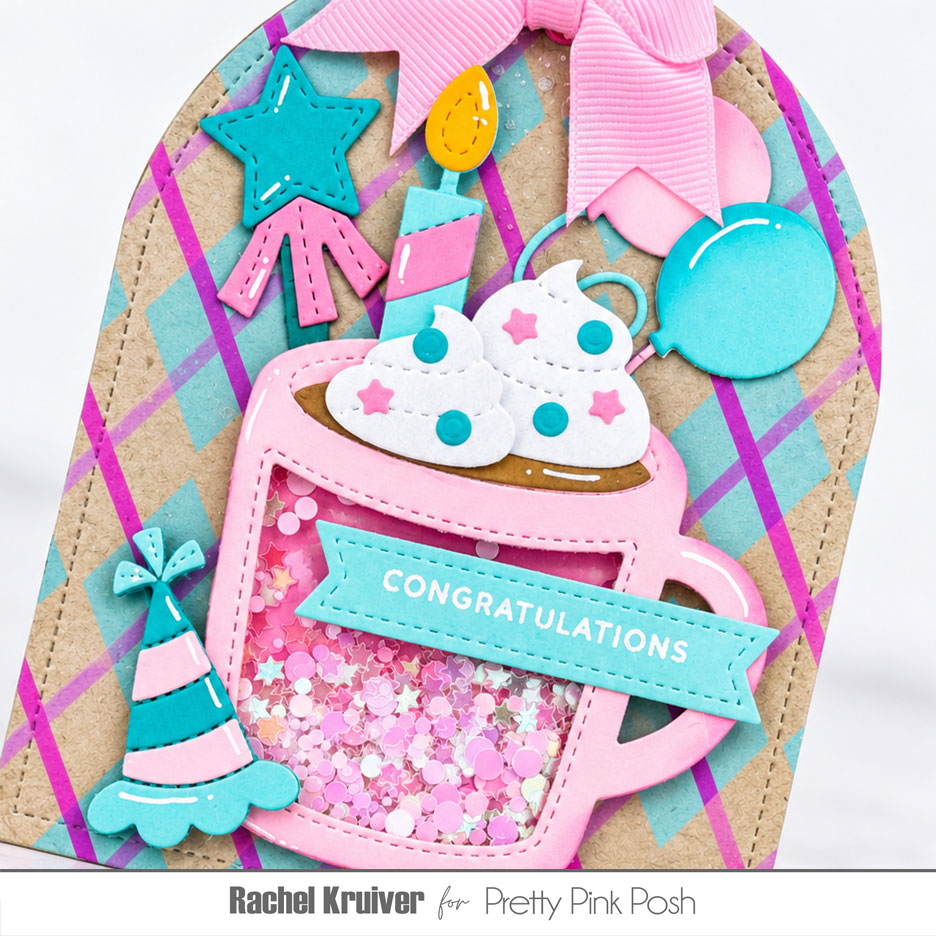
Then it was time to adhere everything together and arrange the scenes on my tags. Once I had decided on the layouts, I used glue and foam strips to adhere everything.
I felt like my tags were lacking a little something on the right-hand side, so I grabbed the Simple Sentiments stamp set and the Sentiment Strips Die and heat-embossed the word “Congratulations” in white. And there we go: two birthday-themed tags!
Thank you for taking the time to read my blog post. I hope you feel inspired to shop your Pretty Pink Posh dies and create some amazing shaped tags!
Don’t forget to follow me on Instagram @cards.byrachel for more crafting inspiration.
Happy crafting!
Rachel