
August Intro: Sneak Peek Day 1
Welcome as we kick off sneak peeks for our August 6th release! Featuring treat buckets, playful ghosts, caramel apples, and more, these seasonal designs are perfect for all your upcoming Halloween projects. This release includes five stamp sets, four coordinating dies, twelve standalone dies, four stencils, and four embellishments.
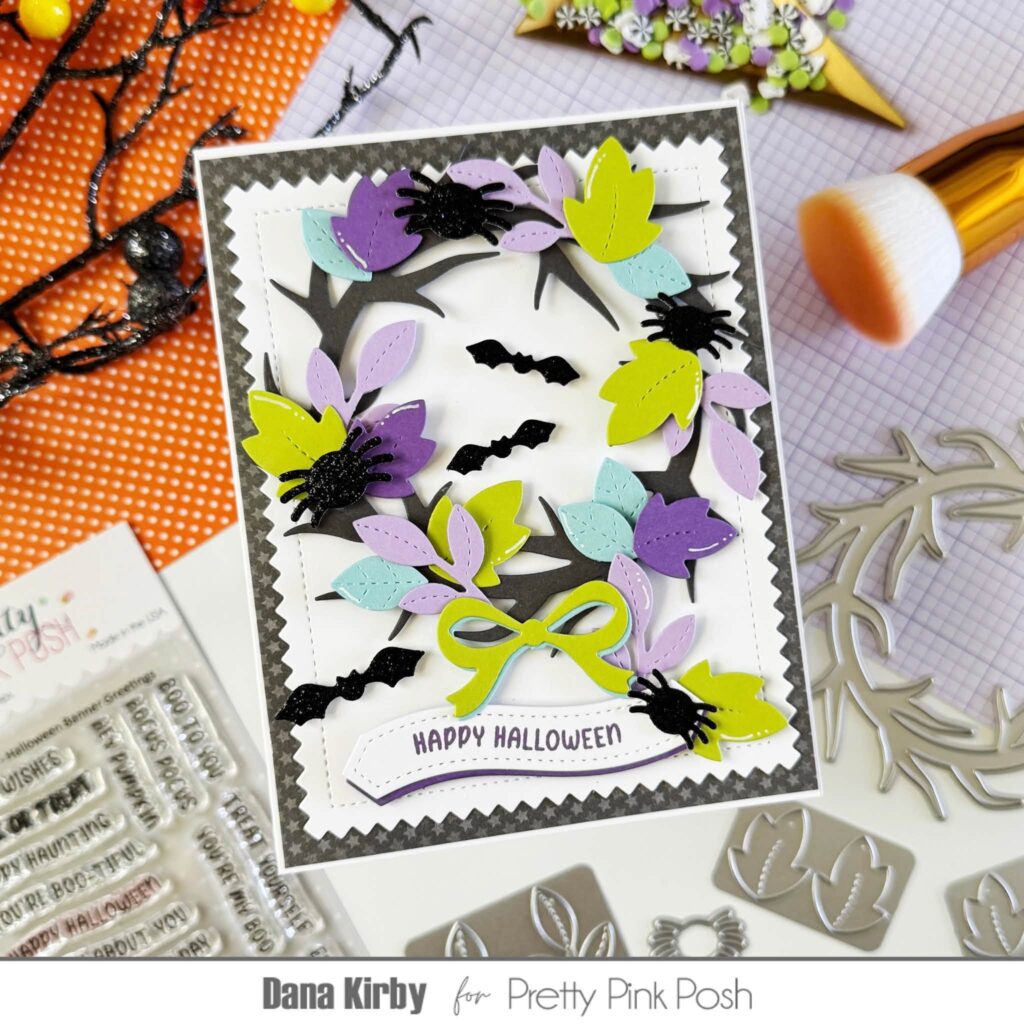
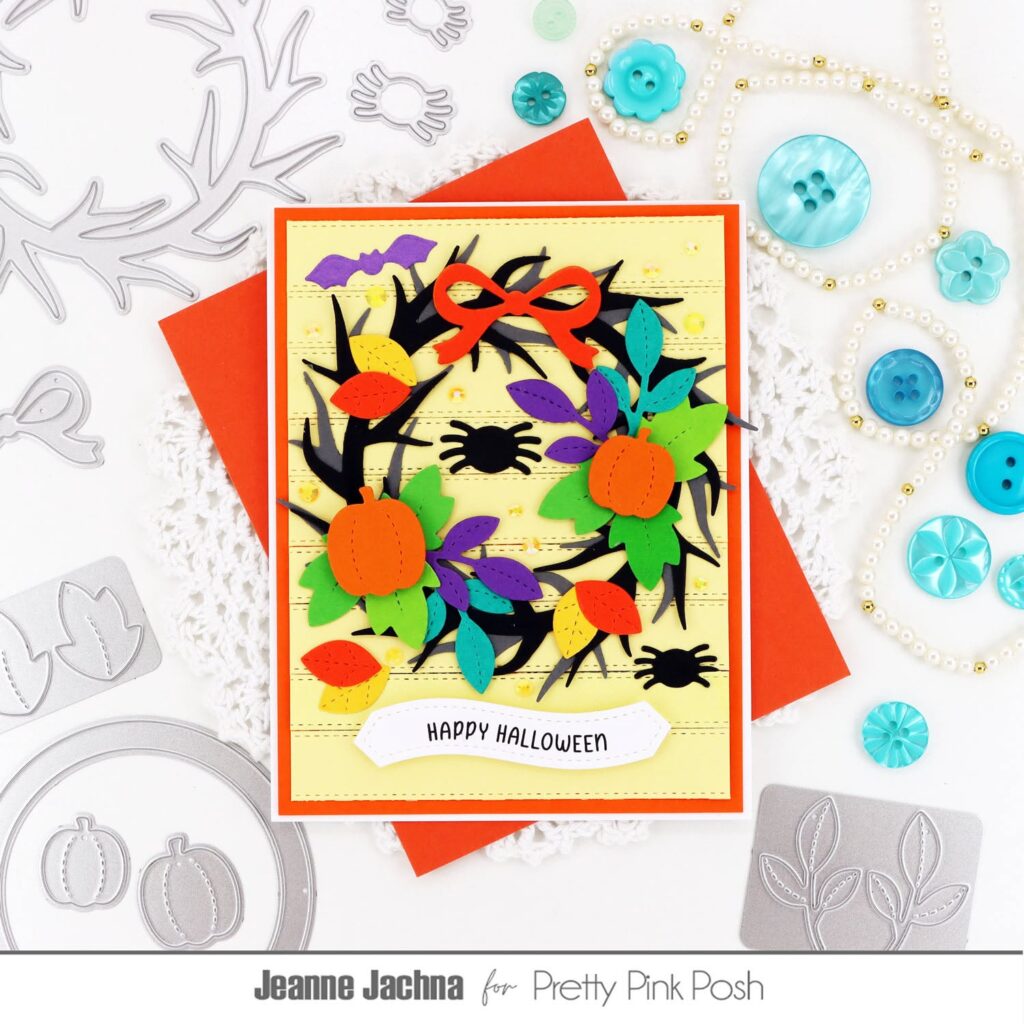
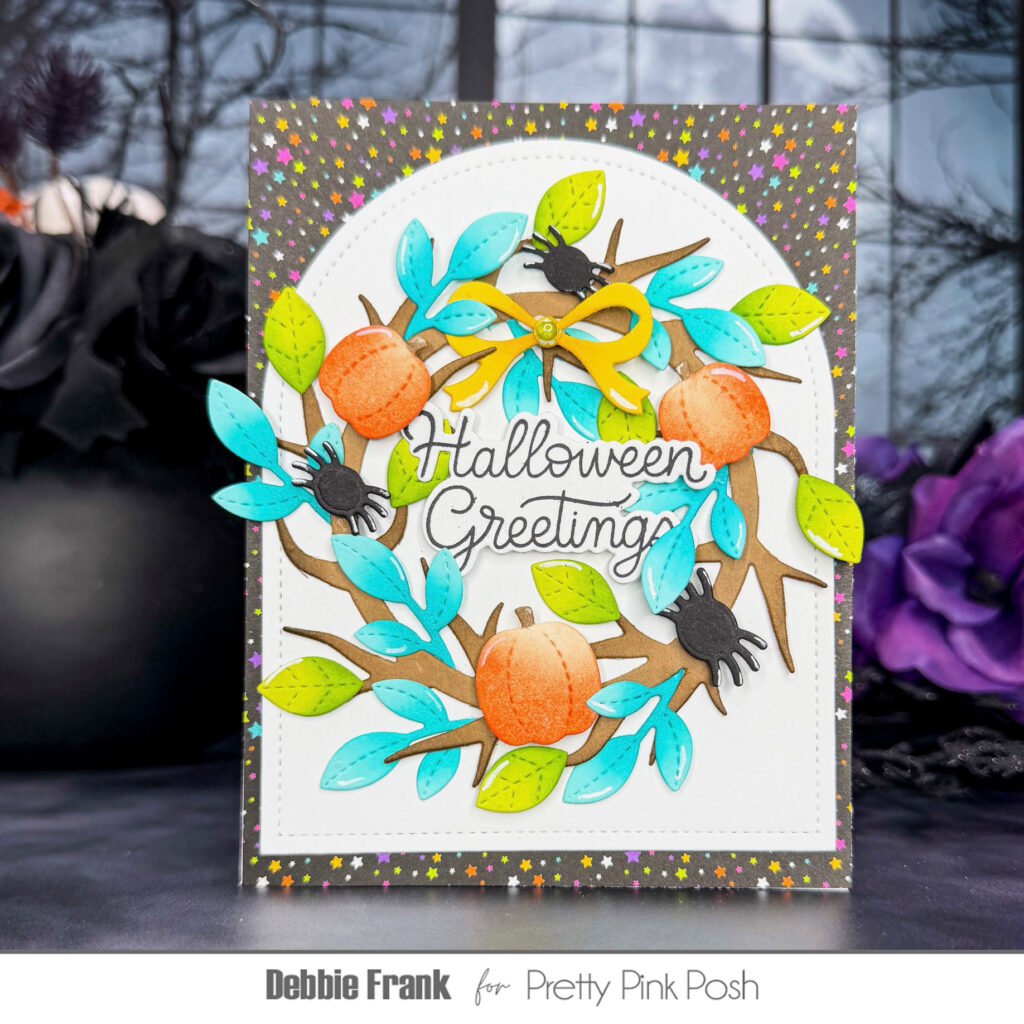
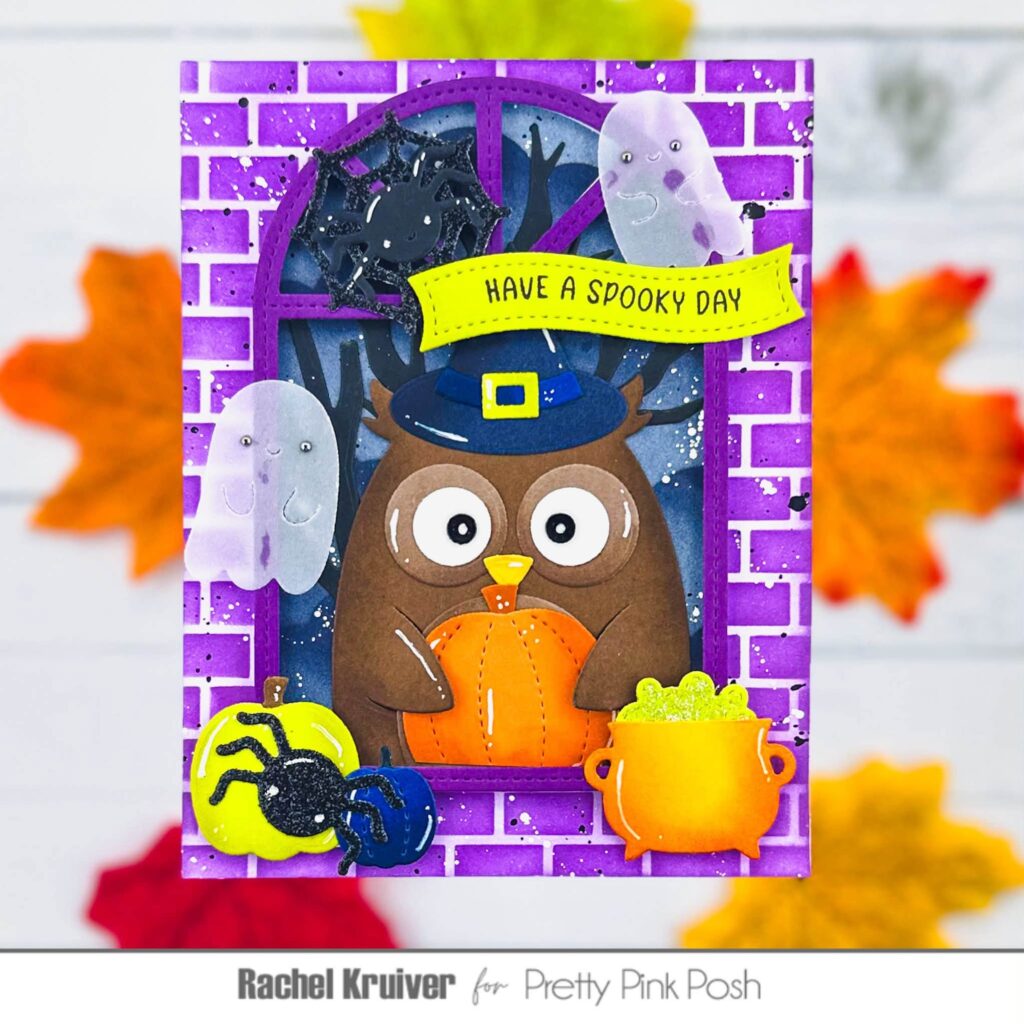
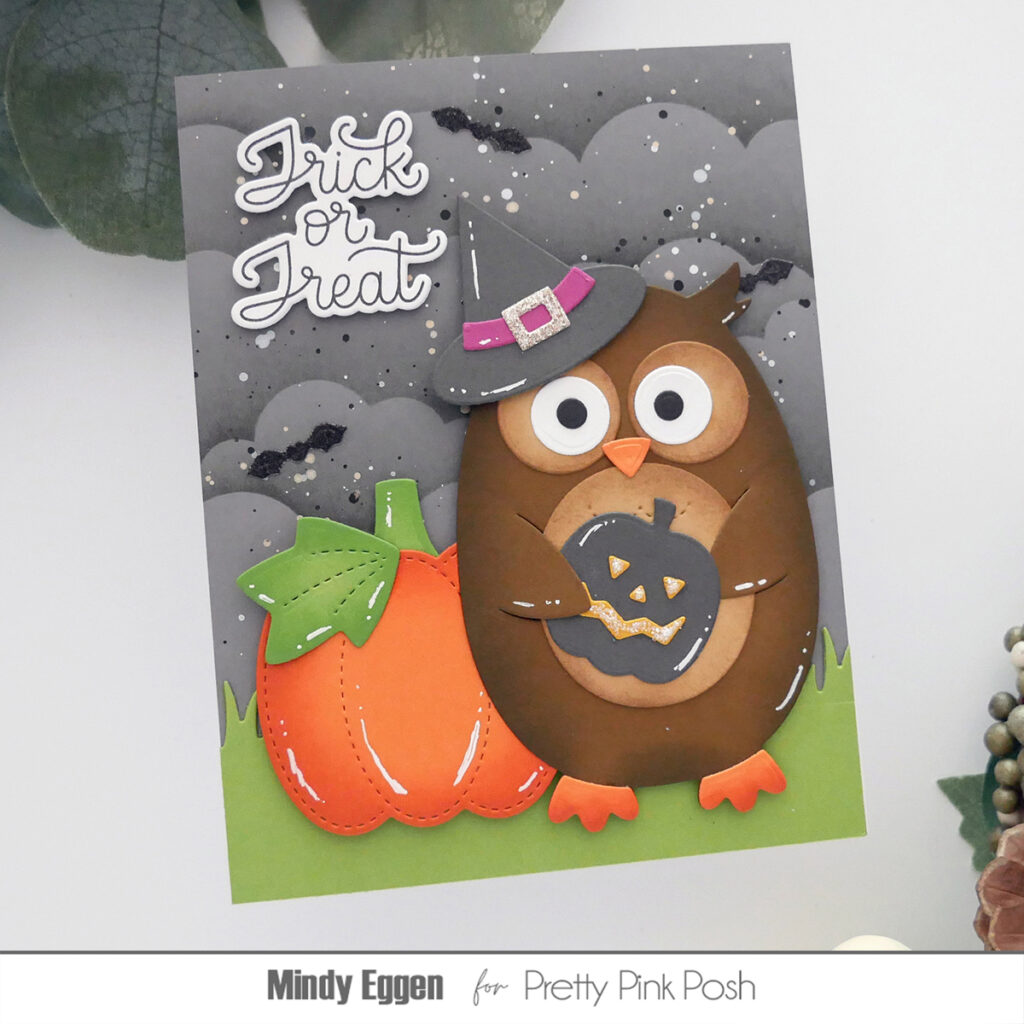
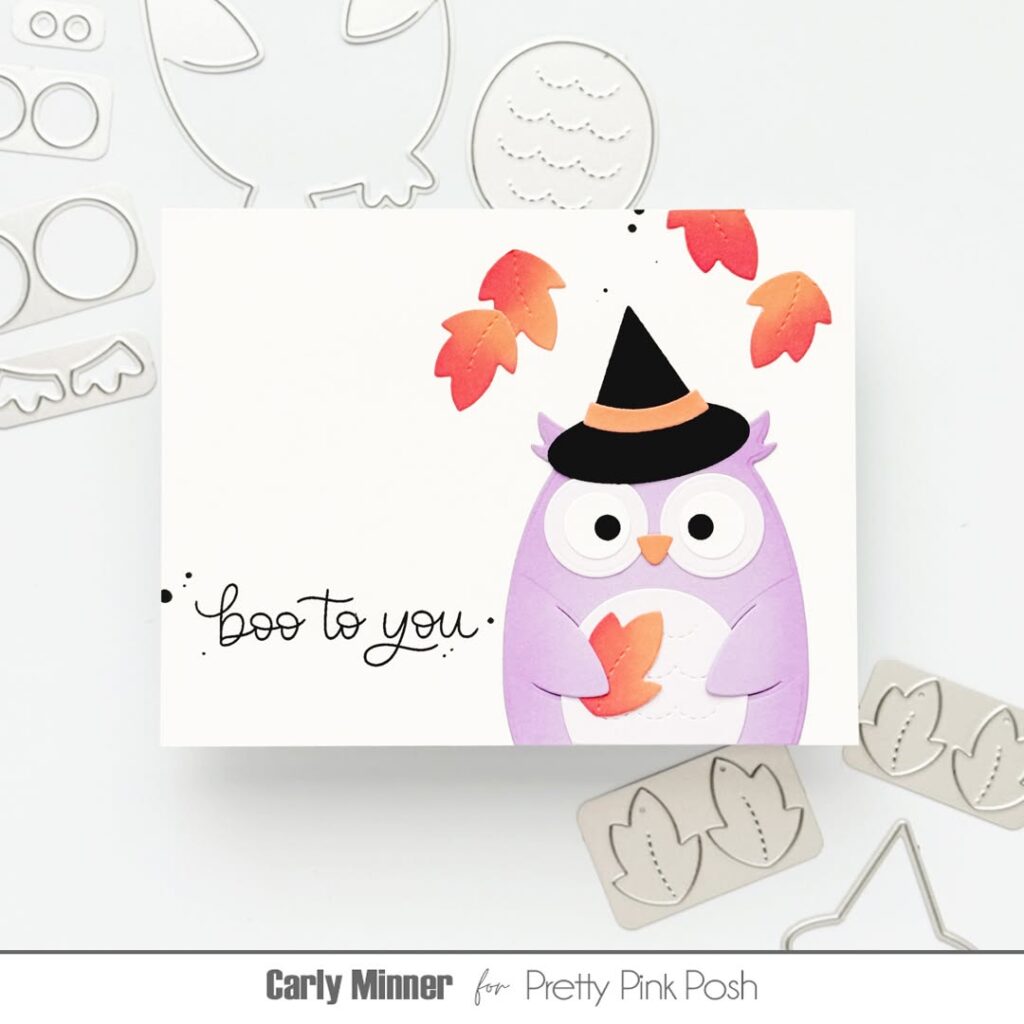
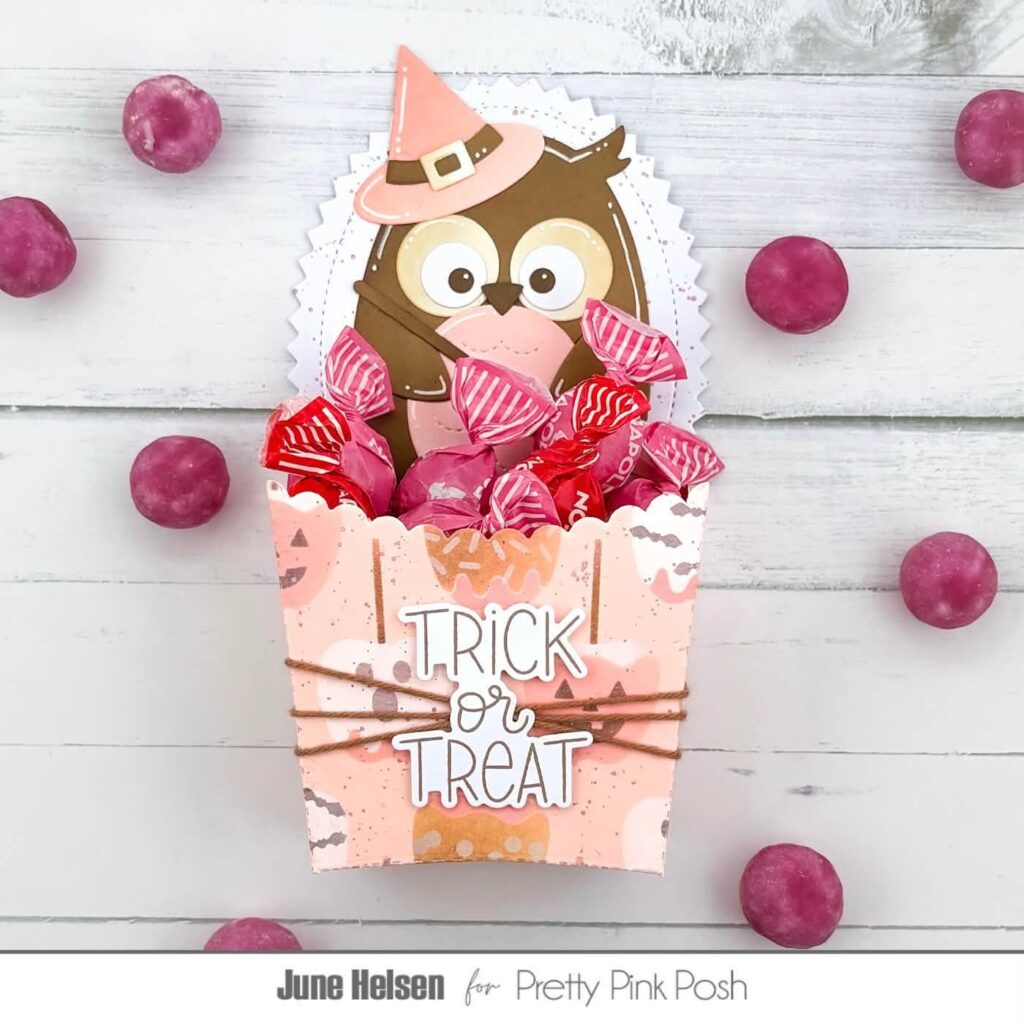
Today we’ll be taking a look at three of the new standalone die sets: Halloween Wreath Builder, Owl Holder and Spooky Forest.
Watch the video above I Watch the video in HD on YouTube
Hello friends! It’s Christina. I’m so excited to share with you the first sneak peeks of the most hauntedly cute Halloween release! Today we are introducing some of the new spooky season die sets, including the adorable Owl Holder, the Spooky Forest, and the Halloween Wreath Builder. I created three cards that showcase these new dies and will give you a peek at some of the fun new stencils too. Let’s get started!
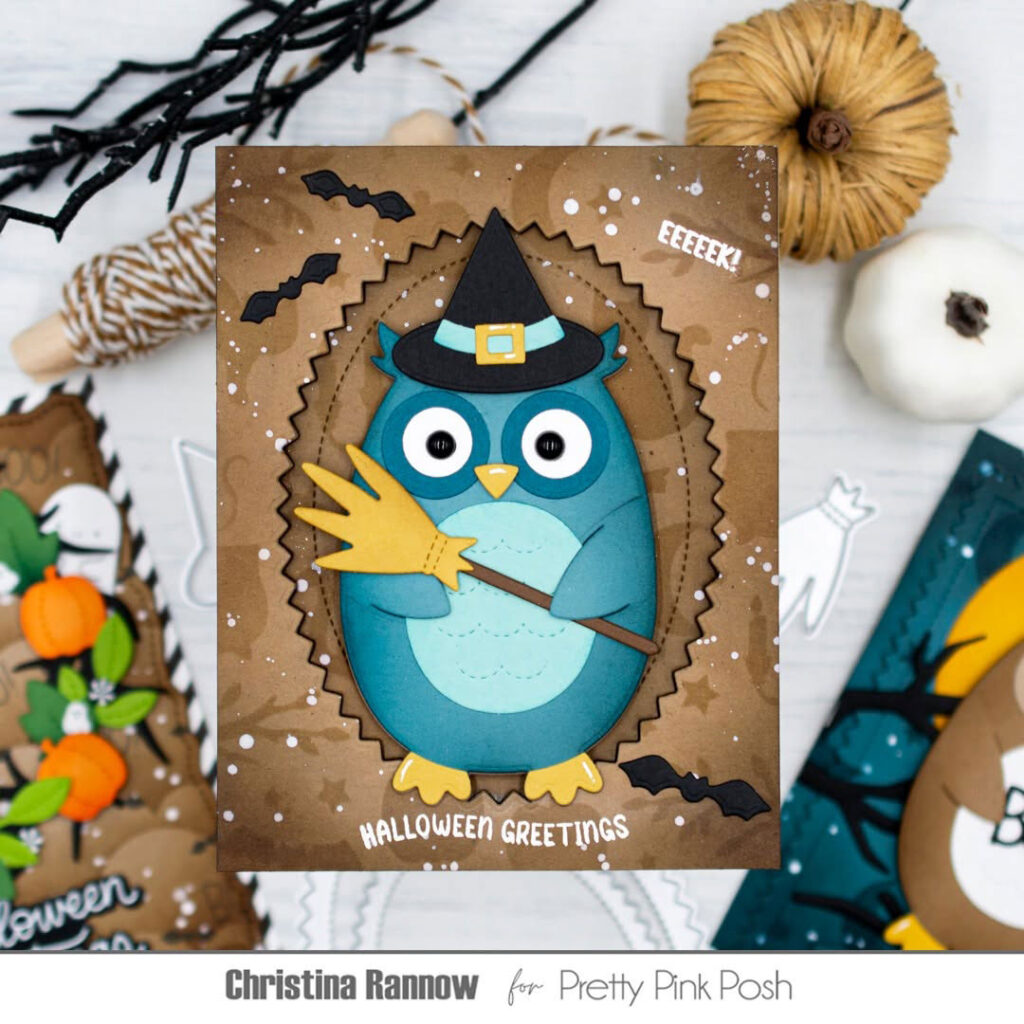
Two of my cards feature the Owl Holder. This guy is the cutest addition to the holder collection, and I’m sure it will be very popular. For my first card, I chose to die-cut the owl from peacock and aqua cardstocks and gave him some wicked accessories from last year’s Halloween Holder Additions Dies. The witch’s hat and broom fit him perfectly! Before assembling all the pieces, I added subtle shading with a darker coordinating ink color and then finished up this guy by adding Onyx Pearls for his eyes and a few white gel pen highlights. For the background I chose kraft cardstock and stenciled the panel with the new Halloween Silhouettes Background stencil. I’m obsessed with this stencil because the creative possibilities are endless!
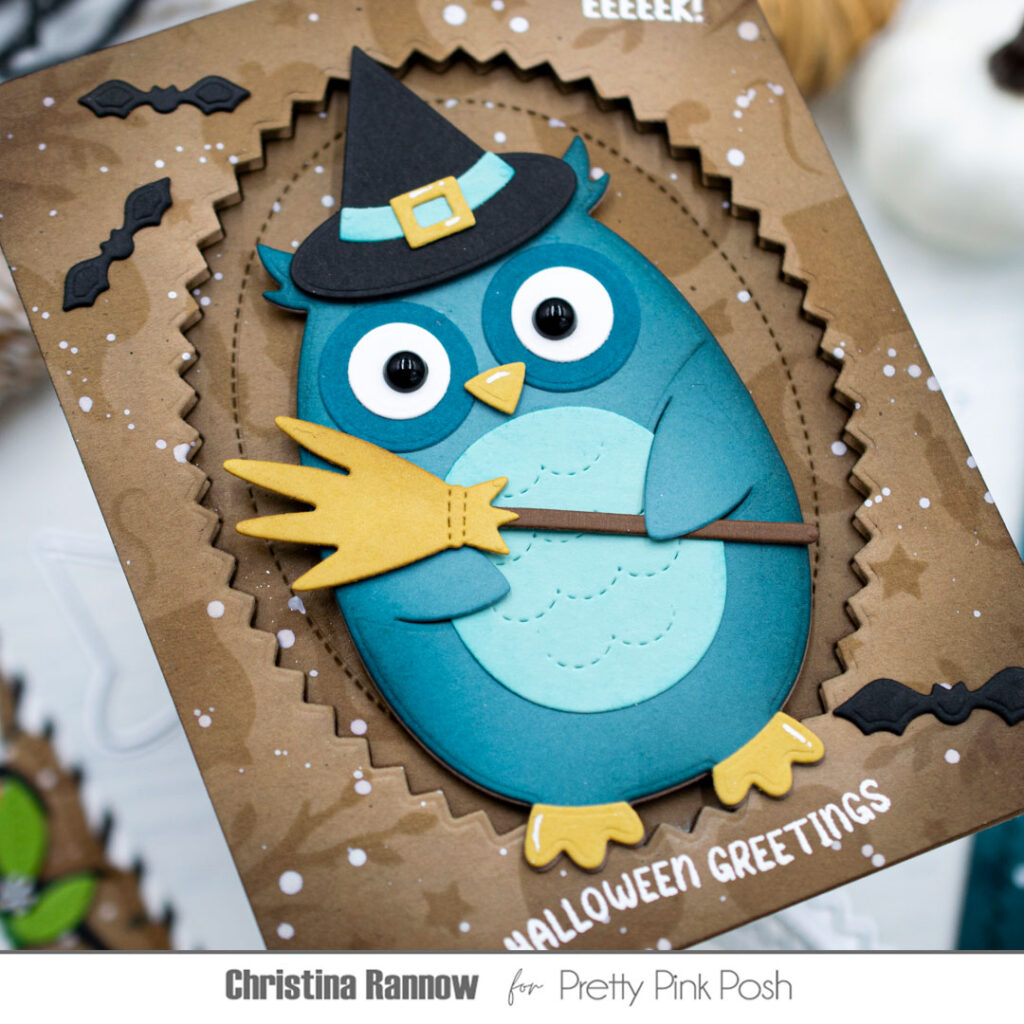
I chose to stencil it with a slightly darker brown on kraft for a tone-on-tone look. I added white splatter to the panel and then die-cut a Pinking Oval from the center, a new basic die in this release. I heat-embossed a sentiment and a fun “EEEEEK!” with white embossing powder on the frame piece before popping it up with foam tape on a top-fold card base.
Next, I inset the oval piece and then popped up the owl in the center. A few bats darting through the scene were the finishing touch.
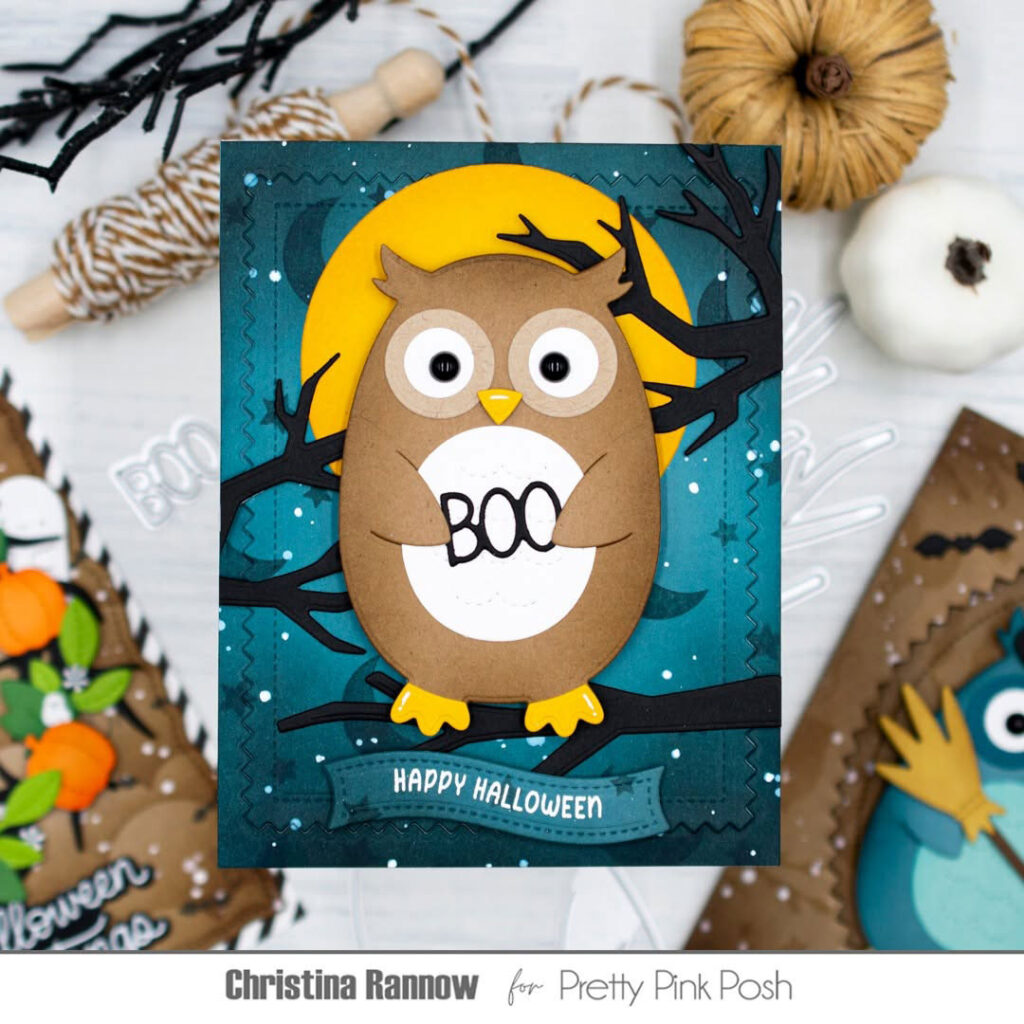
My second card also features the Owl Holder but this time I chose traditional brown and white cardstocks to create him. I added Onyx Pearls for his eyes too and gave him the word “Boo” to hold from the Ghost Holder Dies. I chose a deep peacock blue cardstock panel for this background and created my own patterned paper using the new Halloween Silhouettes stamp set. I stamped the moon and some stars multiple times across the panel with a darker coordinating ink color, added Black Soot to the edges for a spooky, moody look, and then spattered it with white splatter medium.
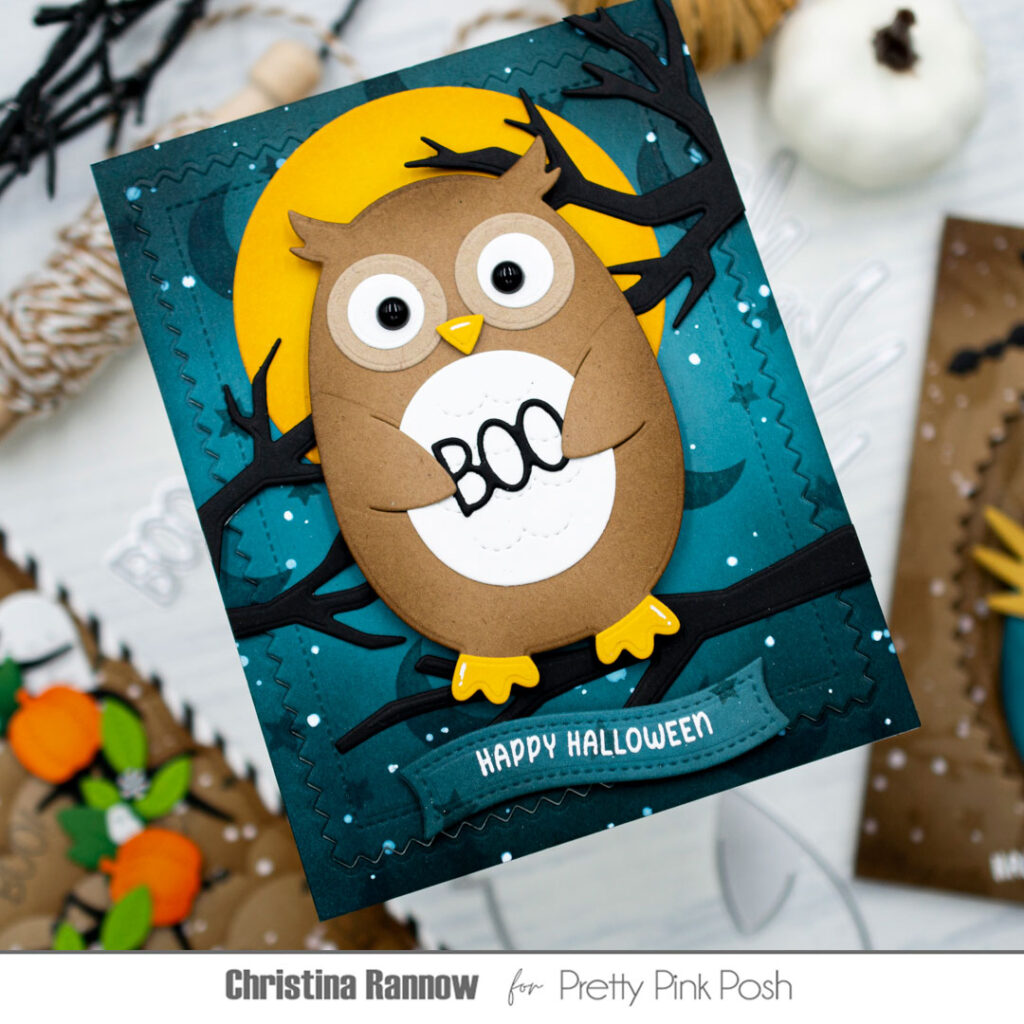
Next, I die-cut the panel with the largest Pinking Rectangle die and used both the negative and positive pieces, attaching them to a top-fold card base. To finish up the background, I added a large moon die-cut with a basic round die and some spooky tree limbs from the Spooky Forest Dies reaching into the scene. I popped up the owl in front of the moon and then finished my design with a Halloween Banner Greetings heat-embossed on a new Banner Greetings 4 Die.
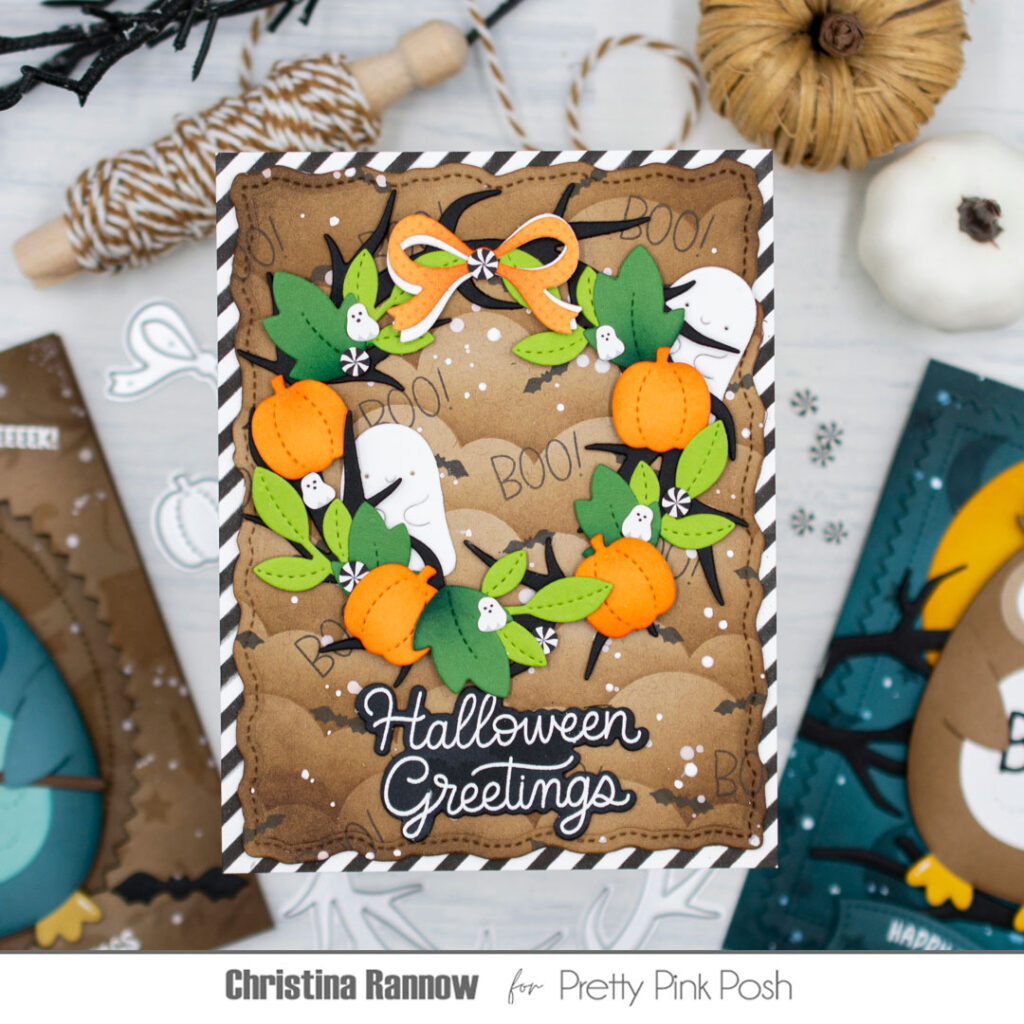
My last card features the Halloween Wreath Builder Dies. This set has endless creative possibilities too. There are a few different leaf types and some fun accessories to customize your wreath for Halloween or fall. I chose a Halloween theme with classic Halloween icons and colors. The cute ghosts peeking out are my favorite little boos and are from the Spooky Mug Additions. I added shading to the pieces before assembling the wreath and then embellished it with new clay shaker bits from the Boo Crew Mix.
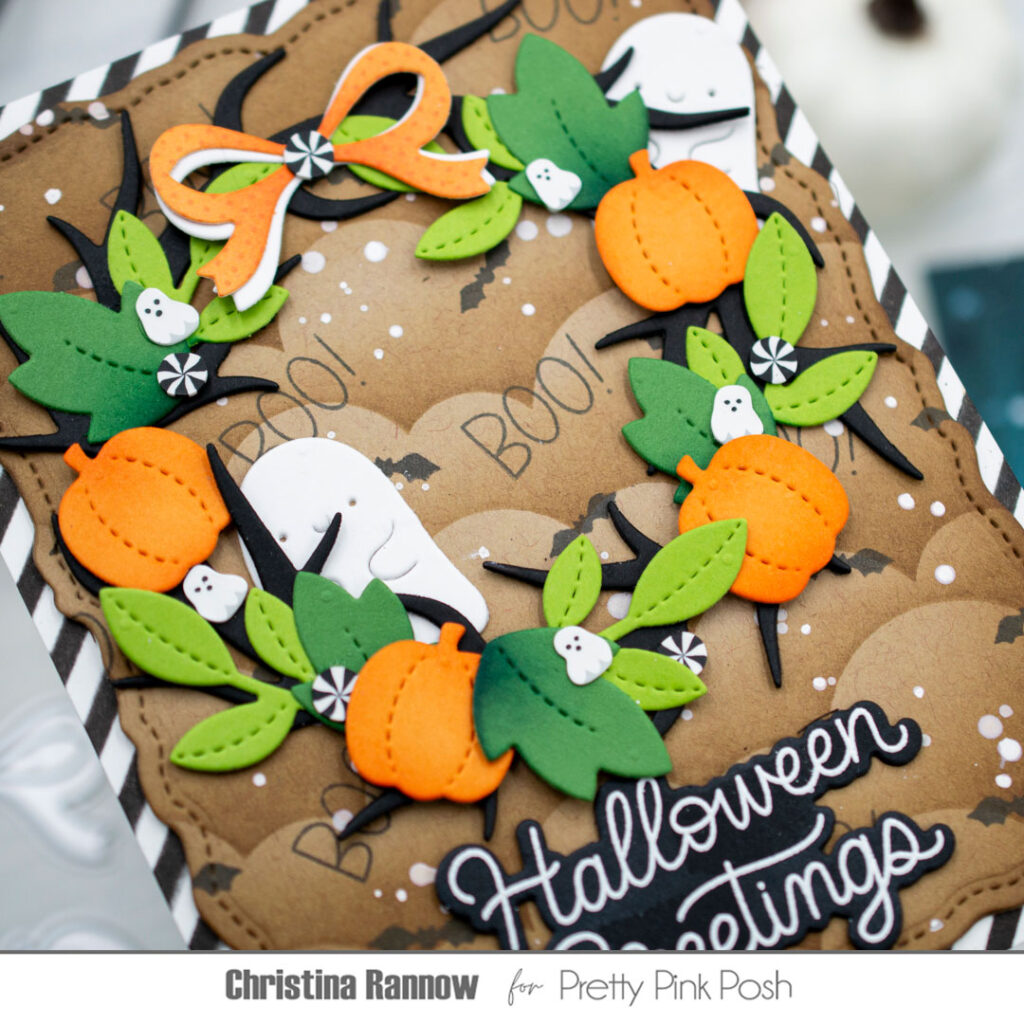
For my background panel, I used the new Clouds stencil to create a spooky cloudy sky on kraft cardstock and used the Boo Greetings and Mini Ghosts stamp sets to add bats and “BOO!” text to the background. Next, I die-cut the panel with the largest Stitched Torn Rectangle and darkened the edges with brown ink before spattering it with white splatter medium. To finish up the background, I layered this panel onto a black Pinstripe-stenciled panel and attached everything to a top-fold card base. My last step was to add a white heat-embossed sentiment, also from the Boo Greetings stamp set and die-cut with the coordinates dies.
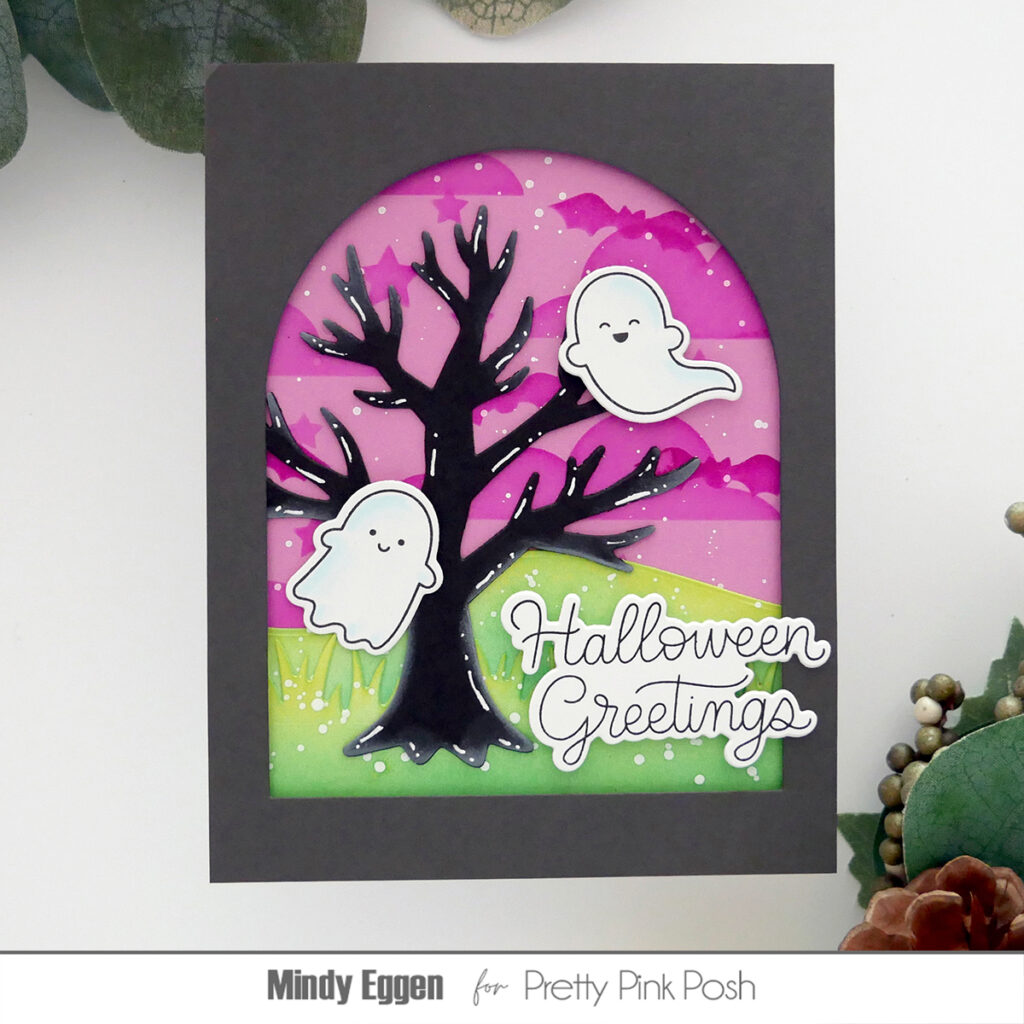
Keep scrolling to see the spookiest, most adorable inspiration of the season from the design team.
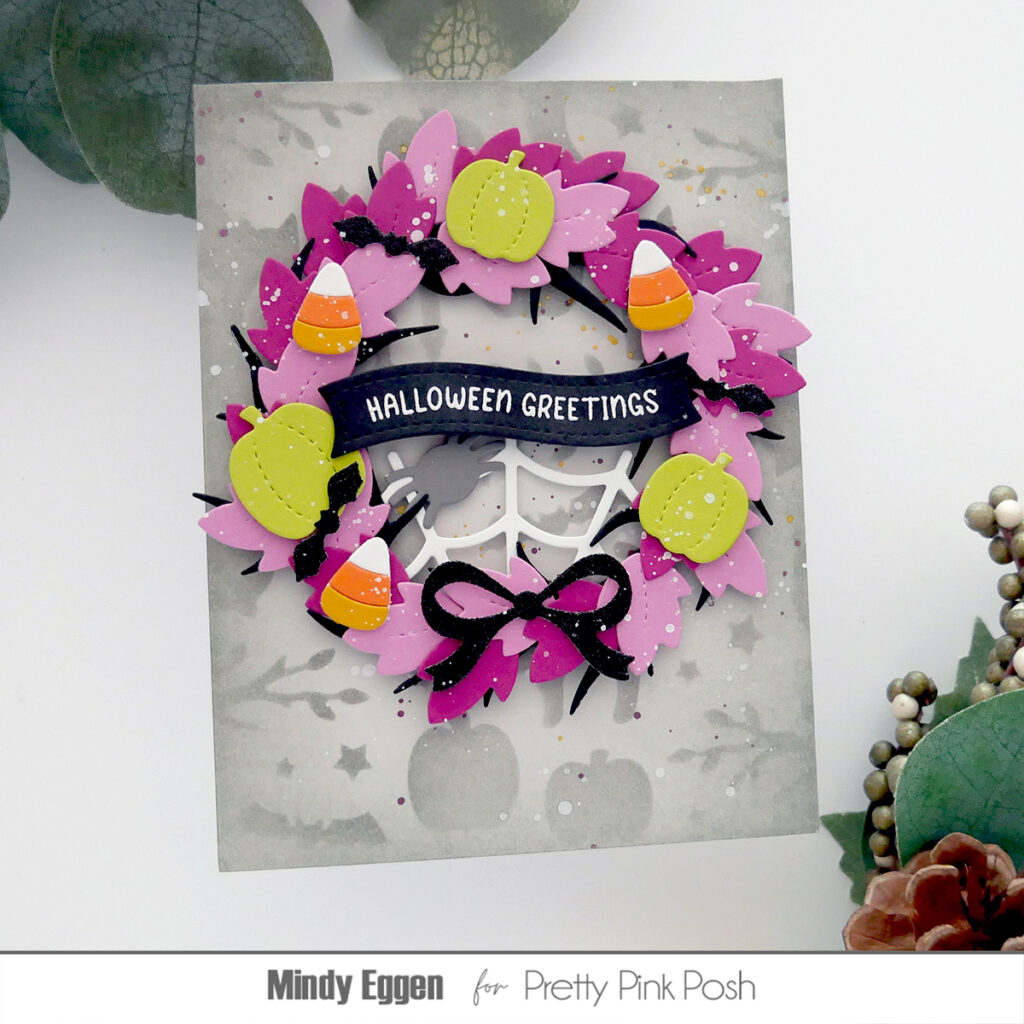
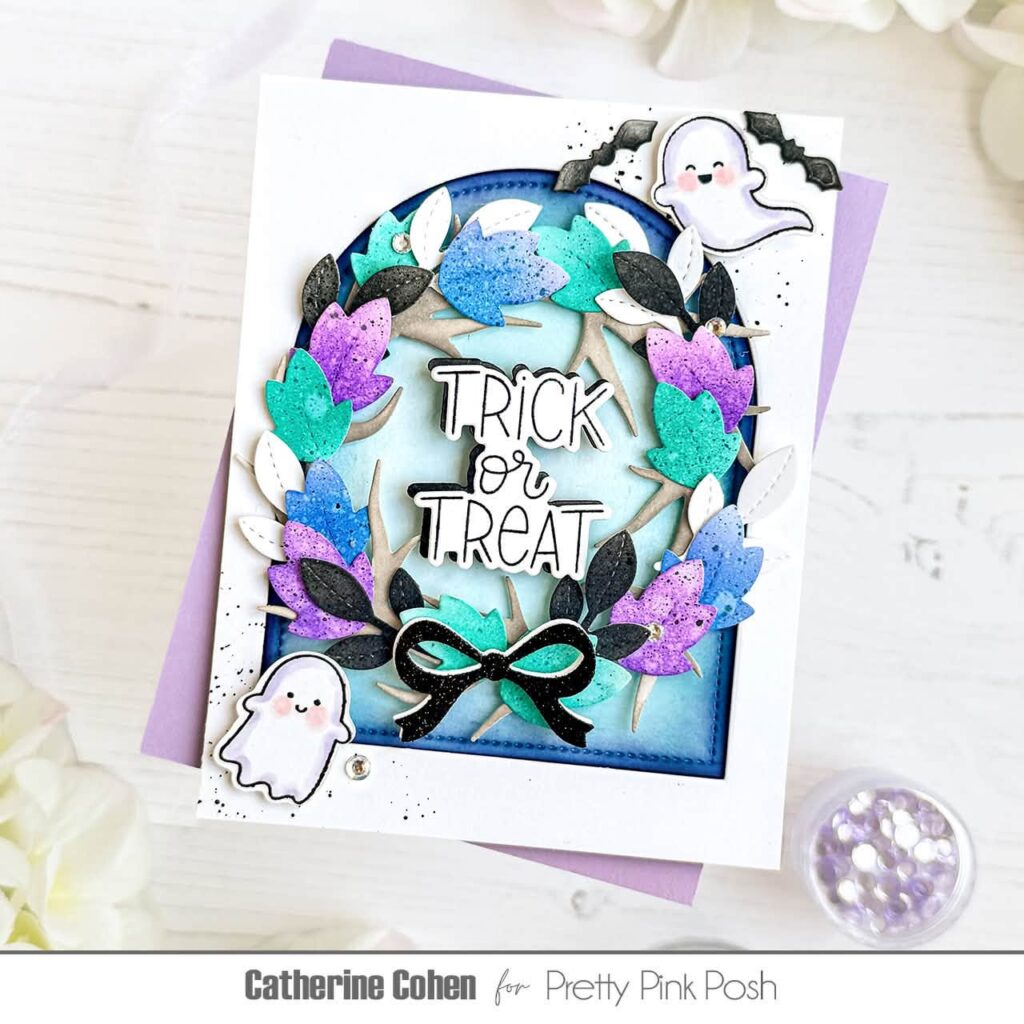
Thank you so much for checking out the sneak peek inspiration. Come back tomorrow for more sneak peeks!
I LOVE the wreath builder sooo much!
This release is a HOOOT!
I absolutely love all the inspo cards! This is getting me excited to start my Halloween cards!!
Ooooh so cute!!!! Especially those wreaths. Love em!
So many fun ideas! Love the cute owl and all of the wreath projects!