
Pastel Happy Spring
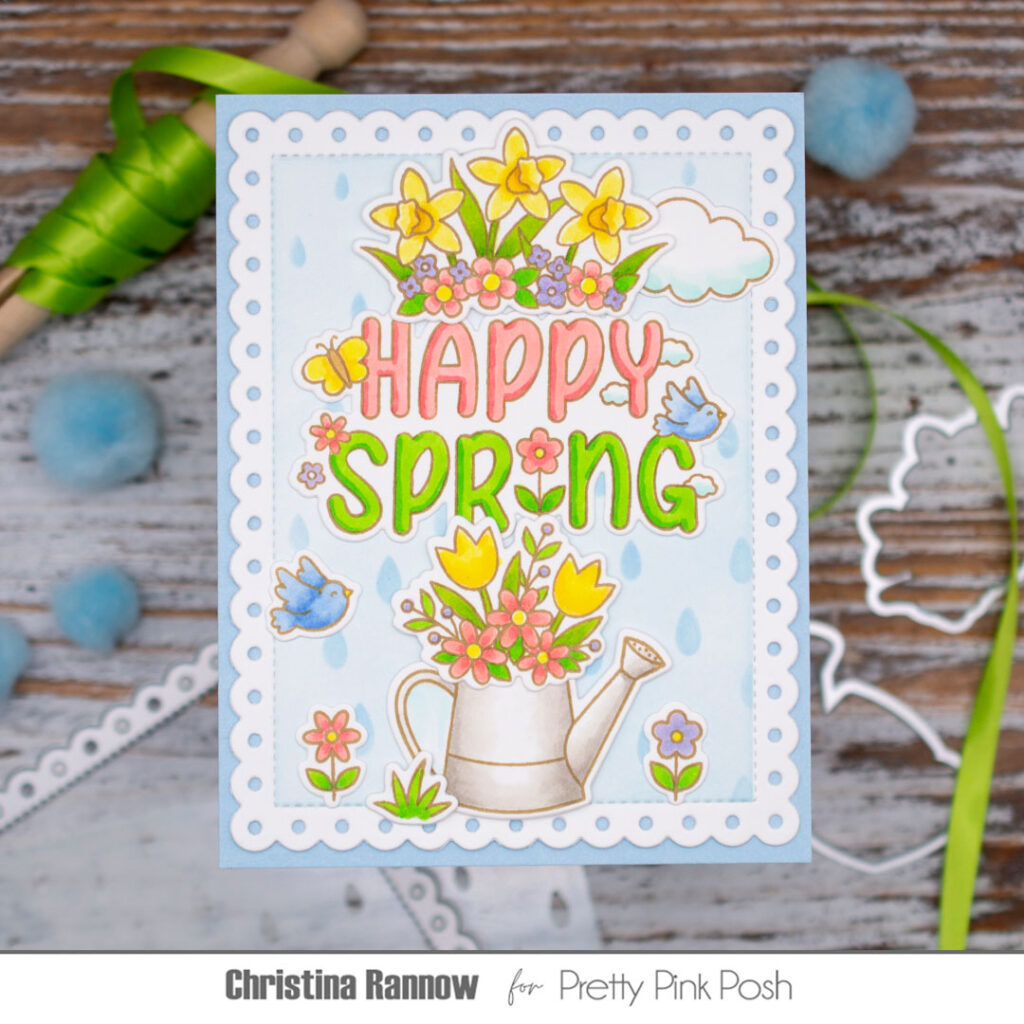
Hi friends! Christina here, and I’m so happy to be sharing some of the first signs of spring! My card pairs the new Spring Blooms and Easter Word Scenes stamp sets for a sweet scene bursting with springtime charm. Take a quick peek at the supplies I used, and then we’ll get started!
Easter Word Scenes Stamp Set & Coordinating Dies
Spring Blooms Stamp Set & Coordinating Dies
Easter Icons Stamp Set & Coordinating Dies – bird and single flowers
Spring Chicks Stamp Set & Coordinating Dies – grass and cloud
Raindrops Stencil
Eyelet Rectangle Dies
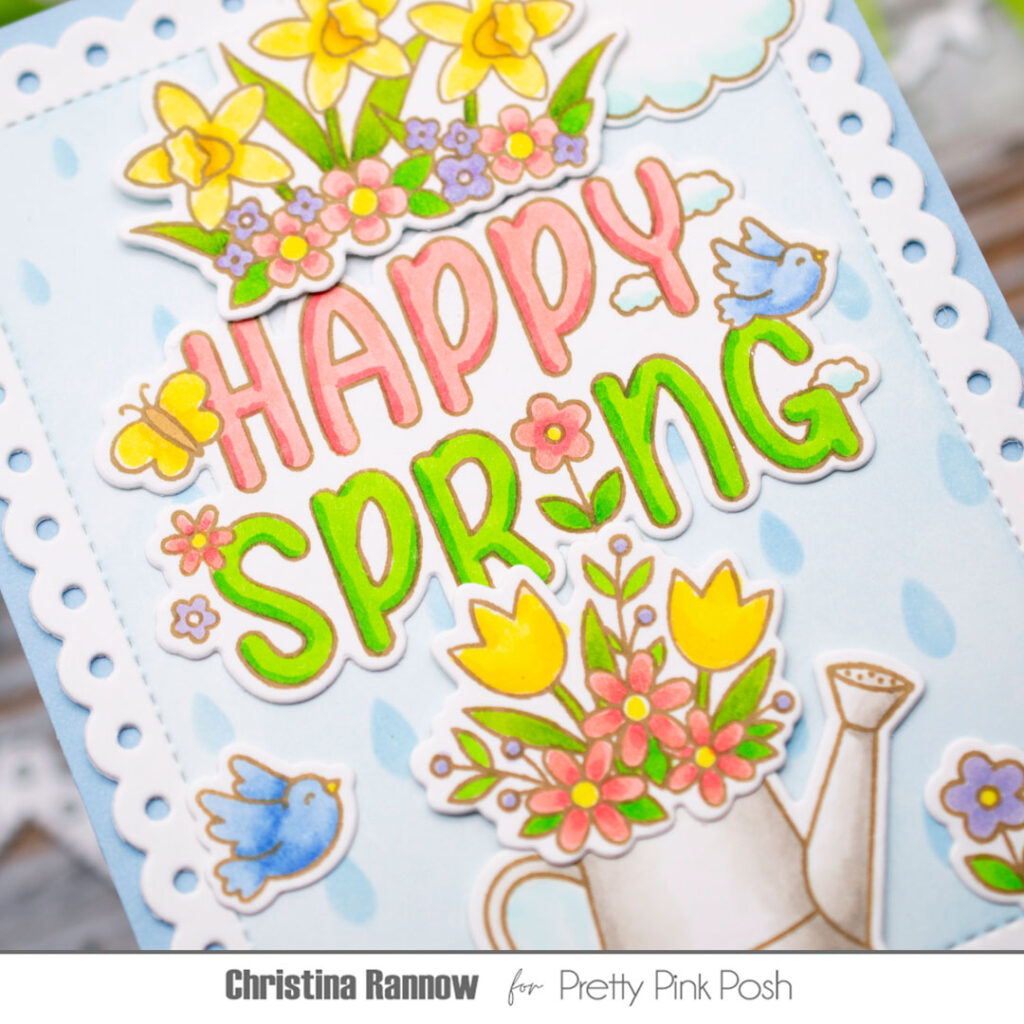
I started by stamping all my images on white cardstock with brown ink instead of the usual black ink because I didn’t want a stark black outline for my images. I wanted something softer to complement the pastel colors I was planning on using to color my images. I chose Copic markers for my coloring and then die-cut the images with the coordinating dies. Here is the simple Copic coloring chart for these sweet images:
Greens – YG25 & YG17 or YG05 & YG07
Blue-Greens – BG10 & BG11
Blues – B21 & B23
Purples – BV00 & BV01
Reds – R32 & R43
Yellows – Y02, Y32, & Y21
Neutrals – W0, W1, & E55
My next step was to create the tone-on-tone background panel. I started by die-cutting the largest Eyelet Rectangle from white cardstock and masking the edges before lightly blending Tumbled Glass Distress Ink across the center of the rectangle. Then, leaving the masking in place, I stenciled the Raindrops pattern over the blended background with the same Tumbled Glass Distress Ink. Finally, I layered the stenciled Eyelet Rectangle onto a light blue A2 cardstock panel.
The last steps were to arrange the images on the background panel, secure them with glue or thin foam squares, and pop everything onto a side-fold card base.
Thank you so much for checking out my sweet springtime card design featuring some of the new stamp sets in the latest spring collection. See you again soon!
Wow, Christina – This is one gorgeous card!!!