
Day 7: Easter Theme Week
Save 15% on all products in the Easter section
Hello Everyone! Welcome to the last day of the Easter Theme Week! It is Zsofi here today with a cute “bunny” card mixing the latest release with some older stamps and dies. Let me guide you through the process of how I made this “almost only die cuts” Easter card.
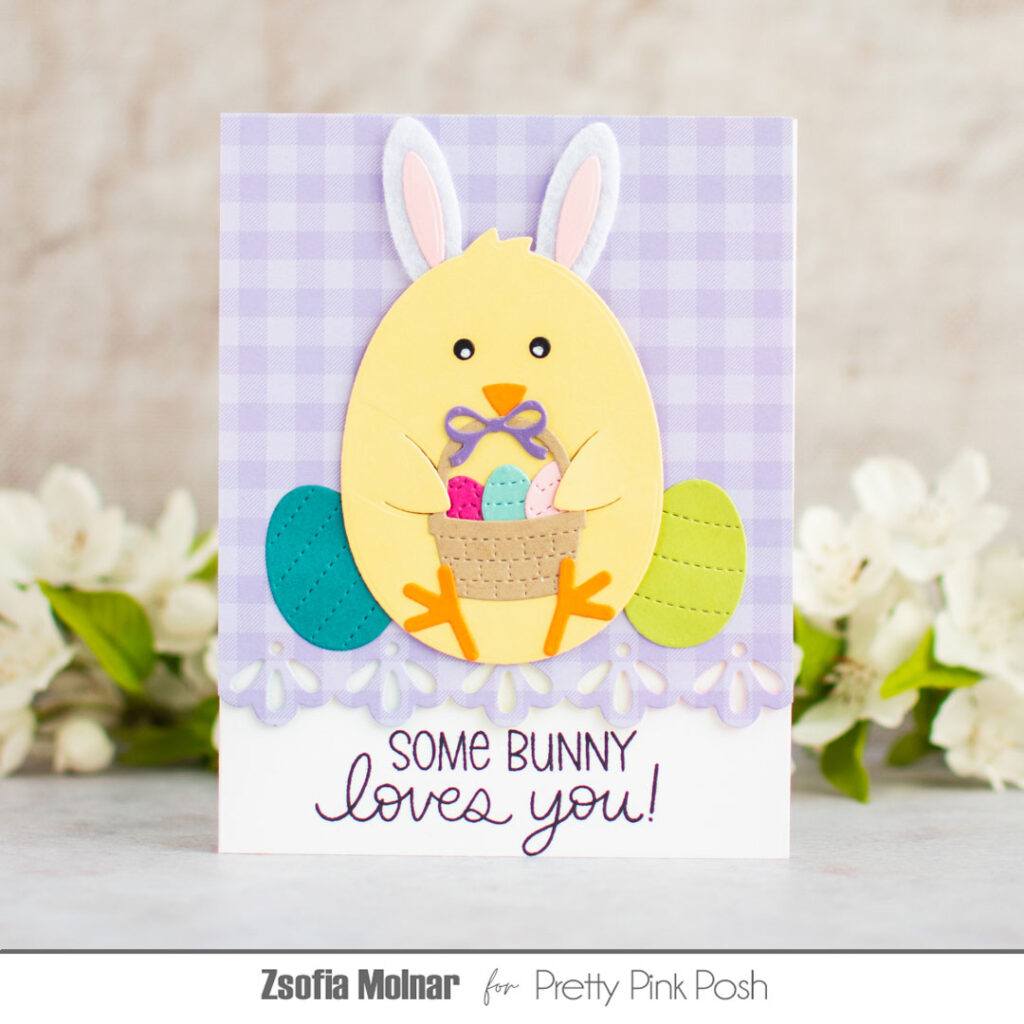
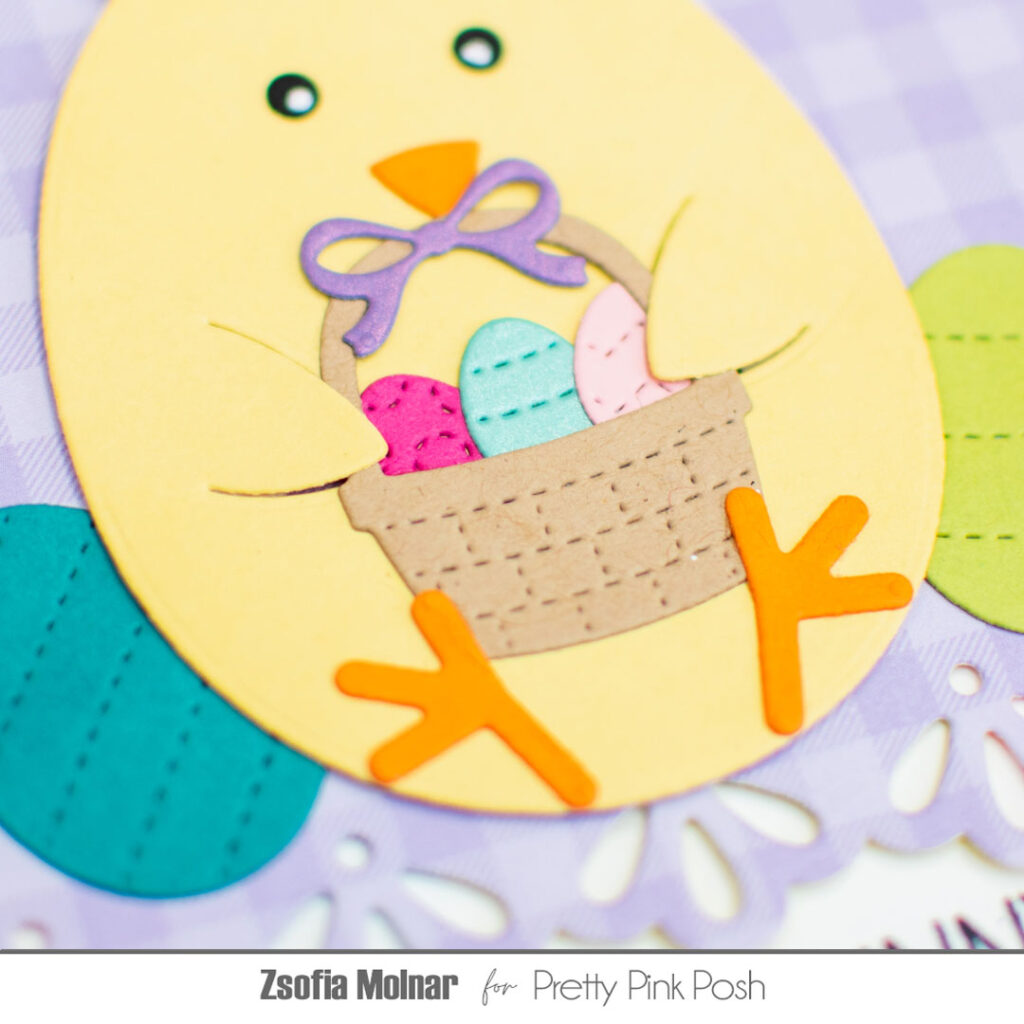
I had an idea of dressing up a critter as an Easter Bunny, so first I die cut all the pieces using several die sets. I wanted to use the Chick Holder set from the new release as the base, so I cut all the pieces from coloured cardstock and assembled the chicken. Then I took the Bunny Holder die and die cut its head from white felt and also the inner piece of the ears from pink cardstock, and simply adhered them to the head of the chick.
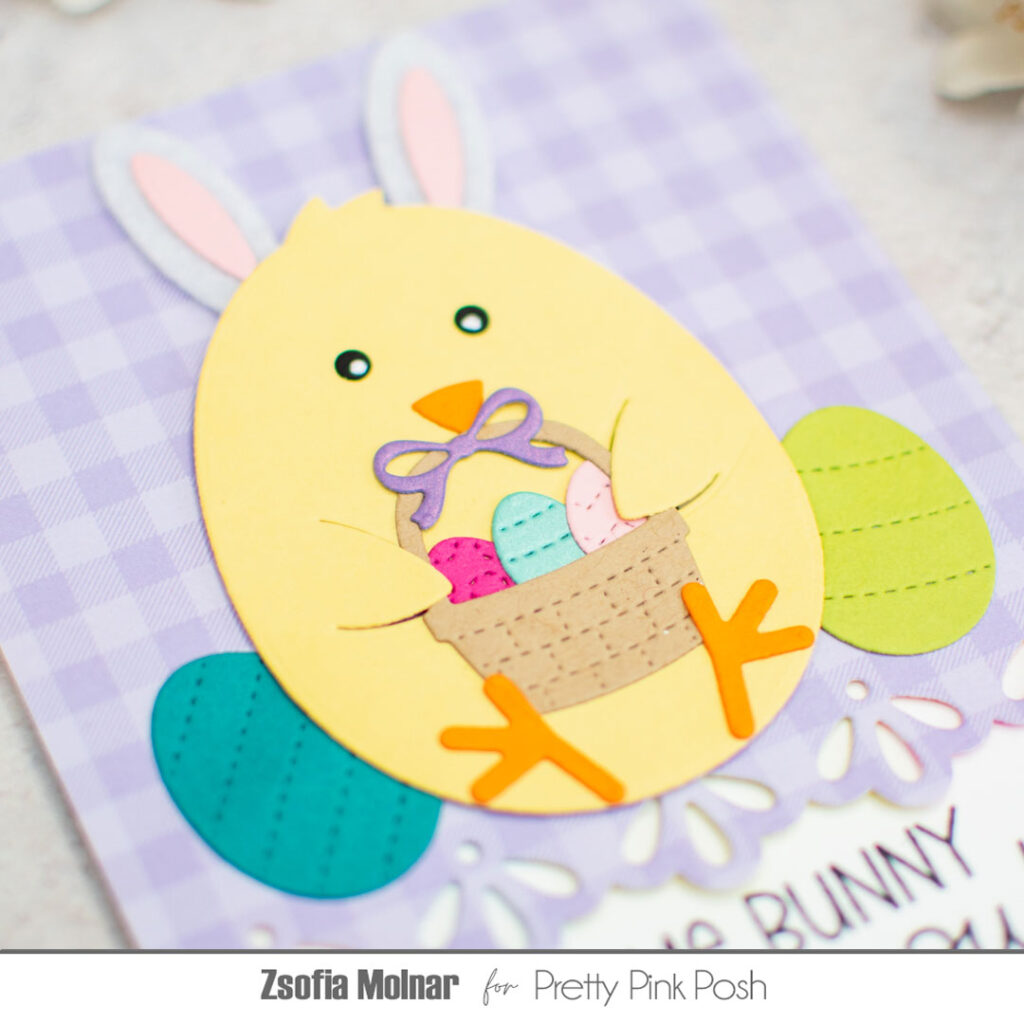
To make it really credible that this little creature is the Easter Bunny, I added a basket of colourful Easter eggs in its wings. I used the Easter Holder Addition die set and specialty cardstocks for some of the elements to make it festive. I also cut 2 bigger eggs for the background, I adore all the stitching details on these!
When it was all done, I used the Doily Borders die set to cut a piece of patterned paper (Doodlebug Designs Hoppy Easter paper pad) and adhered the “bunnychick” to it using thin 3D foam squares. It gives a lot of dimension instantly.
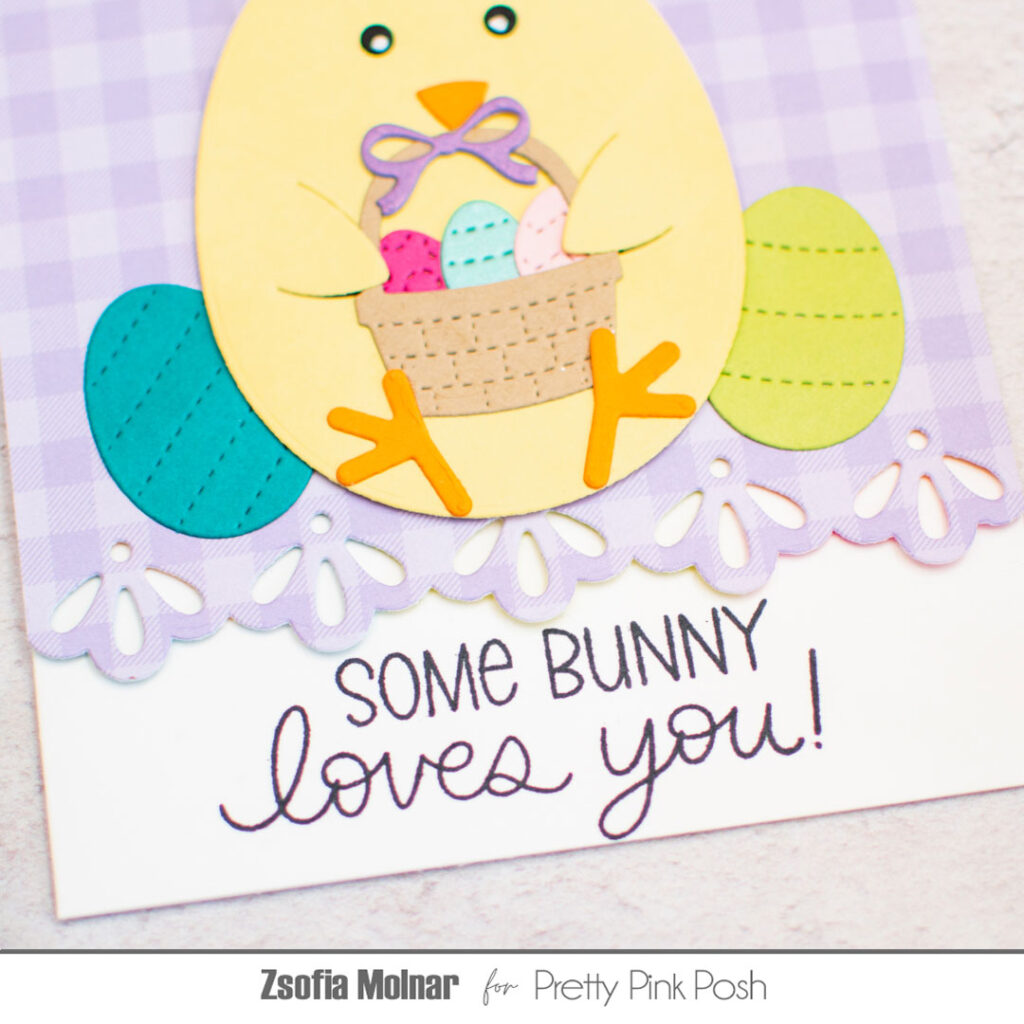
It was time for the sentiment. On the bottom of an A2 sized card base I stamped my favourite line from the Easter Greetings stamp set in black, and popped up the focal panel with thin 3D foam squares.
The only extra detail I added was just the white gel pen highlights on the eyes. Isn’t it the cutest Easter Bunny ever?
I hope you like this idea and got inspired to make more use of your holder dies and create new critters. I cannot wait to see your beautiful creations, make sure to share them in our Facebook group!
Thanks for stopping by and hope to see you soon,
SOOOOO cute! Great to see a card from Zsofia, too!!!!!!!