
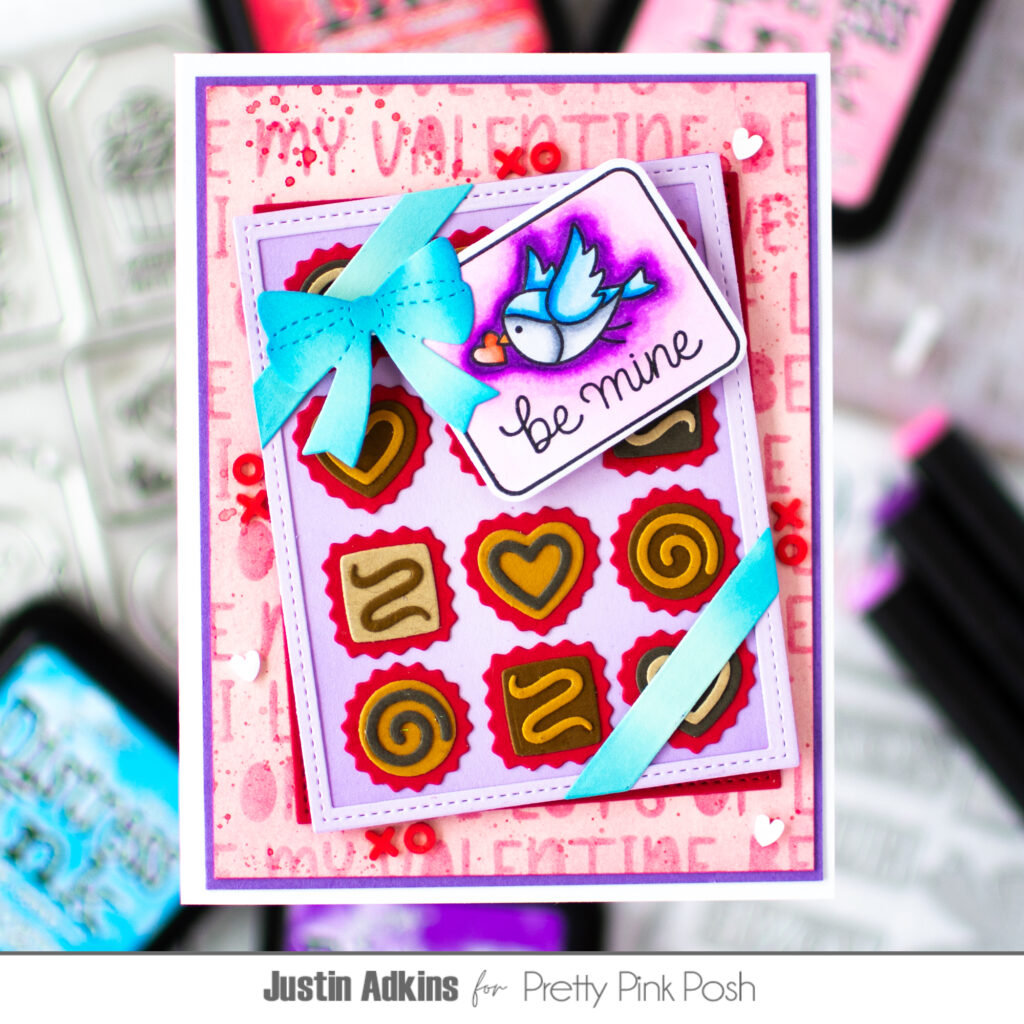
Be Mine Box of Chocolates
Hello, friends! Justin Adkins here, and today I have some sweet and chocolatey inspiration to share with you using some brand new products from the Pretty Pink Posh January Release! I adore the new Box of Chocolates Die Set, and I love how it takes up such a large portion of a standard card front! I thought of a fun way to combine this set with the Valentine Tags set that I think will truly put the bow on top of your Valentine’s Day Card Collection this year!
Box of Chocolates Die Set
Valentine Tags Stamp Set
Valentine Tags Coordinating Die Set
Love Words Stencil
Sweet XOXO Mix
To begin your Box of Chocolate assembly, I recommend planning all your colors of paper in advance. I chose my card to have a Light Blue, Purple, Pink and Red color palette, but to also allow the earthy brown tones of the chocolate to take place as well. I grabbed a handful of pieces of cardstock, including a bunch of scrap pieces. Because this die set has a handful of smaller shapes to cut, this is a fantastic set to put some of those paper scraps to good use!
I assembled my chocolate pieces as I was die cutting them, which allowed me to keep better track of all of my pieces. Once I had all the chocolate pieces ready, I ink blended the base of the chocolate box with a little bit of Wilted Violet Ink to create some shadows, adhered the frame/box top shape to the top of it, and arranged my 12 chocolate pieces as precisely as I could in a 3×4 pattern.
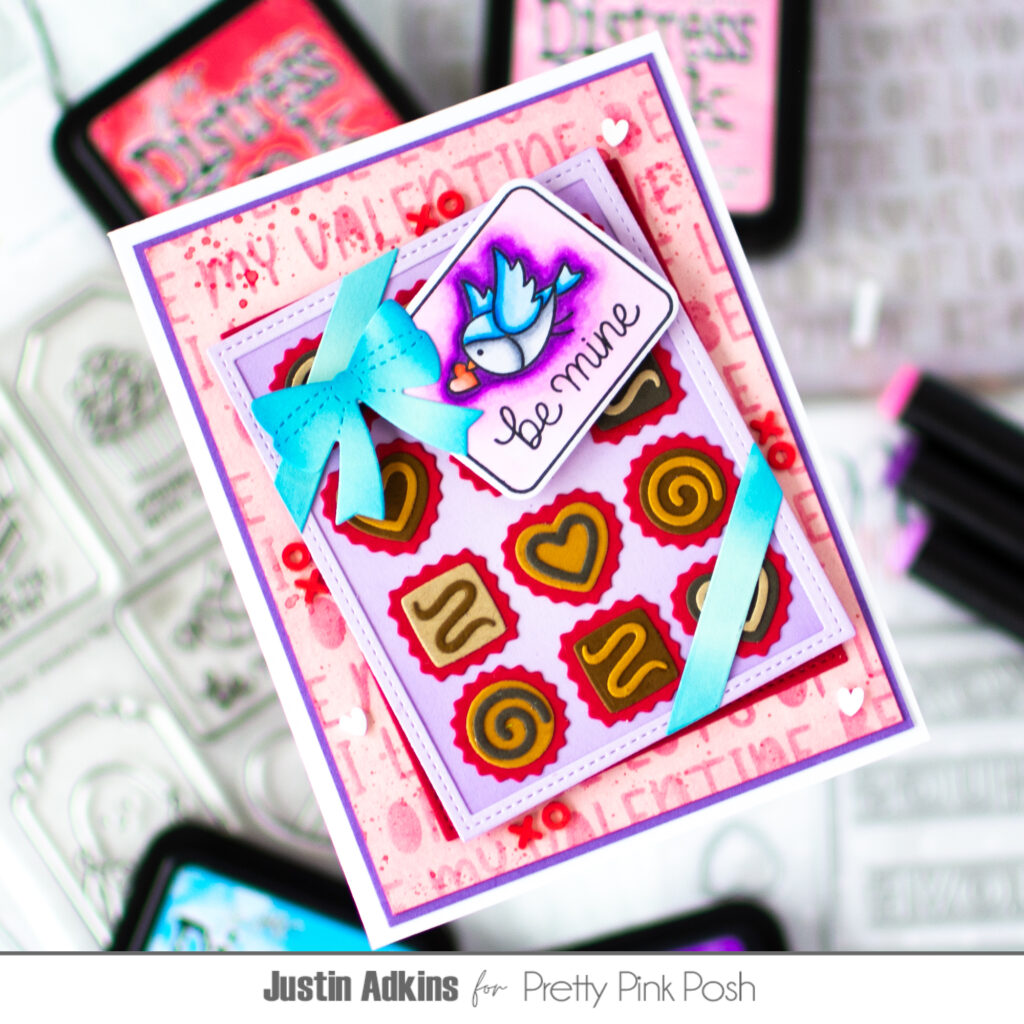
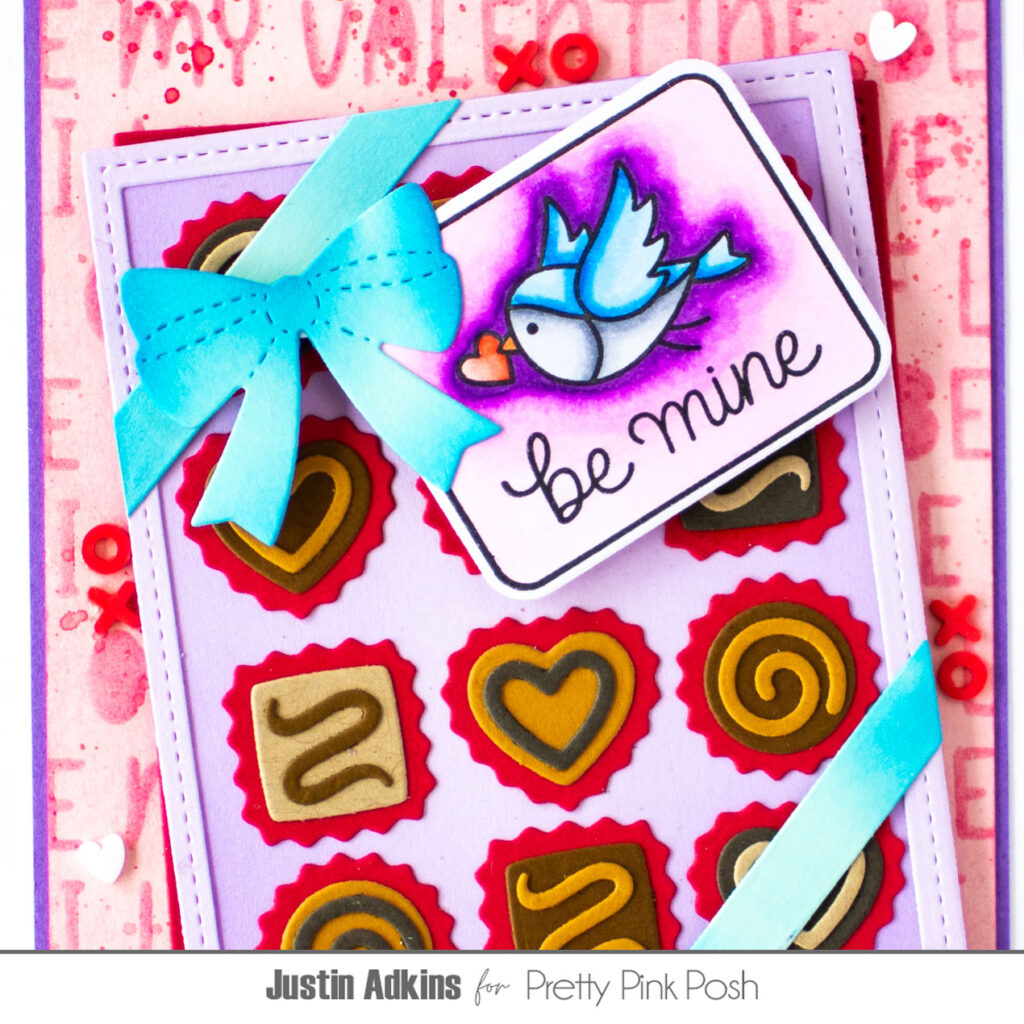
The little bird “Be Mine” image from the Valentine Tags stamp set spoke to me for this card, as I wanted to use a tag for my chocolate box that wasn’t so large that it covered an excessive amount of chocolate pieces. I colored this tag up with my Olo Markers, and then cut it out with the coordinating die cuts. After ink blending the ribbon and bow die cuts included in the Box of Chocolates Die Set, I adhered the ribbons first in opposite corners with liquid adhesive, adhered the tag under the bow, and then adhered the tag and bow unit with foam tape for a little bit of dimension.
I also die cut an extra chocolate box base from red paper, which I adhered with liquid adhesive to the back of my chocolate box unit slightly offset to provide a little extra detail.
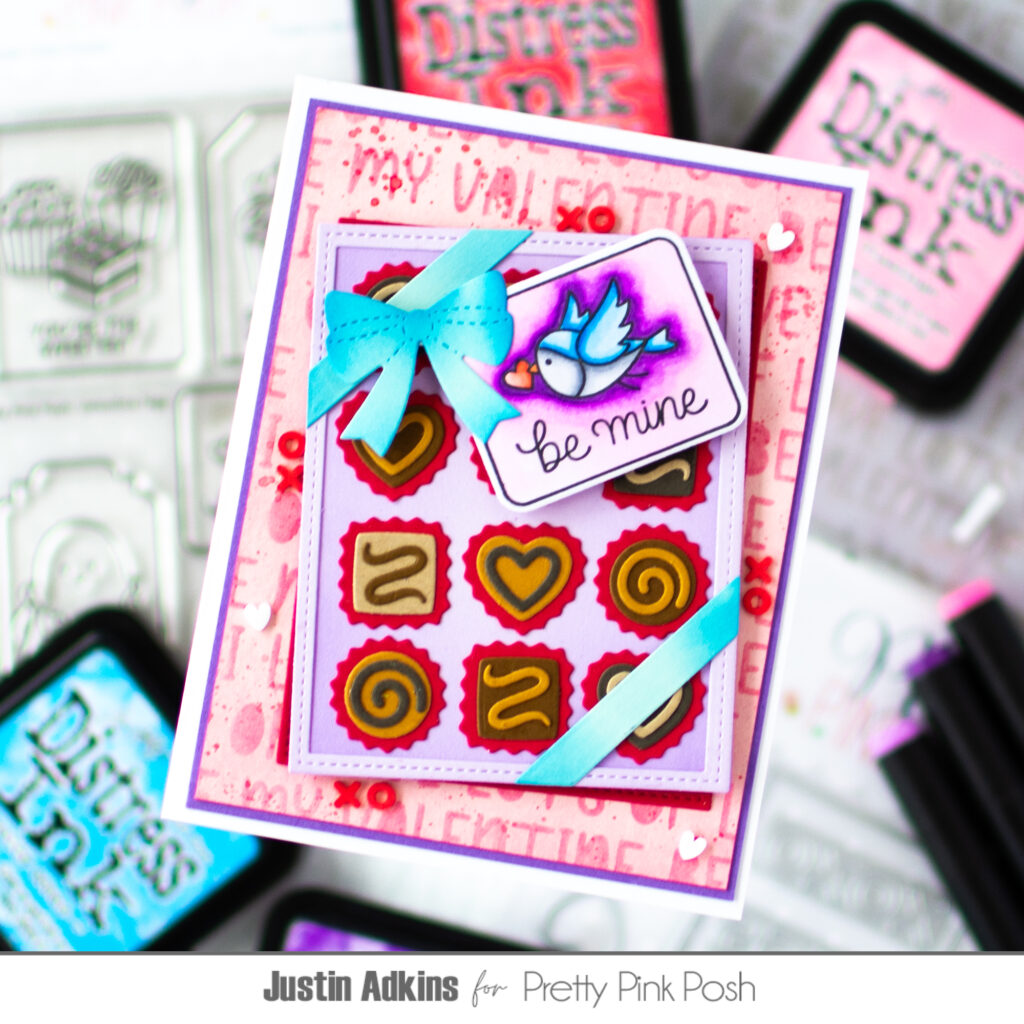
Using a panel of 3.75” x 5” light pink cardstock, I blended the Love Word Stencil over top with Kitsch Flamingo ink, splattered it with some Festive Berries Ink. I adhered this on top of a piece of 3.875” x 5.125” purple cardstock, and adhered it to my card base.
Using some more liquid adhesive, I placed my chocolate box in the center of my card on a slight tilt. To finalize my project, I used the Sweet XOXO Mix to adhere some embellishments. I love that this mix includes “X” and “O” shapes, which I used to adhere in certain areas around the box for an extra fun effect!
Thank you so much for stopping by the Pretty Pink Posh Blog! I hope this card gave you some fun ideas to creating your very own Box of Chocolate themed Valentine projects!
Don’t forget to follow me on Instagram and YouTube at @justanotebyjustin for even more crafting inspiration!
– Justin
Wow, Justin – Great project!!
Such a cute card…. love the box of chocolates!