
Deck The Halls
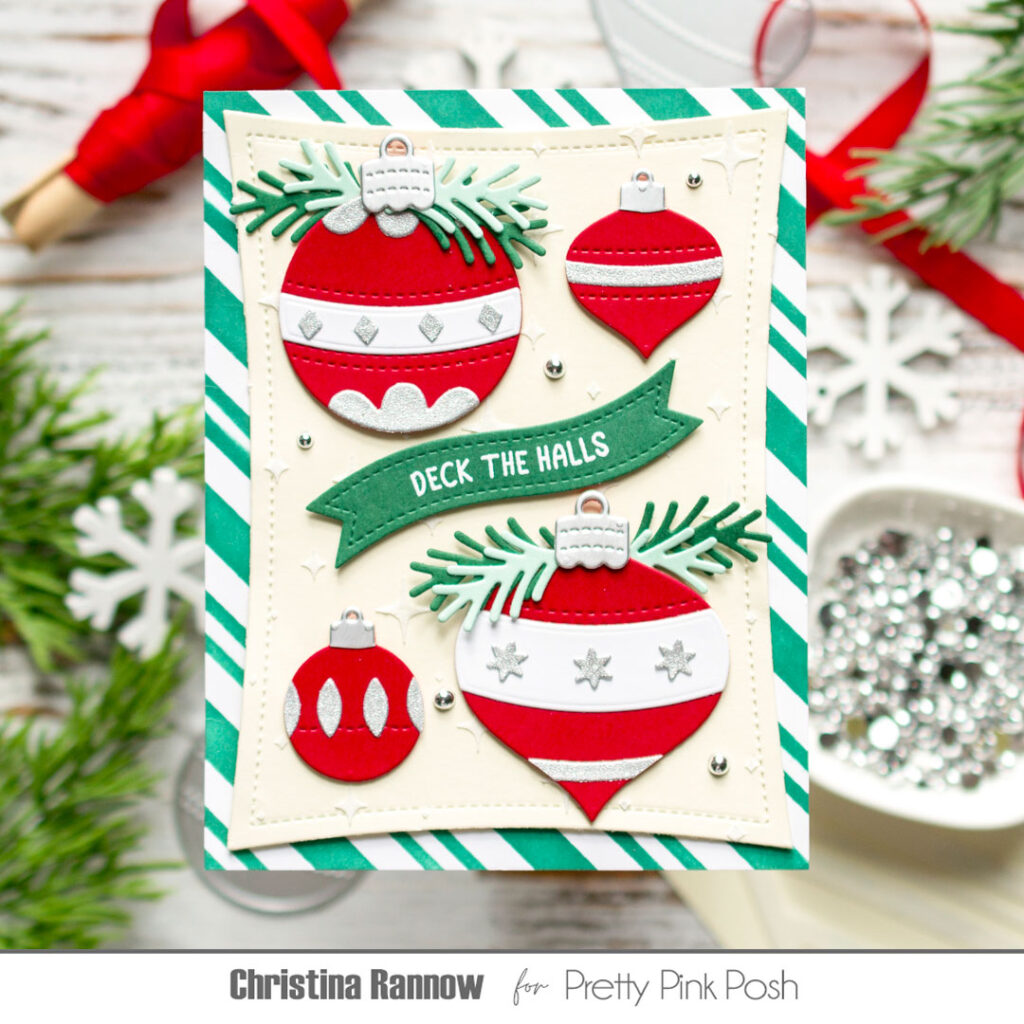
Hi friends, it’s Christina! ‘Tis the season to deck the halls, and I have a festive card to share with you today featuring the popular Build an Ornament die set. This set comes with a ton of different decorative embellishments so you can customize your ornaments however you like. I chose a simple red, white, and silver color palette and added some Christmas greenery to spruce things up! These holiday ornaments pop on a tone-on-tone Twinkle background, and a fun Candy Cane Stripes background completes the festive look. Take a peek at the supplies I used, and then we’ll get started!
Build an Ornament Dies
Holiday Wreath Builder Dies – greenery
Christmas Holder Additions Dies – small ornaments
Wonky Stitched Rectangle Dies
Banner Greetings 1 Dies
Christmas Banner Greetings Stamp Set
Twinkle Stencil
Candy Cane Stripes Stencil
Metallic Silver Pearls
I started my card by creating the stenciled background panels first. For the Candy Cane Stripes, I used Pine Needles Distress Ink on white cardstock. For the Twinkle pattern, I die-cut the largest Wonky Stitched Rectangle from ivory cardstock and stenciled the pattern using Opaque Matte Texture Paste. I layered these panels together and then moved on to building the ornaments.
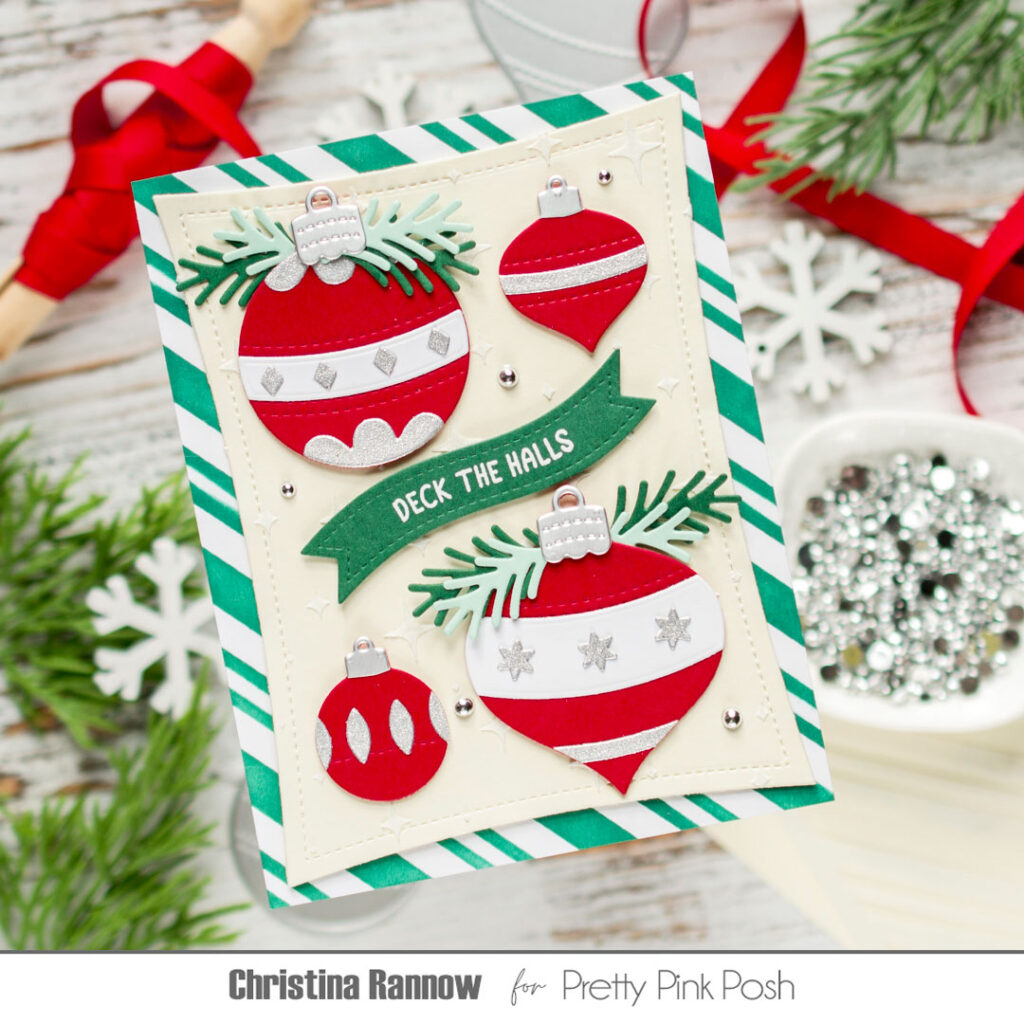
I chose a classic red cardstock for the base of my ornaments and used white and silver glitter cardstock for the decorative elements. I added some of the decorative elements to the small ornaments too so they would coordinate with the larger ornaments. Then I arranged them on my background panel and attached them with thin foam squares. I topped each ornament with a matte silver cap and finished them up by tucking some greenery around the larger ornaments.
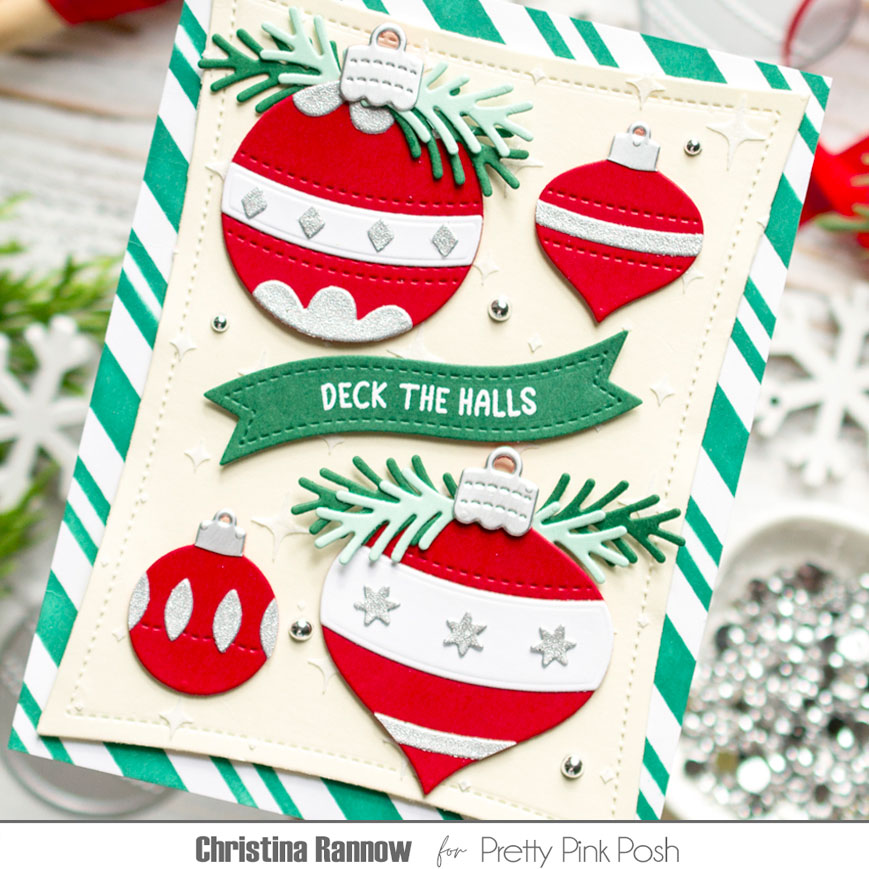
Next, I added a Christmas Banner Greeting heat embossed with white embossing powder on an evergreen cardstock banner and attached it with more thin foam squares. The finishing touch was to add a few Metallic Silver Pearls for a little something shiny.
That’s it for this festive holiday card featuring the Build an Ornament die set! Thank you for visiting and see you again soon!
This is GORGEOUS! So lovely!
This is adorable!! Love that shade of green with the red.