
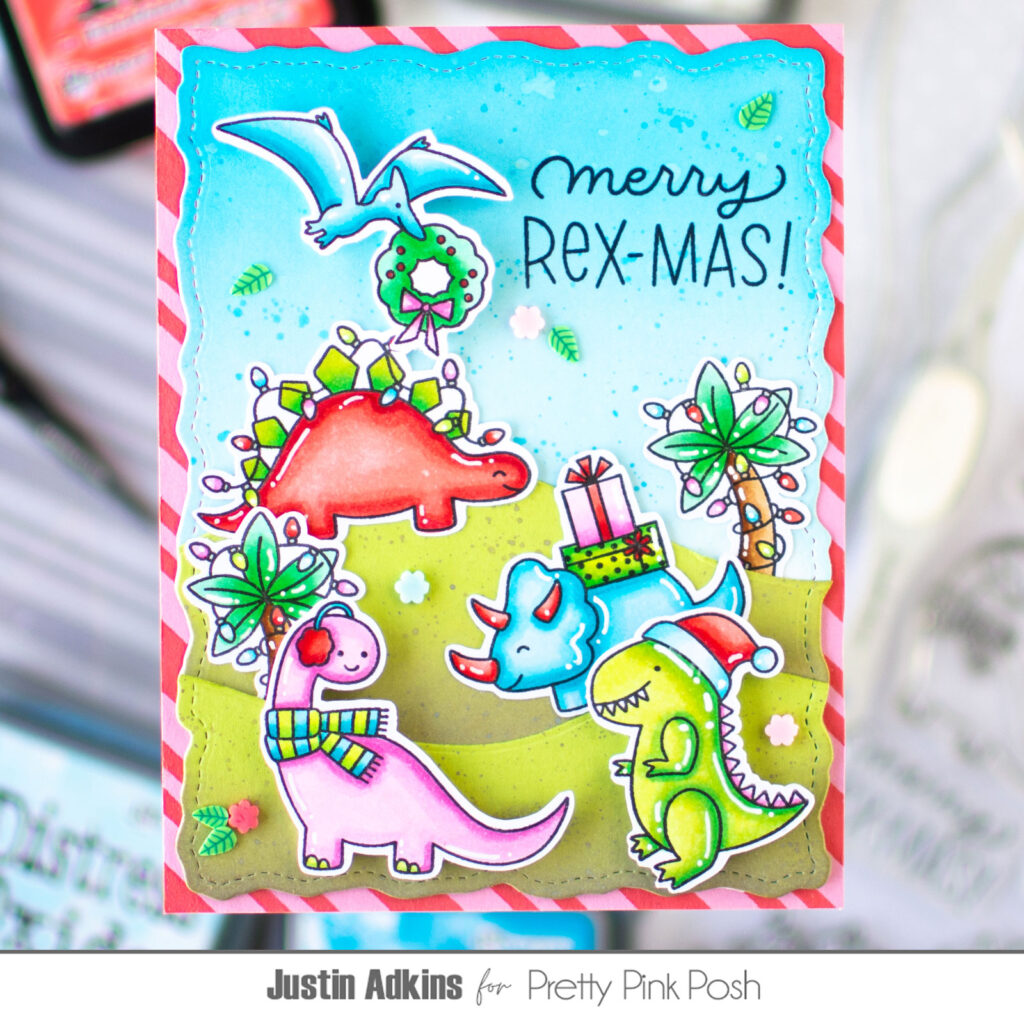
Vibrant Christmas Dinosaurs
Hello, and Merry Rex-Mas friends! Justin here, and today I’ve got some rawr-some inspiration this holiday season using the Christmas Dinosaurs stamp set! I pulled in a few newer products to really make this prehistoric Christmas card have a lot of fun!
Here is a list of the products used to create this card:
Christmas Dinosaurs Stamp Set
Christmas Dinosaurs Coordinating Dies
Stitched Torn Rectangle Dies
Snowy Hills Border Dies
Candy Cane Stripes Stencil
Enchanted Garden Clay Confetti
Now, let’s get into pterrific details about how this project came together!
I started off my project by stamping and coloring all of the images from the Christmas Dinosaurs stamp set with my Copic Markers. I decided to mainly feature a bright color palette of Pink, Red, Green and Blue. I did end up incorporating a little bit of brown into my images, but used a more muted brown as I wanted the predominant feel of these images to be bright and playful for the holidays.
For some reason, I felt the Stitched Torn Rectangle Dies lended them selves incredibly well to the prehistoric theme, and I decided to use the largest die in the set to contain my scene elements. I also die cut a couple more of the same shape from green cardstock, and then cut it with the Snowy Hill Border Dies to create hilly scenes. I did end up adding a little bit of Frayed Burlap Distress Oxide Ink to each of the hilly portions to create a little bit of depth, and to also make each individual hill visible. I layered them on top of one another, and then adhered them onto my main torn rectangle background, which I had ink blended with Tumbled Glass and Mermaid Lagoon Distress Oxide Ink to create a sky. I stamped out the sentiment “Merry Rex-Mas!” in a black pigment ink, and heat embossed it with a clear powder to set it.
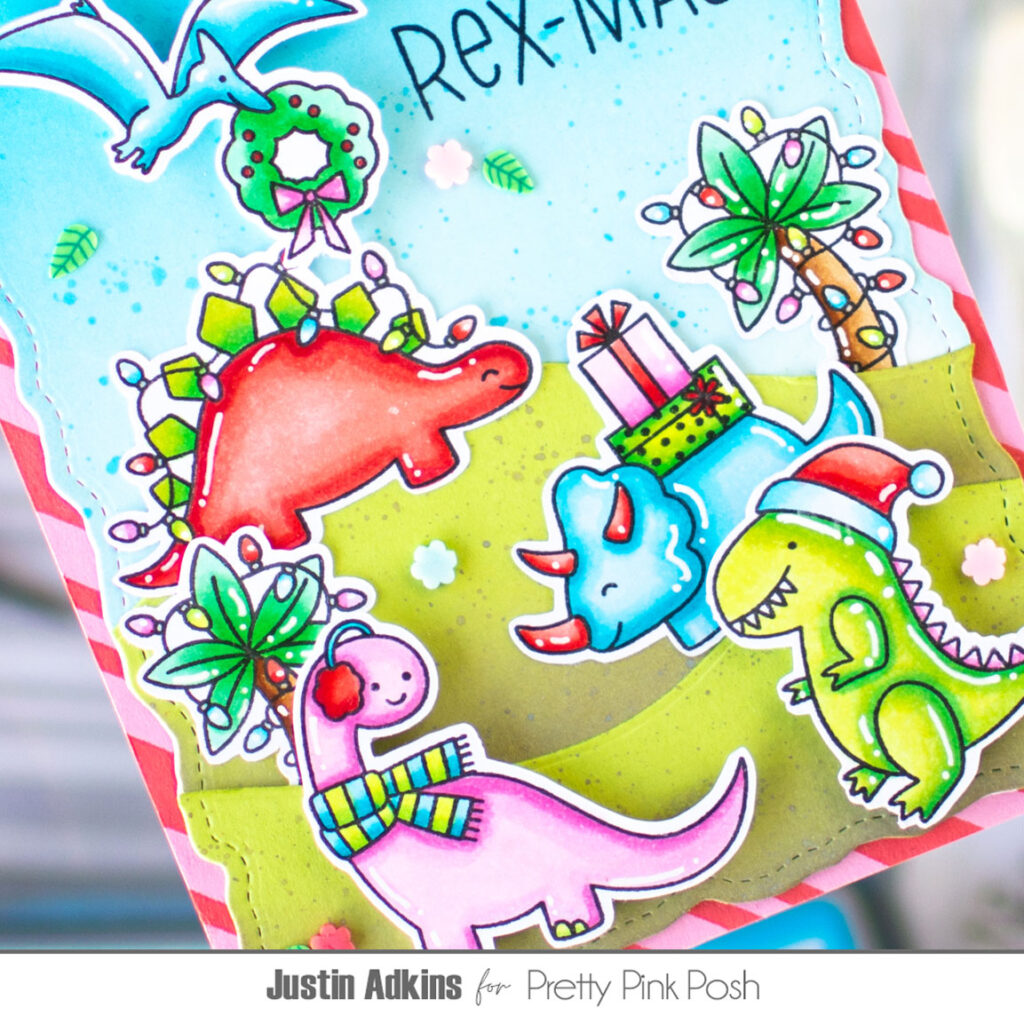
Using a combination of foam tape and liquid adhesive, I adhered each of my colored images onto my card. I took advantage of some fun layering techniques, and was able to even tuck my Christmas Palm Trees slightly behind each of their hills.
Because my torn rectangle panel really honed in on the green and blue from my color palette, I wanted to give some attention to red and pink as well. I cut an A2-size piece of light pink cardstock, placed the Candy Cane Stripes Stencil over it, and blended it with Candied Apple Distress Ink. I took my scene torn rectangle unit and used liquid adhesive to adhere it directly to my Candy Cane Stripes background, and then adhered that unit to an A2-size card base.
I had originally thought I was going to tap into more of a wintry feel for my card, and use white snowflake embellishments. Since I had instead decided to keep the feel more tropical, I was going through my stash of Pretty Pink Posh Embellishments and was shocked to find that the Enchanted Garden Clay Confetti Mix was honestly a perfect fit for my card. All of the main colors I was representing could be found in this set, and I thought that, when used with the elements in my card, there was even a tinge of a jungle/tropical vibe with these shapes as well! So, I adhered a handful of embellishments from the mix to my card, and was completed!
Thank you so very much for stopping by the Pretty Pink Posh blog today for some dino-mite holiday card-making! I hope this card gabe you some really fun ideas as to how you can tap into those slightly non-traditional holiday stamp sets, and make some of the cutest darn projects!
For more crafting inspiration, don’t forget to find me on all socials at @justanotebyjustin!
Thanks again for stopping by, and happy crafting!
– Justin