
Whimsical Valentine
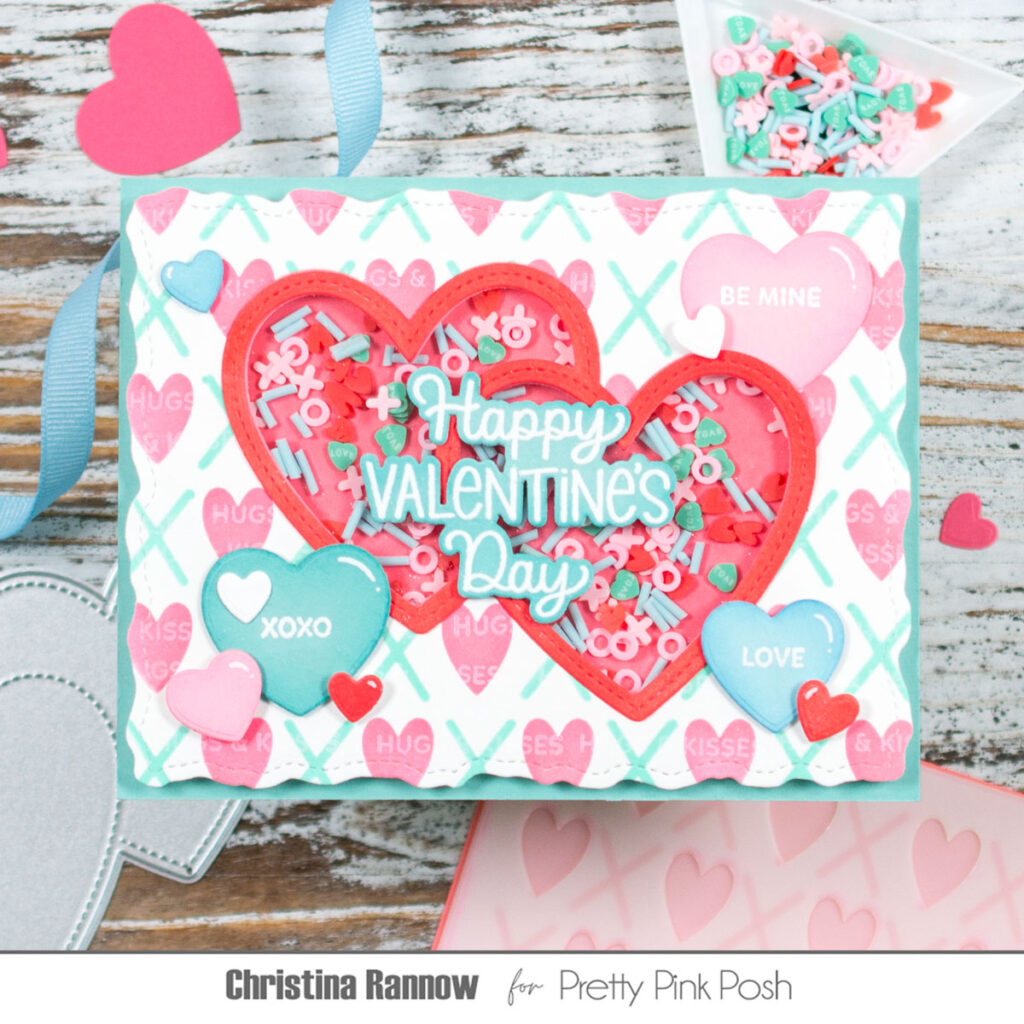
Hello crafty friends, it’s Christina! If you follow me, you know I love shaker cards, so I couldn’t help but make one more Valentine shaker this season. I chose the new Double Heart Shaker and filled it with the super cute XOXO Clay Confetti pieces. I used the confetti pieces as the pastel color inspiration for my card design, including the Layered XOXO stenciled background. So grab your foam tape and let’s get started!
Here are the PPP products I used:
Double Heart Shaker
Valentine Greetings Stamp Set
Valentine Greetings Coordinating Dies
XOXO Clay Confetti
Layered XOXO Stencil
Valentine Holder Additions – smaller hearts
Valentine Bucket Additions – more smaller hearts!
Stitched Torn Rectangles
Sentiment Strips: Valentine Stamp Set – background and smaller heart sentiments
My first step was to create the background. I stenciled the X layer and the heart layer on a white cardstock panel with Rhubarb and Tidepool Pawsitively Saturated Inks. Then I stamped Hugs & Kisses across the panel with white pigment ink. I just used a small stamp block for this step. Lastly, I die cut the panel using the largest Stitched Torn Rectangle die.

My next step was to create the shaker component. First I die cut another Stitched Torn Rectangle from white cardstock to be the base, and then, for the shaker window, I die cut the Double Heart from the stenciled background panel. I used this shaker window opening as a template to attach a Double Heart, inked with Apple Pawsitively Saturated Ink, to the shaker base. This is what we will see through the shaker window. Now, I attached a piece of acetate, trimmed to size, over the shaker window on the reverse side of the background panel with double-sided tape. Then on the base panel, I attached foam tape around the Double Heart, creating wells, and then across the rest of the panel. I used a thin foam strip to divide the hearts into two separate shakers, but that step is optional. I filled the wells with the XOXO Confetti and used the corner of my Misti to perfectly align the top background panel to the base panel.

With the shaker component completed, I got started on the remaining elements. First I die cut a Double Heart frame, inked it with the Apple ink color, and attached it to the outside of the shaker window. Next I die cut multiple hearts from colored cardstock and lightly inked the edges with a darker ink color for some shading before heat embossing a few of them with small sentiments. I also heat embossed Happy Valentine’s Day on teal cardstock with white embossing powder and die cut it with the coordinating die. I attached most of these elements with foam squares, otherwise with liquid adhesive. And lastly, I attached the shaker panel to an A2 teal cardstock base.
Thanks so much for following along with my pastel Double Heart shaker! I’ll see you again soon!
So much love went into this gorgeous multi-layered card!! So gorgeous!!
Love love love 😍 so much fun on one card!