Happy Fall Jar
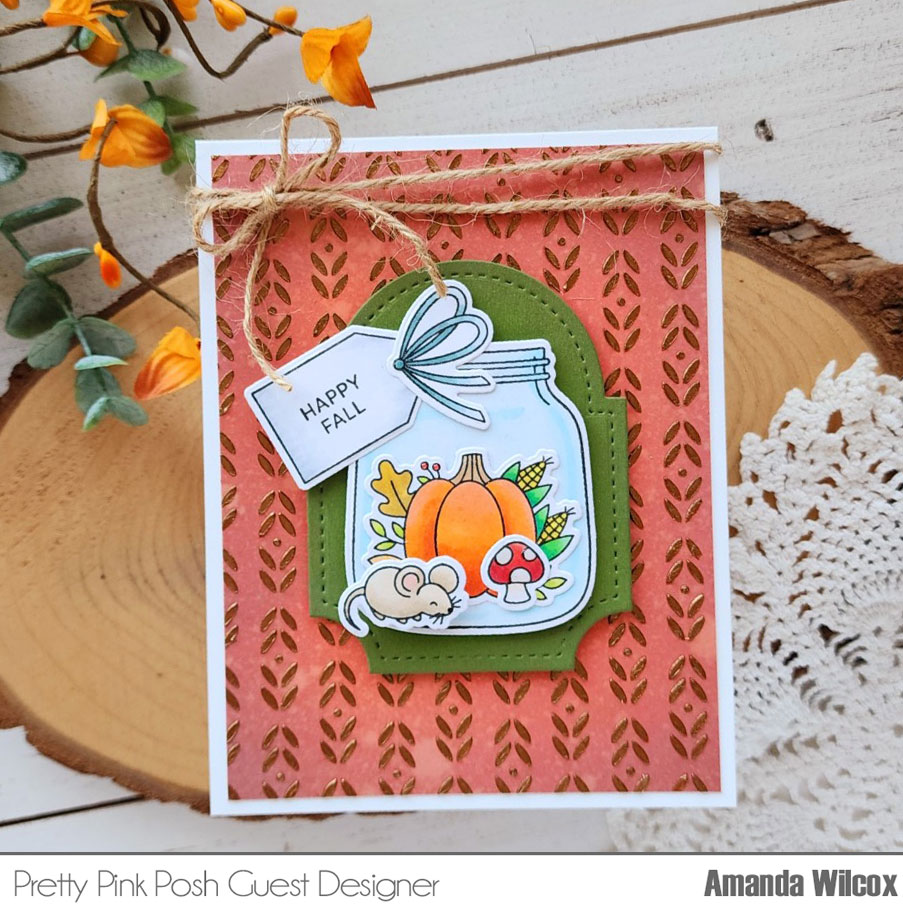
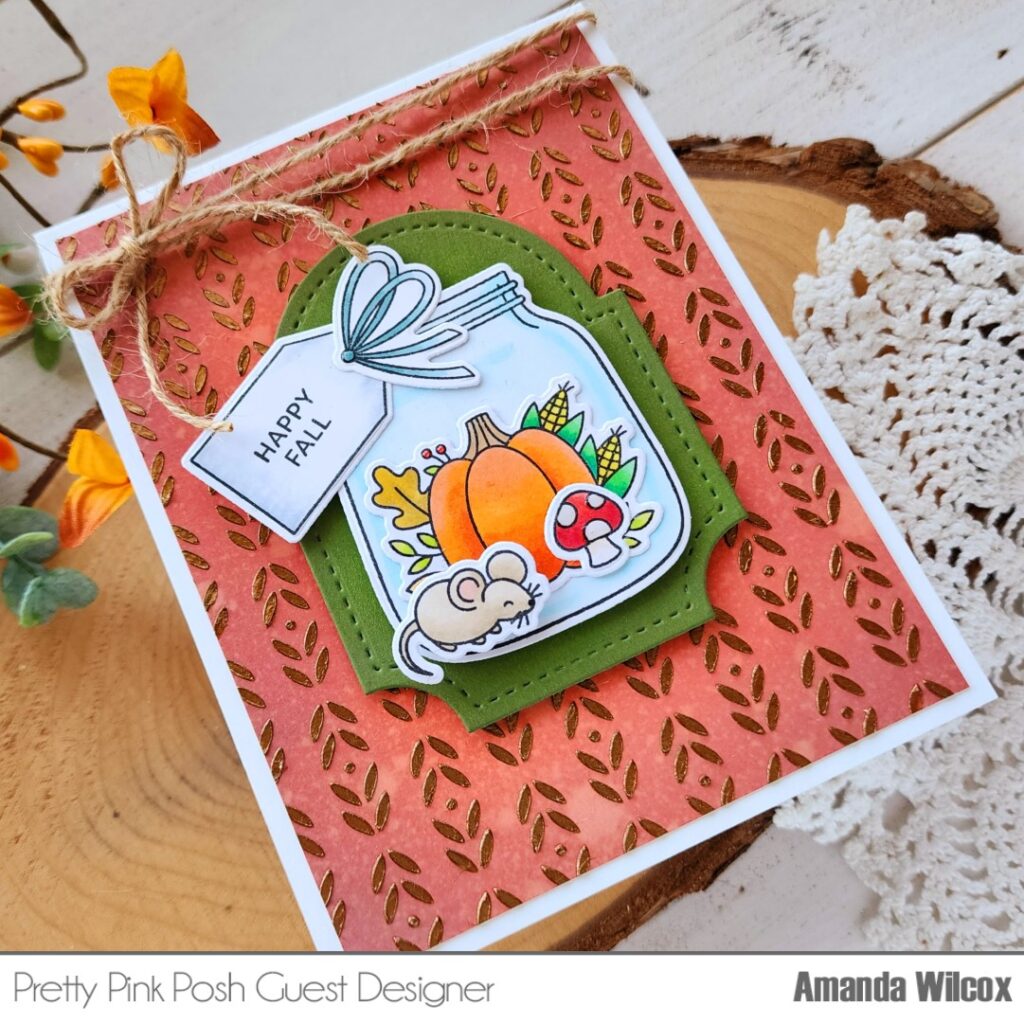
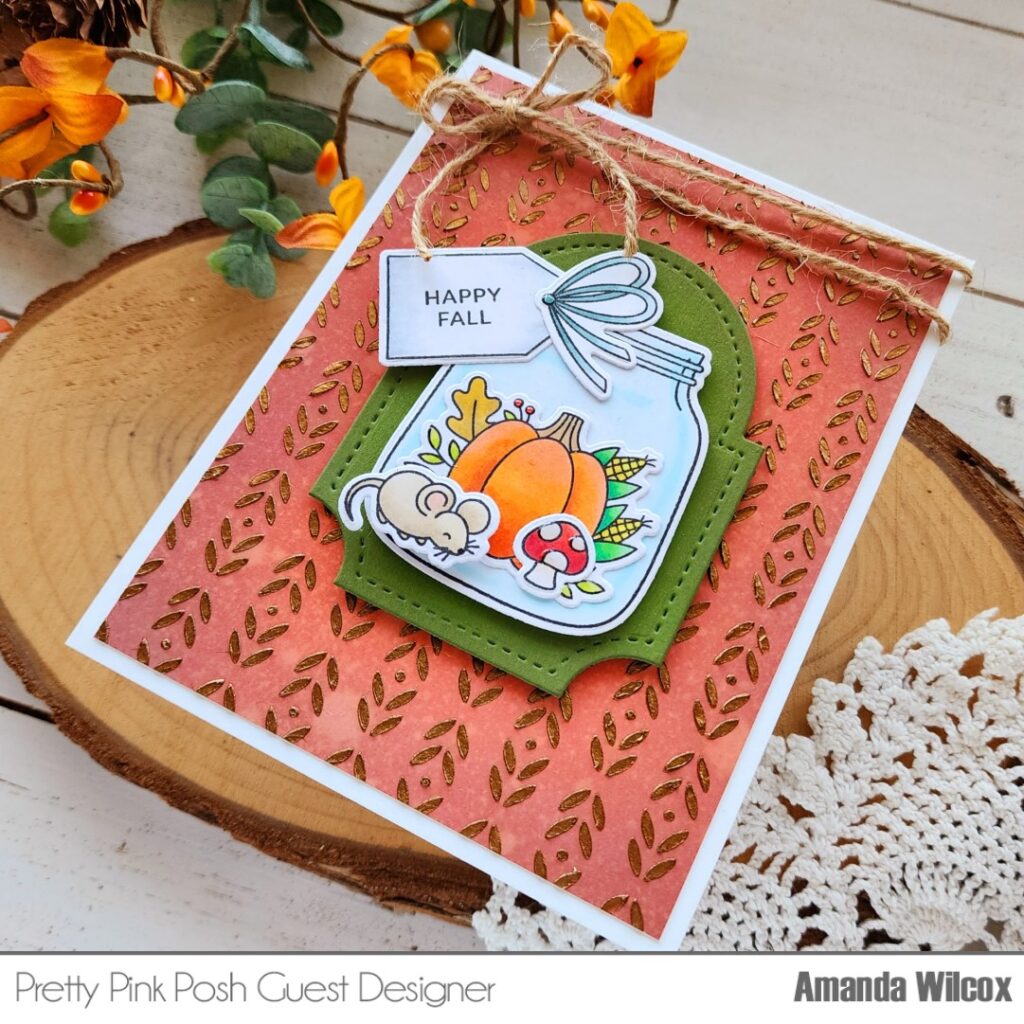
Hi friends! This is Amanda from Twiddler’s Nook and I’m thrilled to be on the Pretty Pink Posh blog today sharing a card I created with the fall release. I paired the super fun Fall Jar stamps and dies with the Deco Leaves stencil.

I can tell the seasons are changing when I’m reaching for all of those rich, deep colors in my inks and copic markers. It’s almost subconscious because I love fall so much!
Today, I started my card with the messy background so it had time to dry while I was working on the other elements. First I inked up a 4×5.25 inch white piece of cardstock with distress oxide inks in aged mahogany and crackling campfire. I splattered the panel with water and blotted it dry before attaching the Deco Leaves stencil over the top and spreading Thermoweb Aged Copper Metallix through it.

I removed the stencil, set the panel aside and cleaned everything before switching gears to stamping and coloring.
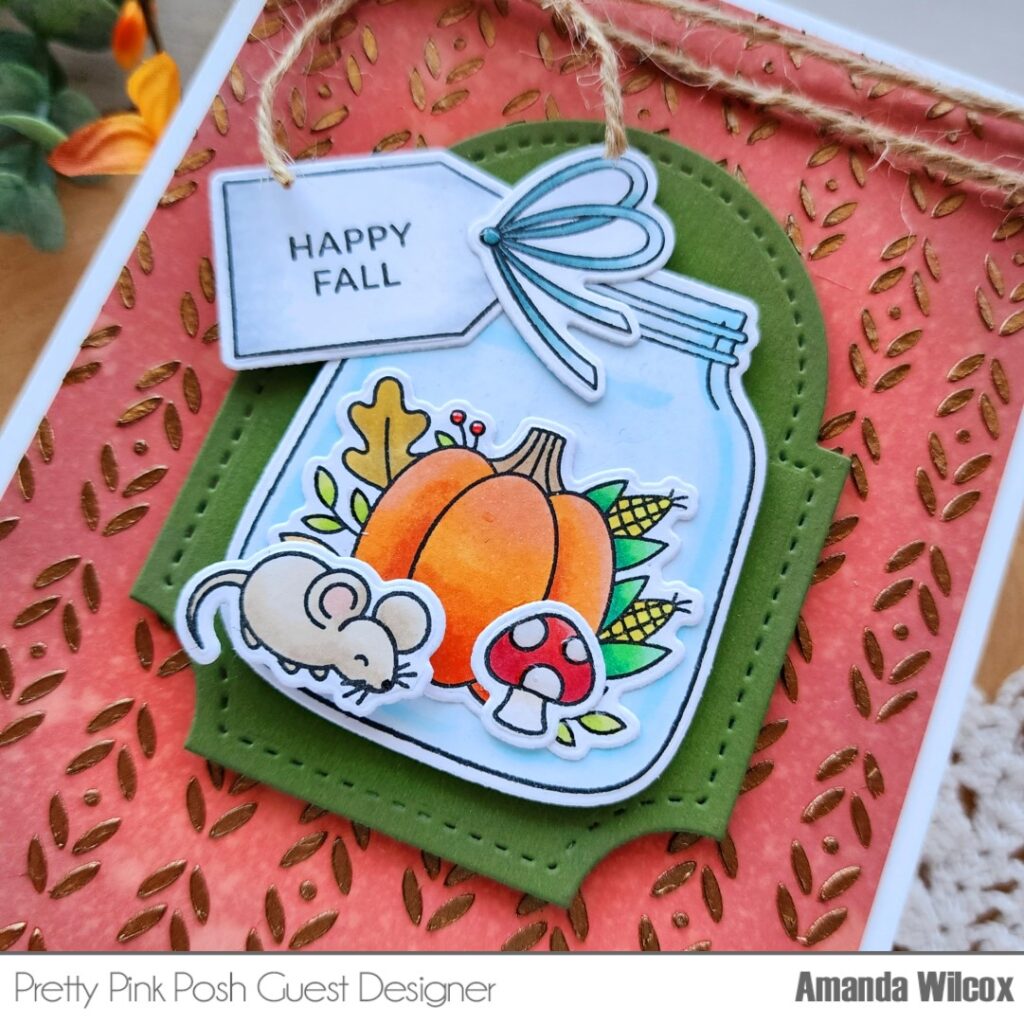
I stamped out all of those sweet images from the Fall Jar stamp set and colored everything with copic markers before using the coordinating dies to cut it all out. Then I used liquid glue to adhere all of the parts and pieces together except the mouse. He needed to stand out in a foam square.

When my stenciled background was dry, I used liquid glue to adhere it to a white card base. Then I used the main die in the Spring Circles die set to cut a green label. I added the jar to that with foam strips and did the same to add the label to my background panel.

To finish things off, I tied jute twine around the top of the card and tied it in a bow. Then I added Touch of Gloss to the berries, small leaves and spots on the mushroom.
I appreciate you sharing your time with me. Have a fabulous day!

Hi, Amanda and PPP – This is adorable and SO PRETTY! TFS –
Lori S in PA
Beautiful card and color scheme