Maximizing Layered Stencils + Video
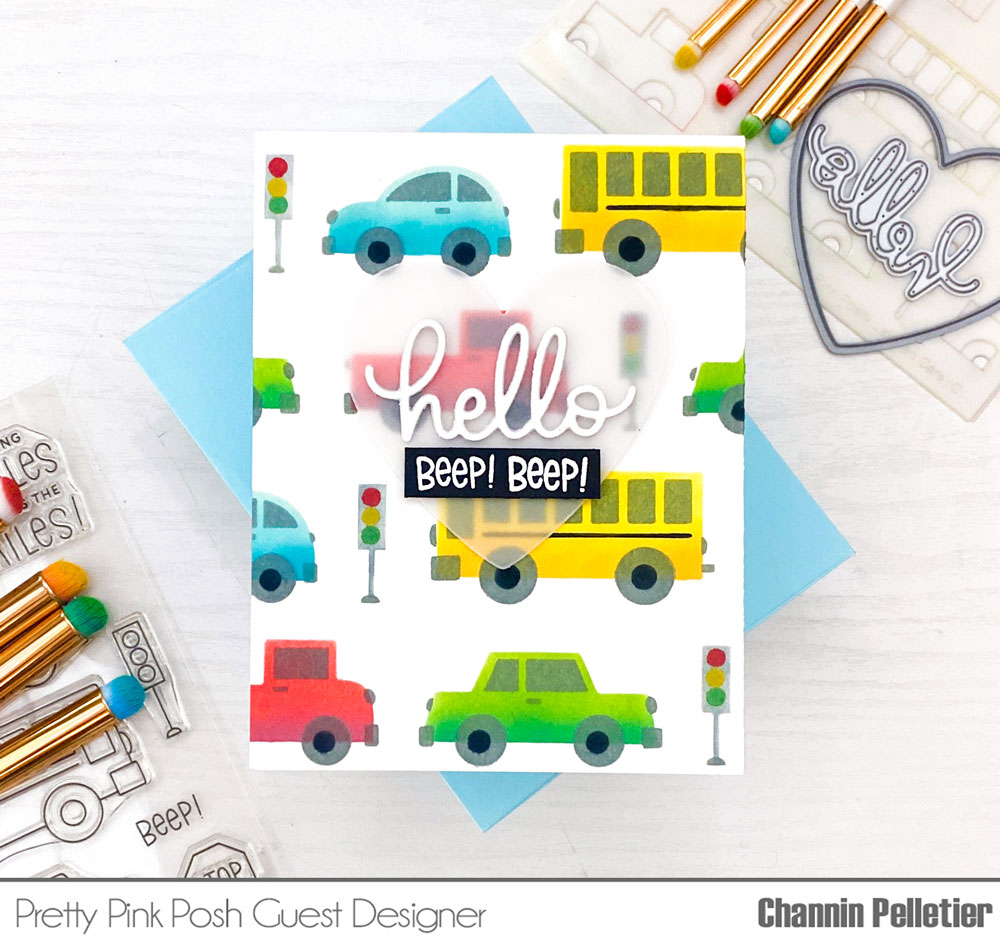
Hello friends! It’s Channin here and I’m so thrilled to be guesting here at Pretty Pink Posh! Today I’m sharing an adorable card featuring several products from the June release. In the video I demonstrate how to incorporate several colors on a single stencil layer and share tips for adding depth.
Watch the video above I Watch the video in HD on YouTube

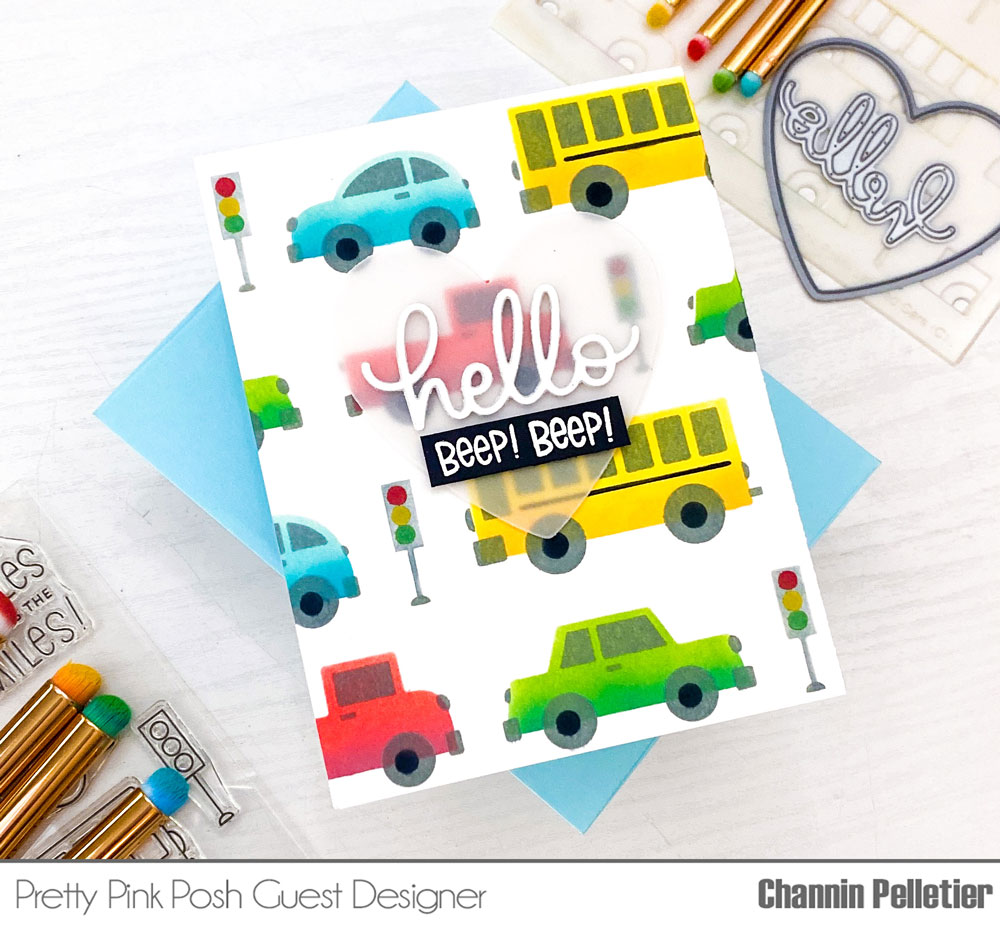
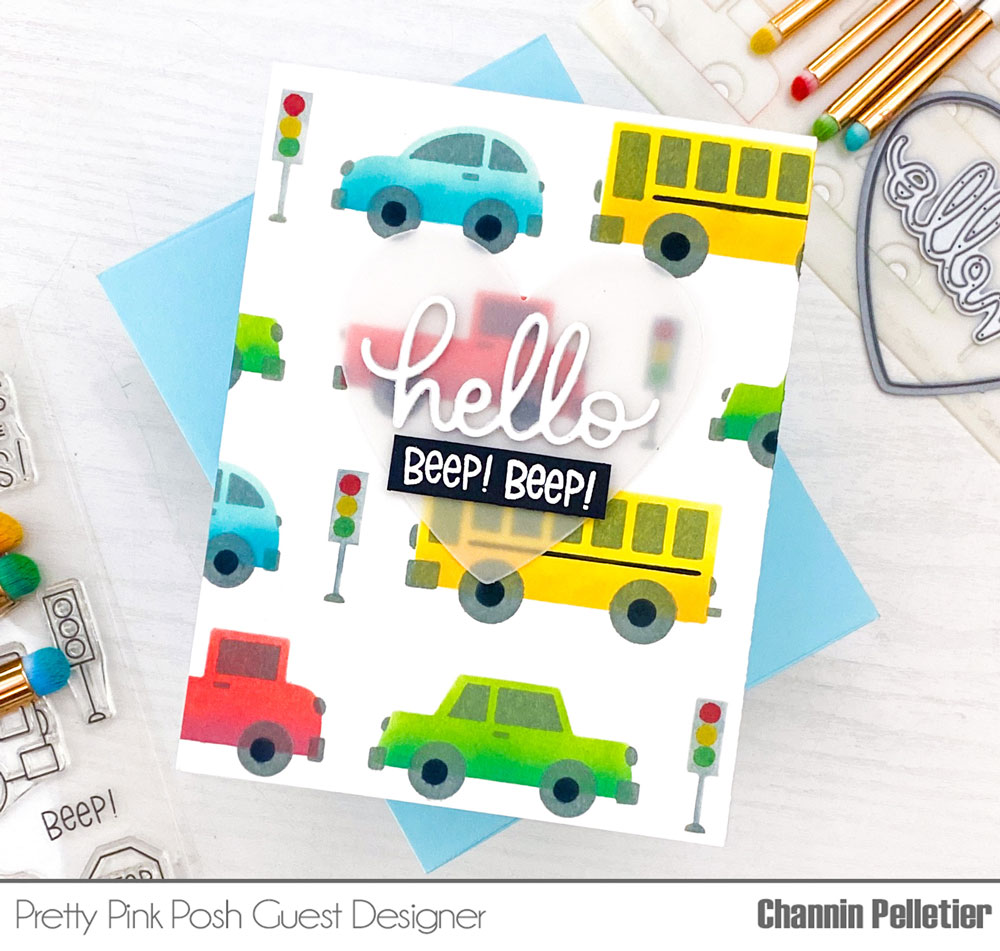
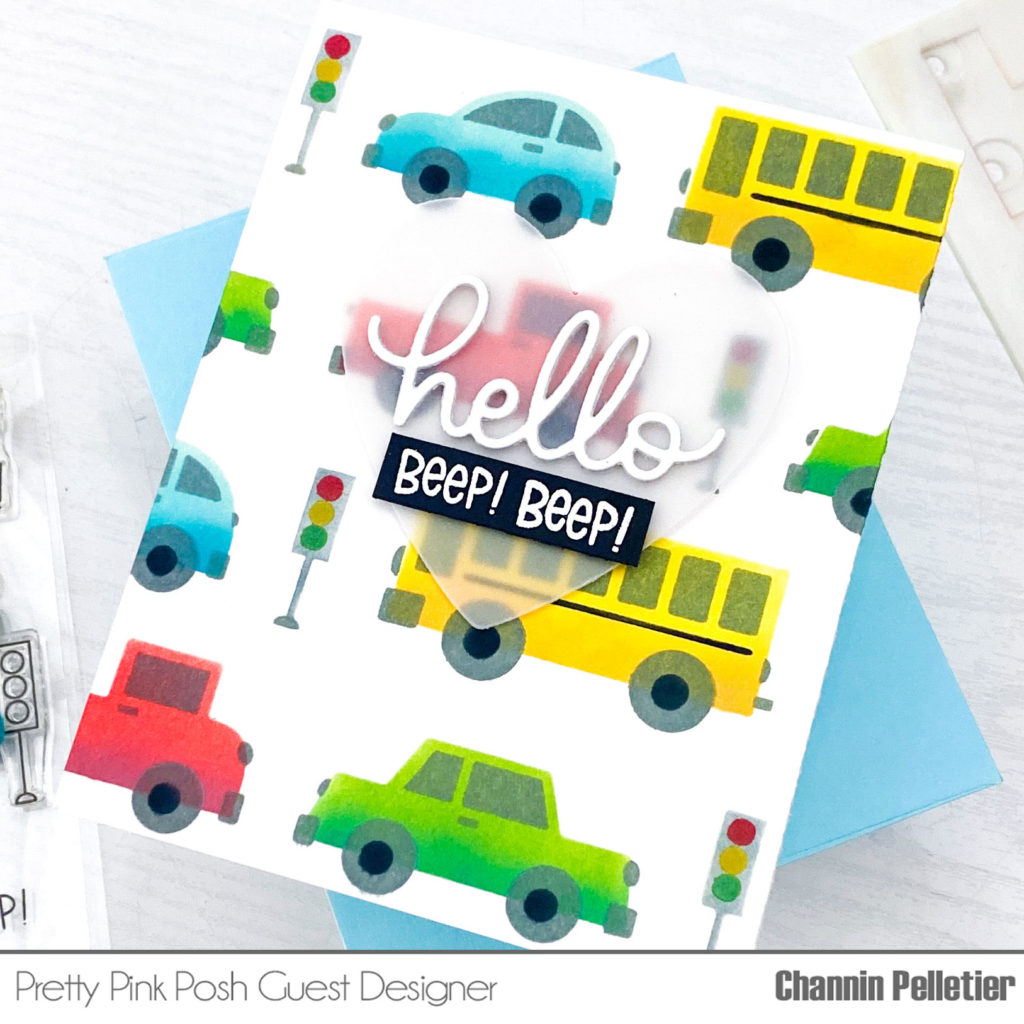
To create this card I first ink blended the background with the Layered Cars Stencils over the front of an A2 top-folding white card base. I started with stencil A and ink blended the buses in Mustard Seed and Wild Honey Distress Oxides. When I finished the buses I ink blended the smallest cars in Salvaged Patina and Peacock Feathers, then the larger sedans in Mowed Lawn and Lucky Clover, and then then finally the trucks in Candied Apple and Fired Brick. Once I finished ink blending all the vehicles, I then ink blended the traffic signals in Iced Spruce.

For stencil B, I started by ink blending the windows and tires in Iced Spruce. Then I ink blended the two traffic lights, the top one in candied apple and the bottom in Mowed Lawn. Next, I moved onto stencil C and ink blended the vehicle bumpers and bottom of the traffic signals in Iced Spruce. I then ink blended the middle traffic light in Mustard Seed and then lastly finished by ink blending the wheel centers and the details on the buses in Black Soot.

With the background finished, I then die cut a heart out of vellum using a die from the All My Love Die Set. Next I die cut four hello’s out of white cardstock using the Hello Script Die and then adhered three of the hello’s together. I then stamped and white heat-embossed a sub-sentiment using a sentiment from the Across the Miles stamp set onto black cardstock. After I heat set the sentiment I then trimmed it down to a sentiment strip and then adhered two strips of scrap black cardstock to the backside to add dimension.

Next, I adhered the stacked “hello” and the sub-sentiment to the vellum heart. I then adhered the final “hello” and another strip of black cardstock to the backside of the vellum heart, directly behind the stacked “hello” and the sentiment strip. I then finished the card by adhering the heart to the card front
I hope you enjoyed my card and video. Thank you so much for stopping by!
