Easter Theme Week- Day 1

Hello crafty friends! It’s Elaine here from Pink Peppermint Cards for the start of Easter theme week here at Pretty Pink Posh. I am so excited to be kicking things off with a fun project to inspire you with Pretty Pink Posh products old and new. Here’s how I made these cute Easter cards!
Save 15% on all products in the Easter section.
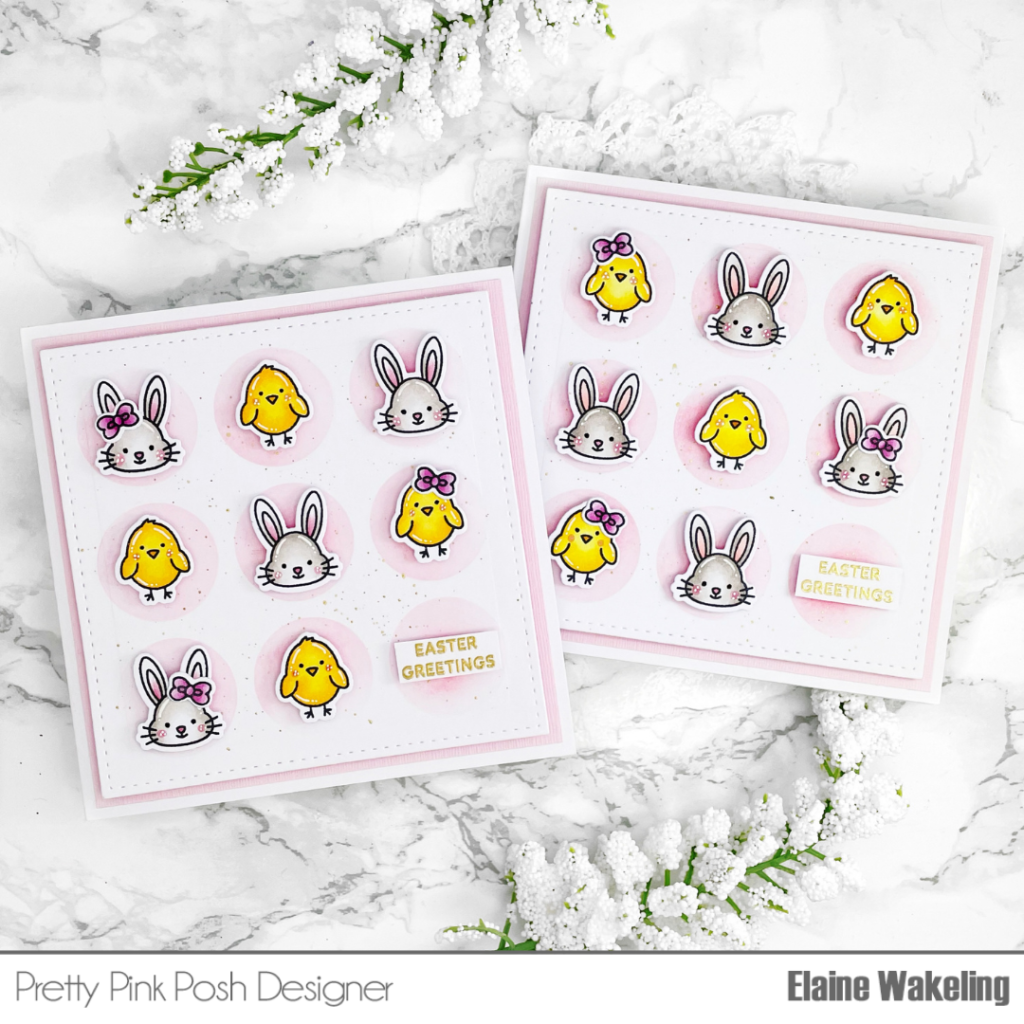
I started by cutting a piece of card stock to 5”x10” then scored at 5” on the longest side. I folded the card at the score line and used a bone folder to reinforce the crease. This gave me a 5”x 5” card base. I then cut a piece of light pink card stock to 4 ¾”x 4 ¾” and adhered directly to the card base ensuring the borders were even all the way around.
Next, I cut a piece of heavyweight white card to 4 ½” x 4 ½” for the card front. To create a background for my images to sit on I used the Circles stencil. I masked off some of the circles to give me a 3×3 circle grid as this best fit the card measurements.
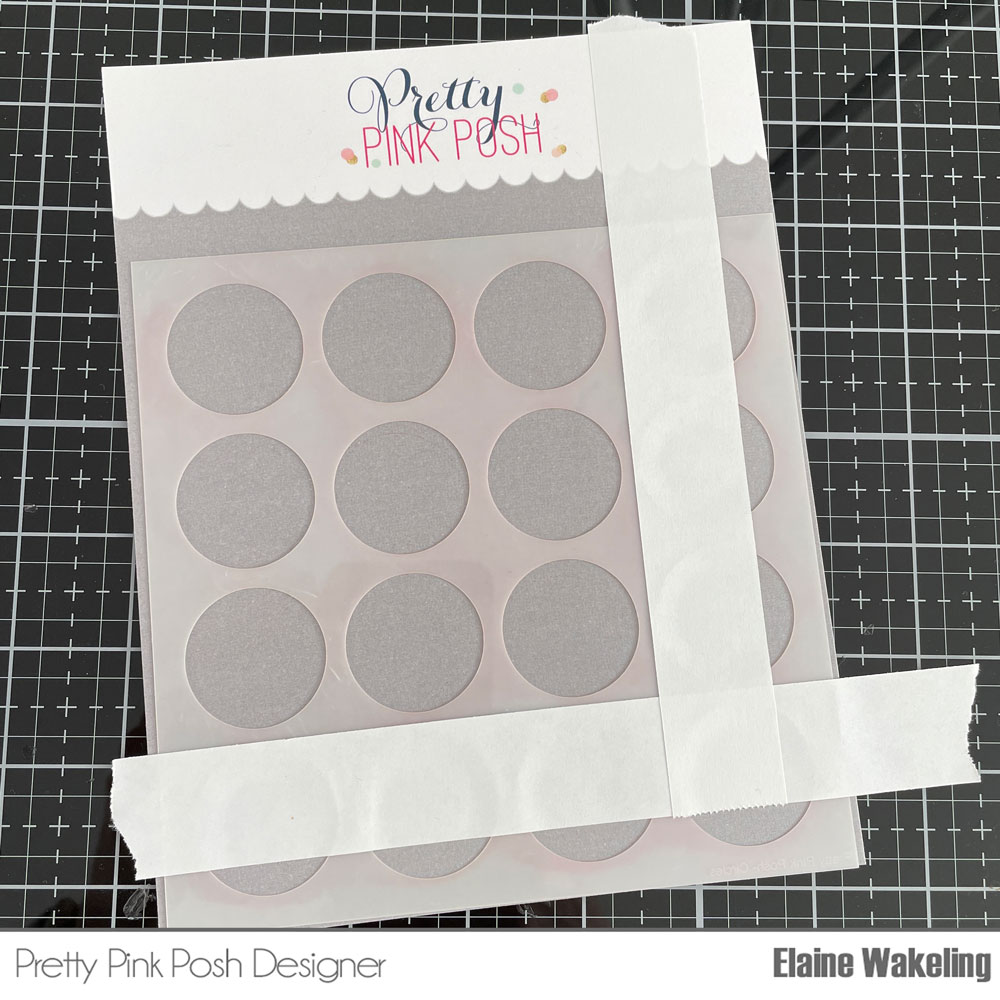
Using the centre circle on the stencil, I placed it in the centre of the card panel (I didn’t do any exact measuring, I just eyeballed it, but you could easily measure this out with a ruler to be exact). I used a blending brush and Distress Ink in Worn Lipstick to lightly blend on color over the stencil. I carefully removed the stencil once I was happy with the depth of color and then splattered some shimmery gold ink all over the card front to help break up some of the white.
Now for the cute images! I stamped the bunny face and the chick from the Easter Wreath stamp set and the bow from Holiday Pals stamp set multiple times on to copic friendly card stock.
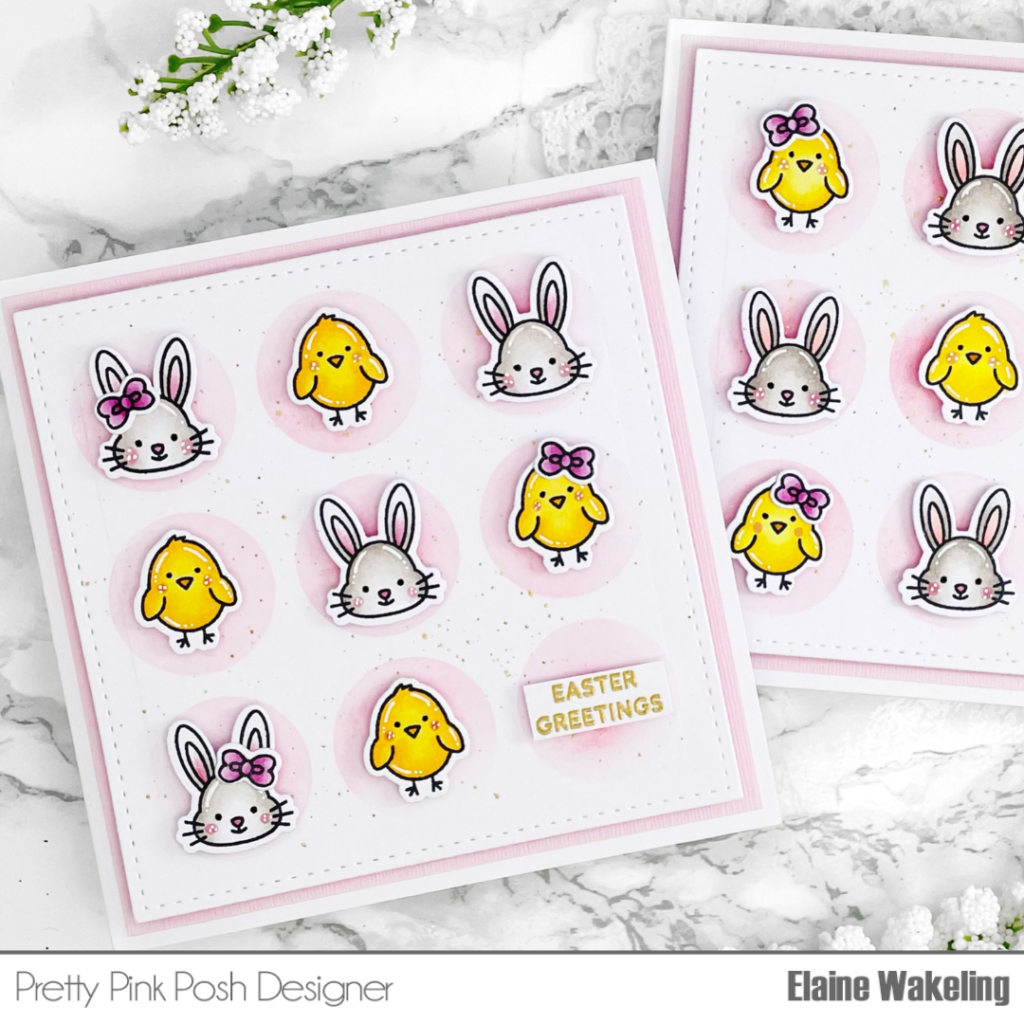
COPIC MARKER COLORS
Bunny – W4, W3, W1, W0, R83, R81
Chick – Y17, Y15, Y13, R83
Bow – RV66, RV52, RV52
I cut the images out with the coordinating dies and placed foam tape on the back of all the bunnies and chicks. I placed an image in the centre of each of the circles, alternating in each row. I used liquid adhesive to adhere a bow on some of the images.
I gold heat embossed the ‘Easter Greetings’ sentiment which is also from the Easter Wreath stamp set on to white card stock and used my guillotine trimmer to trim around the edge. This was popped up on to the card with foam tape also.
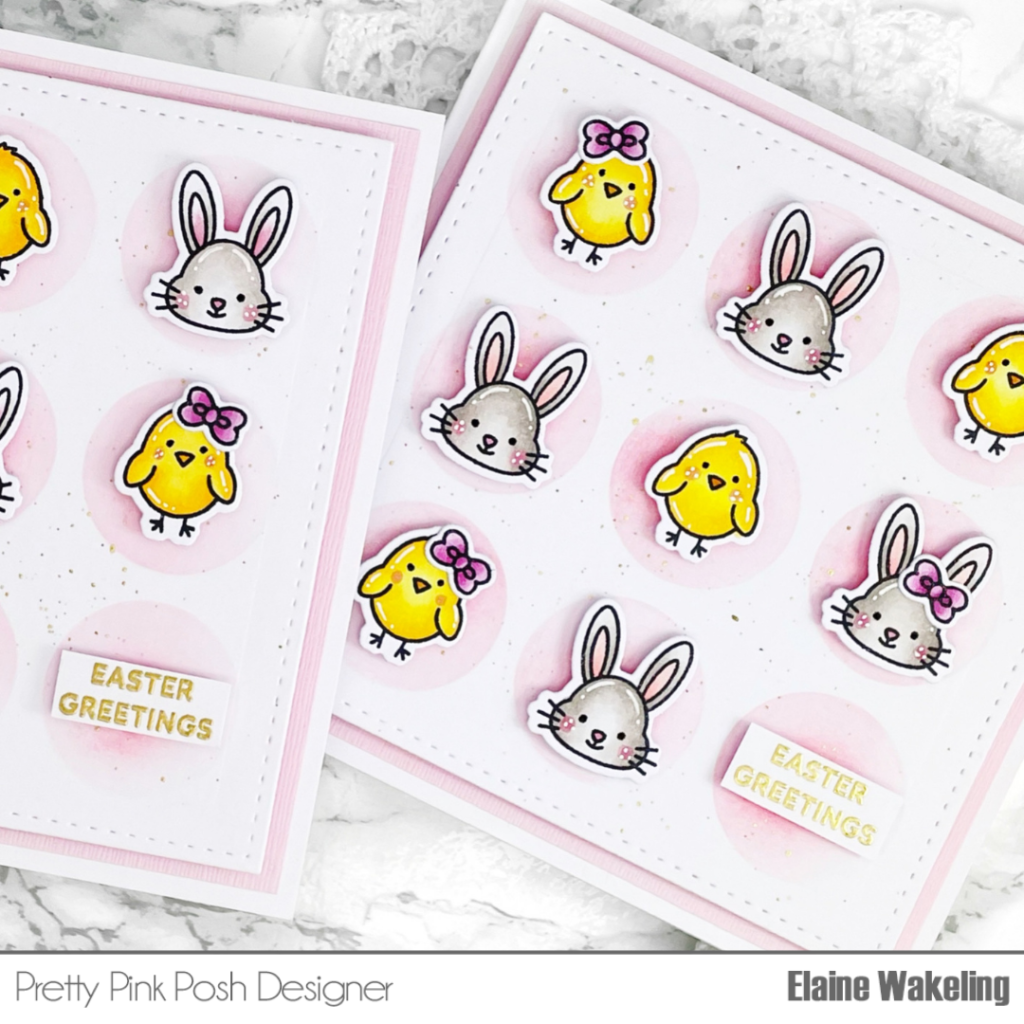
Finally, to finish the card I adhered strips of foam tape to the back of the front panel and adhered to the card base. I love the dimension the foam tape gives.
That finishes up this project, I hope you find it useful for your own Easter cards and projects! Come back tomorrow for more inspiration!
Hugs, Elaine xxx
