Stretch Your Stencils + Video
Hi, it’s Mona here, if you like stencils like me and you want to get more from them, don’t miss my cool trick on Pretty Pink Posh YouTube Channel.
Watch the video above I Watch the video in HD on YouTube
For my background I have used the Hibiscus Flowers stencil set to achieve this beautiful look with various Distress Oxide colors. I have used: Salvaged Patina, Peacock Feathers, Blueprint Sketch, Chipped Sapphire and Wilted Violet colors. For the full process visit the video tutorial.
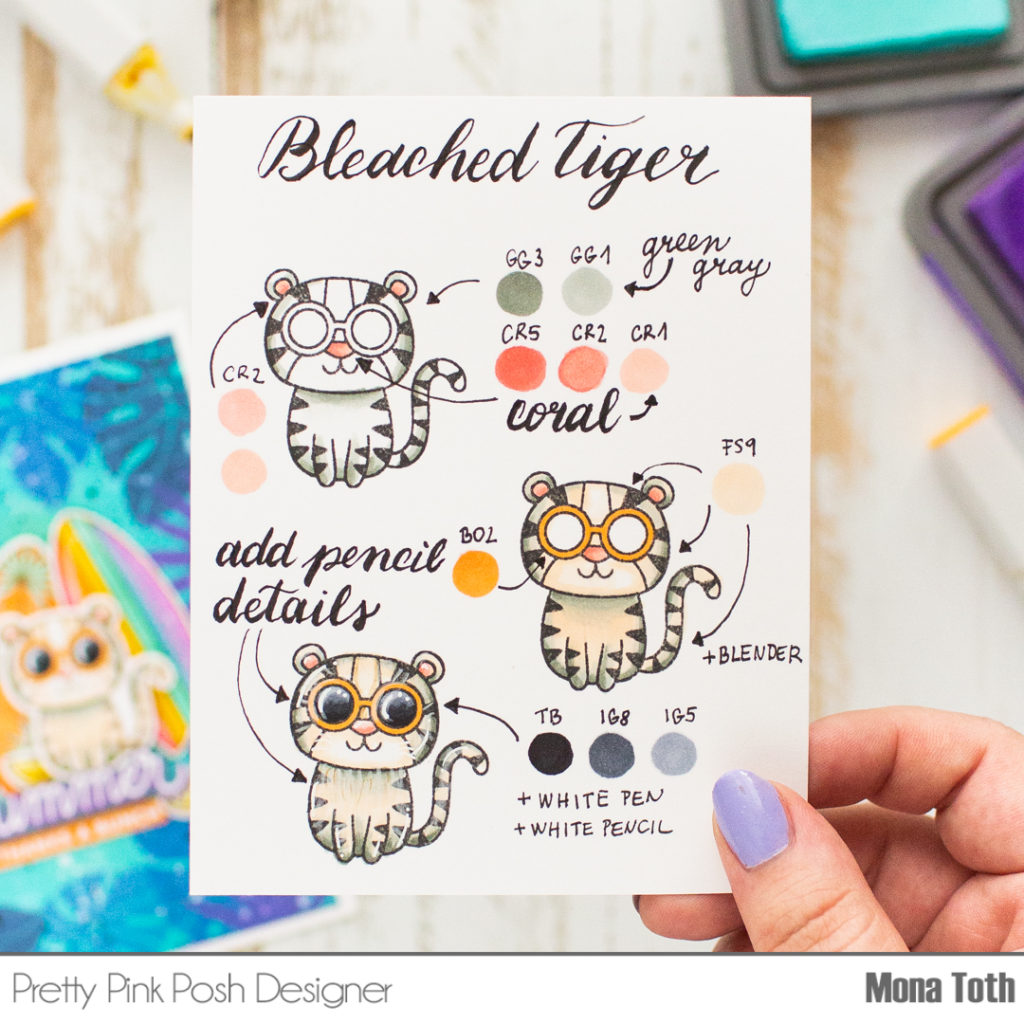
I stamped cute tiger from my favorite summer set, the Summer Fun stamp set, and now I will show you how I colored it as a bleached tiger with my coloring guide below. Before the coloring I gave a quick heat set to the image, this will prevent the ink smearing. And I started with a grayish green color, because it makes the fur warmer and more natural, then I followed the coloring like on the guide.
Instead of coloring, I made an ink blending through the Hibiscus Stencil with yellow, turquoise and pink inkpads and blended them together. The result was this pretty rainbow look.
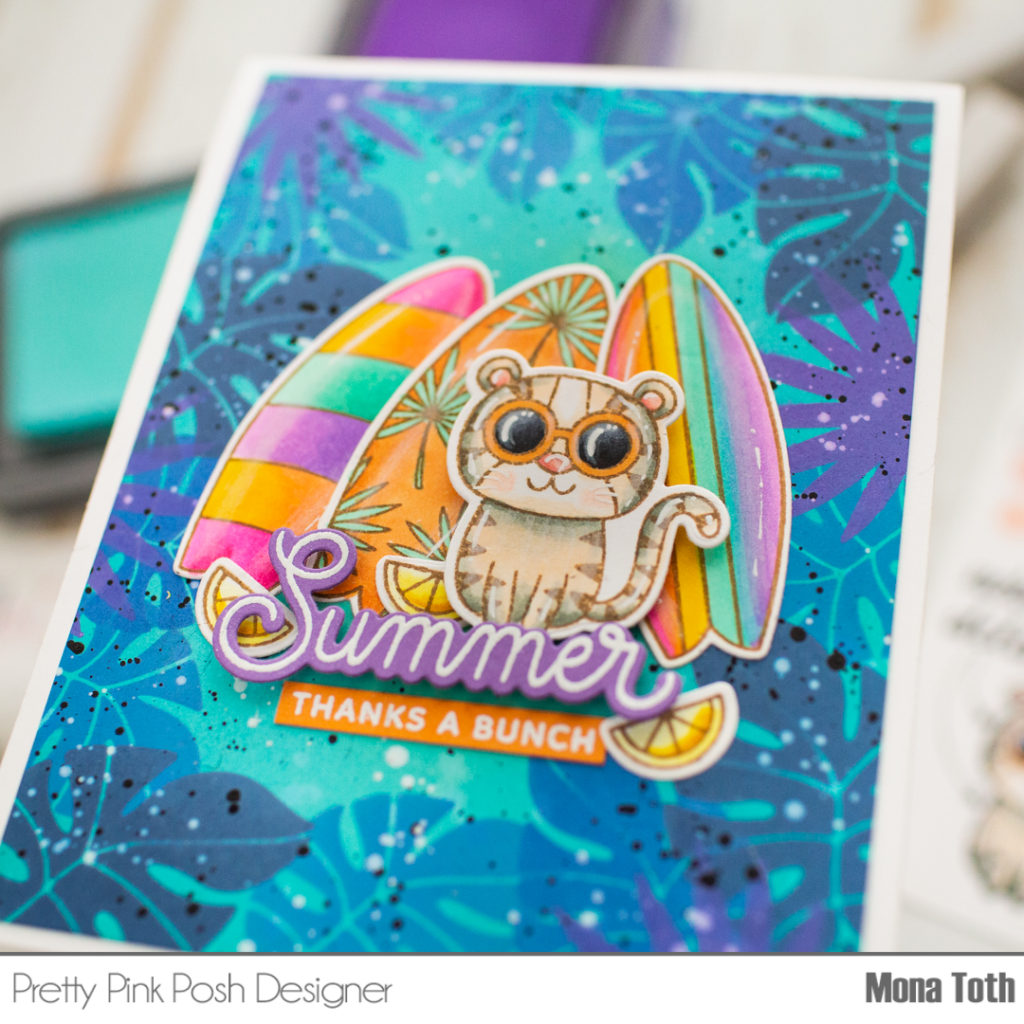
Next, I continued with the sentiment. I stamped the summer text from the Summer Drinks with a watermark ink to a piece of violet cardstock. Then I sprinkled on it white embossing powder and heat embossed it to get a nice and crisp white sentiment, then I die-cut it. I repeated the same thing but with the Thanks a bunch sentiment from the Simple Sentiments set, this time on an orange cardstock.
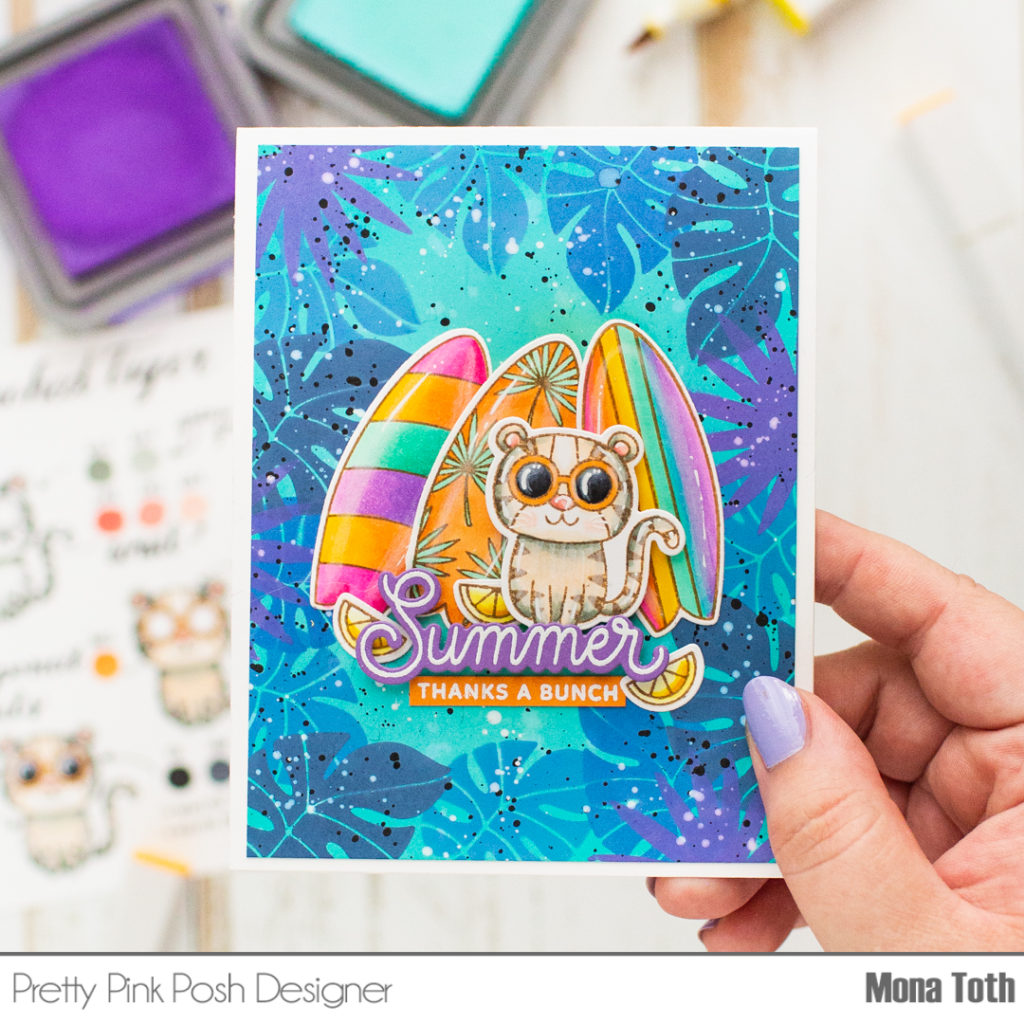
Next, I cut the sentiment, as well as the created background for a 5.25” by 4”. I wanted to add to the card something colorful, so I stamped and colored some surfboards too with my alcohol markers.
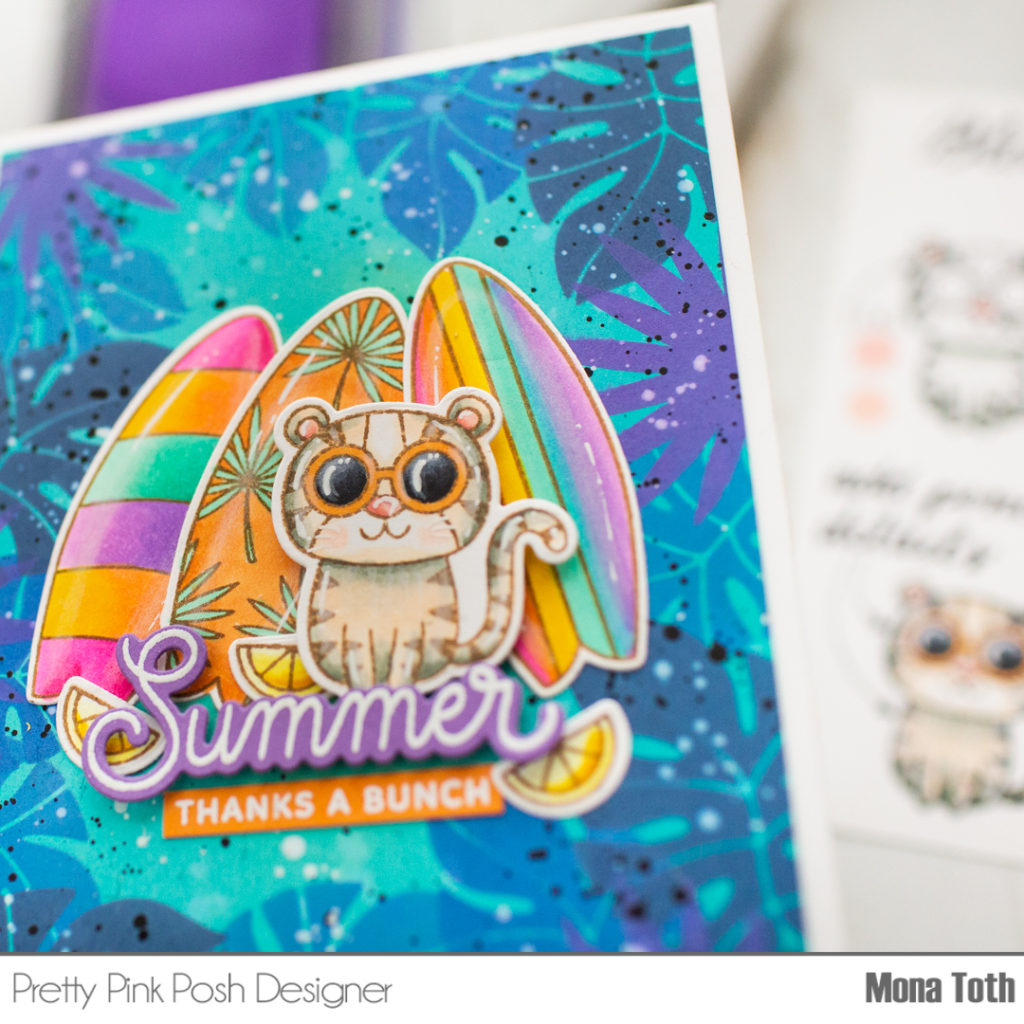
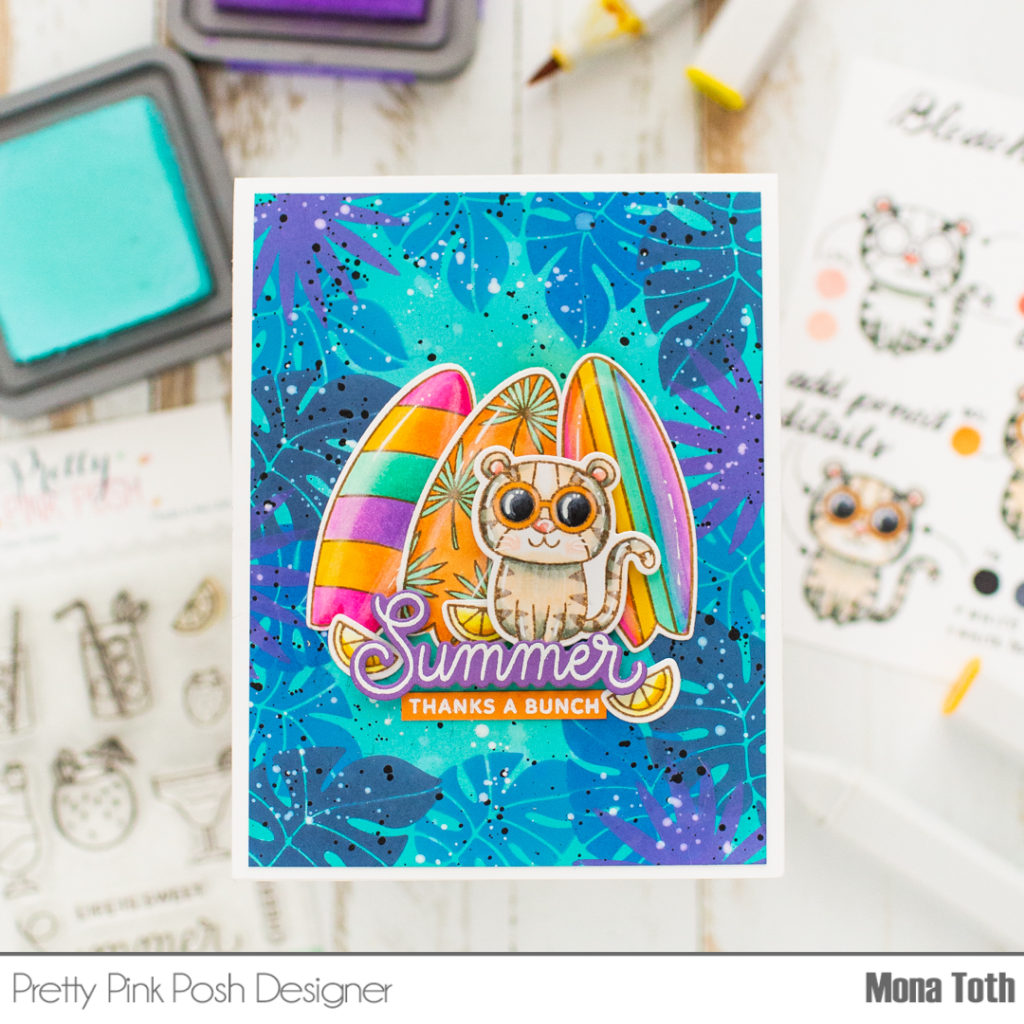
In the end I styled my card and added some squeezy lemons to my card as a decoration. Thank you so much for stopping by, see you next time.
Hugs, Mona
