Crocus Stencil Two Ways + Video
Good morning! Heather here today to share a couple cards using the beautiful new Crocus Stencil from Pretty Pink Posh! There is a video tutorial below as well, so keep reading to watch that and learn more!
Here is a video showing how I created these two cards.
Watch the video above I Watch the video in HD on YouTube
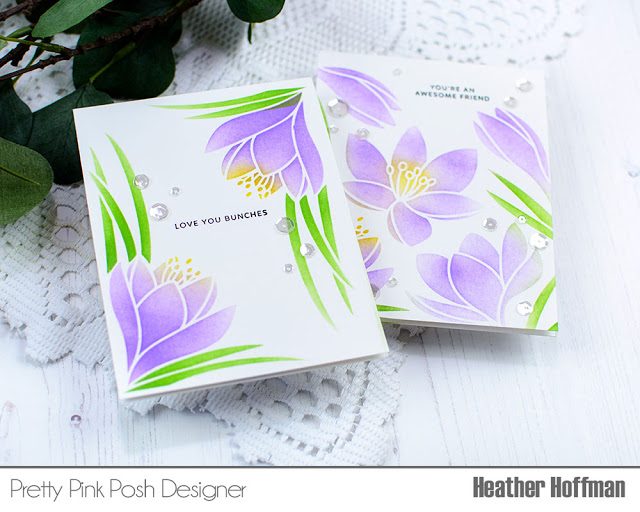
I’m sharing two different ways to use this stencil – using the full panel to fill a card, or focusing on just a portion of it with some simple masking to just use a specific image.
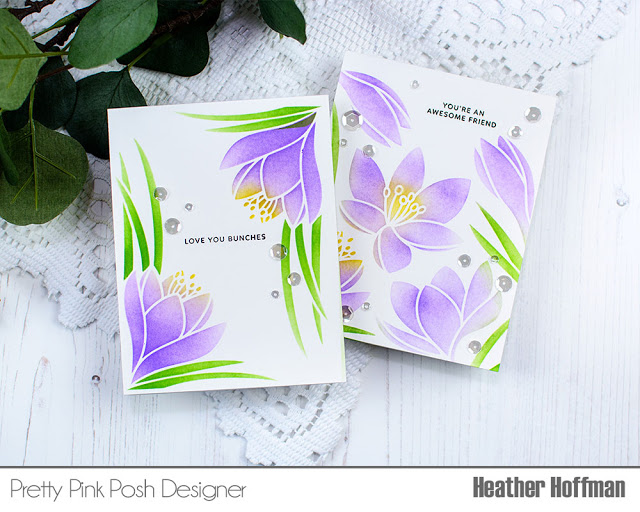
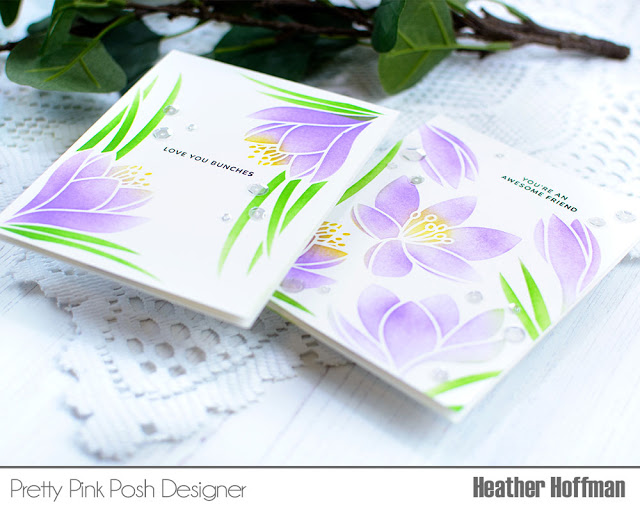
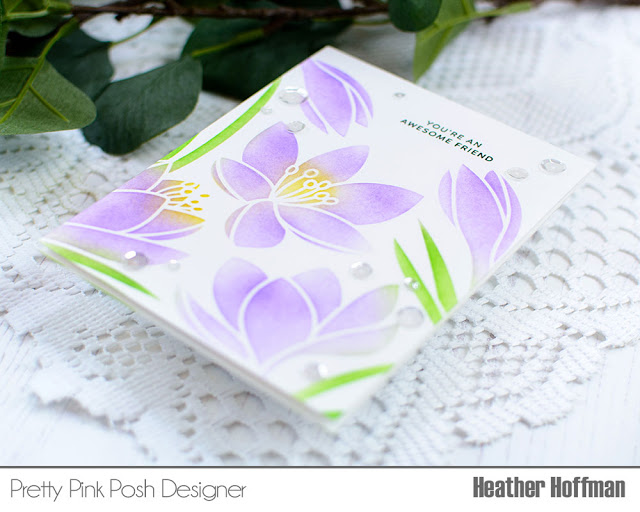
For this first version of the card, I used the entire stencil to fill my card front with these lovely floral images.
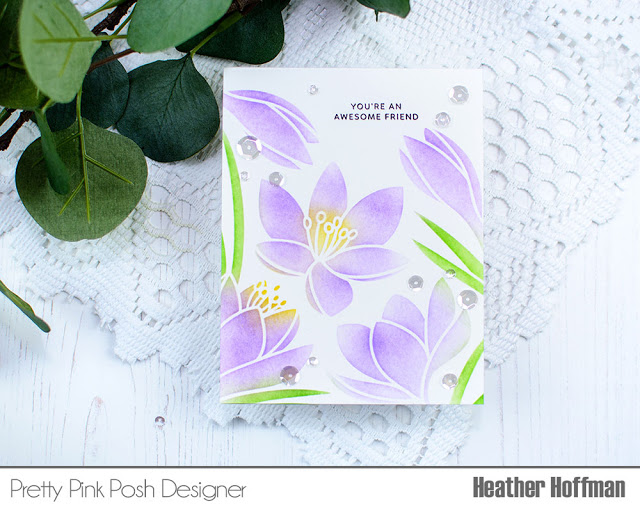
I used a combination of Mustard Seed, Wilted Violet, and Mowed Lawn distress inks with my ink blending brushes and no masking required – super simple and easy!
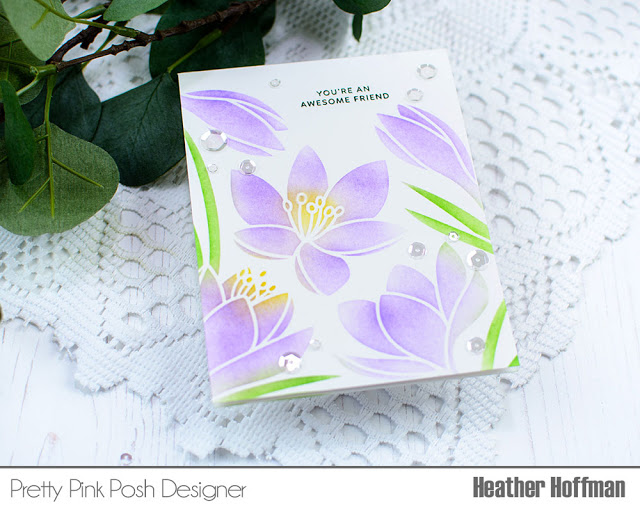
A few Sparkling Clear Sequins, and a sentiment from the new Hedgehog Friends stamp set finish this nearly one layer design off.
For the second version, I used the lovely corner image to create a frame on my card front.
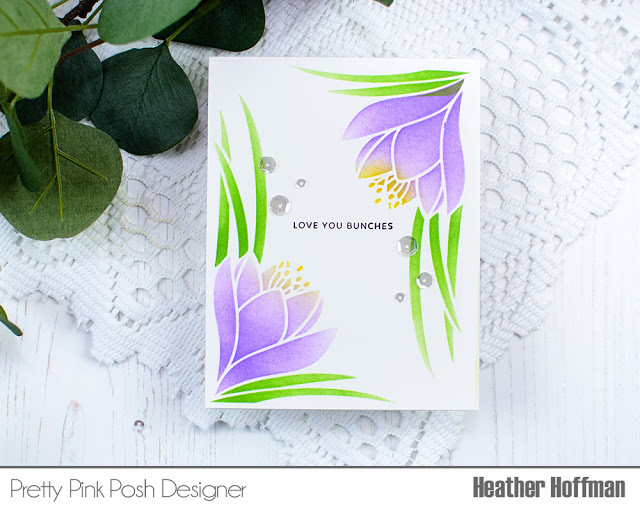
I did some very simple masking with post it tape – which is nice and inexpensive, and readily available! A bit of Post it Tape finishes off some of the other areas.
I used the same distress ink colors and blending brushes to add the color through the stencil.
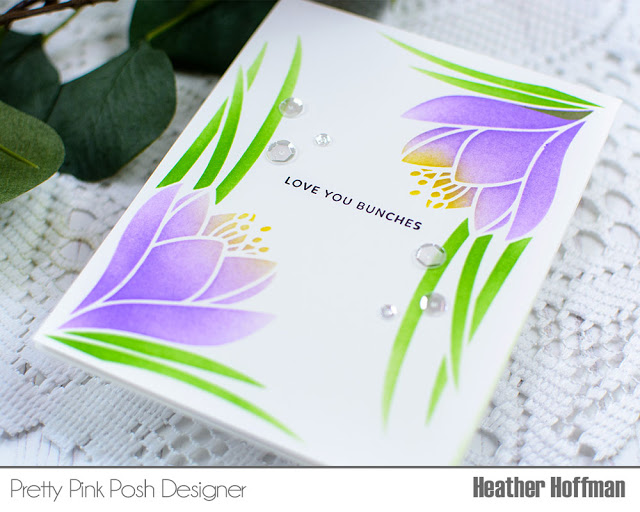
Finally, finished off again with some more of those same Sparkling Clear Sequins, and another sentiment from the new Hedgehog Friends stamp set.
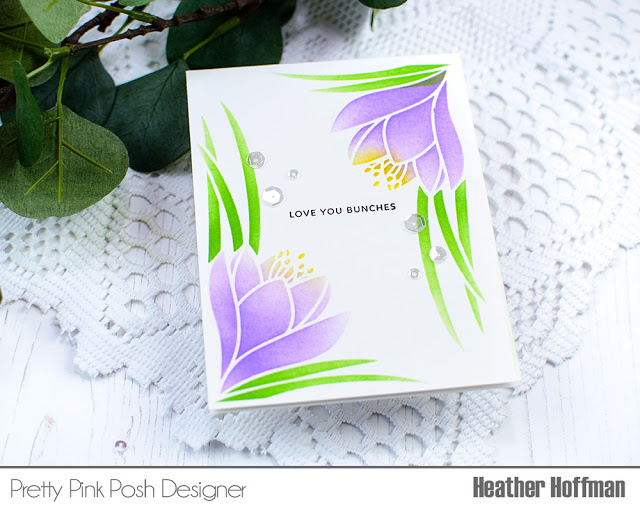
I can’t wait to play with this stencil more and create many more color combos!
Which version is your favorite? Do you like more florals on the card front, or a simpler framed effect?
Thanks so much for stopping by today – have an absolutely wonderful day!

Nice video. Thank you Heather. I enjoyed seeing the two ways to use stencils.
Gorgeous!!!!
These are beautiful! What a lovely stencil.