Tutorial: Caroling Critters Scene
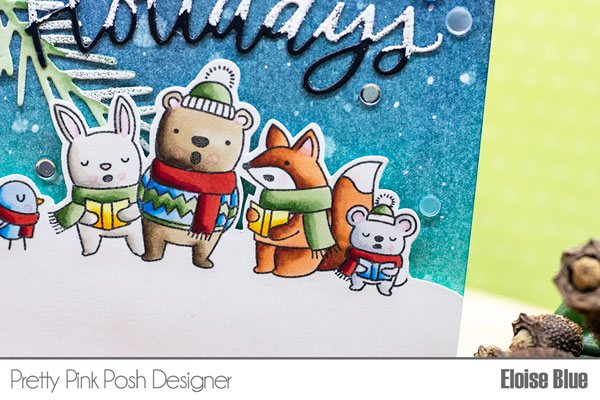
Hello friends, Eloise here and today I have another Christmas card to share with you all. I will be creating a scene with the Caroling Critters stamp set along with the Happy Holidays Script Die and Pine Sprig Die and they will be fitting into the scene with little added accents to them.
To start off my project, I stamped my image onto a piece of 4” x 5 ½” white cardstock. I then took some small detail scissors and cut around the top half of the image to make it into a little snow bank. I then coloured in my scene with Copic Markers.

Copic Markers Used: E95, E97, E99, E07 / E42, E43, E44, E47 / W00, W1, W3 / C0, C1, C3 / B41, B12, B16 / R24, R29, R89 / YG61, YG63, YG67 / Y11, Y15, Y38 / R81
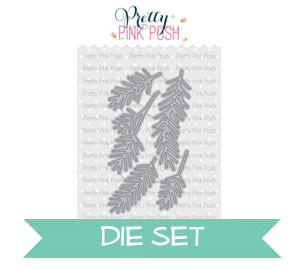
Next, I die cut the Pine Sprigs out of some white cardstock and the Happy Holidays Script from black cardstock. I then adhered down my pine sprigs onto some scrap cardstock and coloured them in with the same green Copics I used earlier. Now that all my elements are ready, I took a Versamarker Pen and scribbled over the tops of my words and pine sprigs. I then added white embossing powder to each of the pieces and white heat embossed them. Now it looks like the snow is sitting of each of the pieces which is super cool.

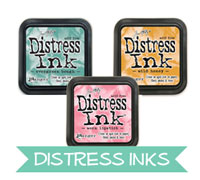
Lastly, I used some Distress Inks to create a simple sky background, flicked on some water and dried it with my heat tool. I then added some white dots with a white gel pen as well for added interest. I adhered all my elements down with foam and flat adhesive and then for a last finishing touch I added on some Winter Days Confetti Mix around the background as well.
Distress Inks Used: Cracked Pistachio, Peacock Feathers, Evergreen Bough, Blueprint Sketch, Black Soot


