Christmas Theme Week- Day 4

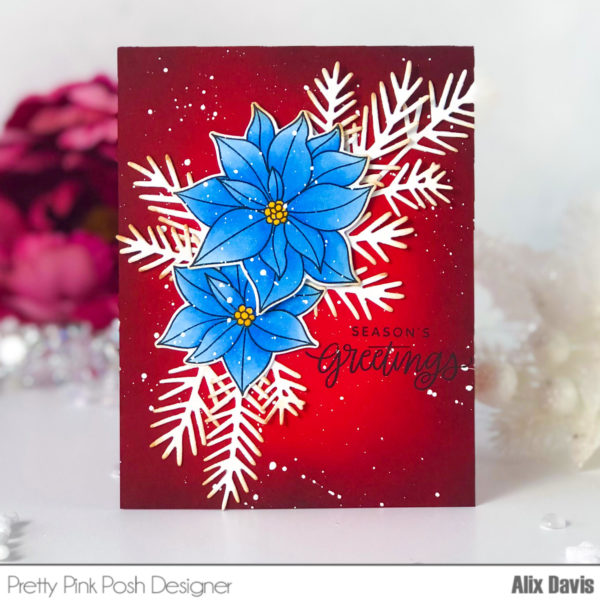
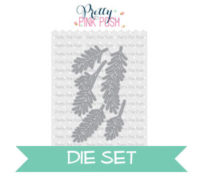
First of all, I colored the poinsettia images from Poinsettias stamp set with my Copic markers and die cut with Poinsettias coordinating dies. I also cut branches from white card stock using Pine Sprigs Dies and inked tips of these branches with Tim Holtz Distress ink in Vintage Photo. I set all of them aside for later use.
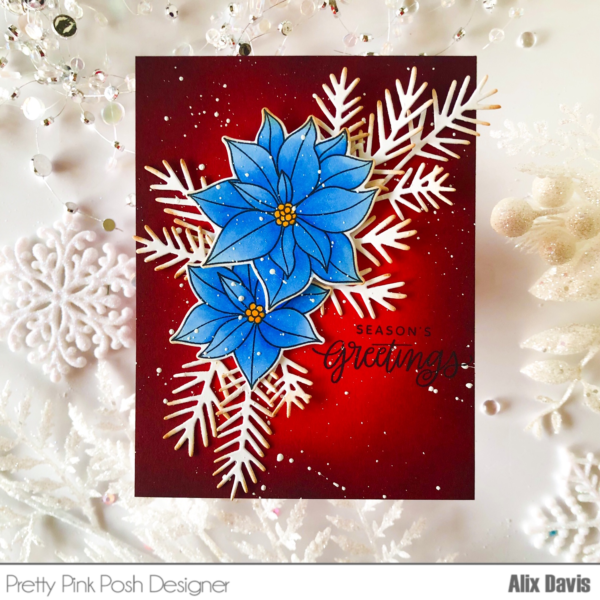
Now it’s time for me to prepare the background. I cut an A2 panel out of a piece of Red heavy weight card stock, then I ink blended the edges of background using Black Soot Distress Oxide. I noticed many of our talented designers has been using this technique to create gorgeous backgrounds and I had to try it. It took me 2 minutes to make it and it turned out as great as I expected!
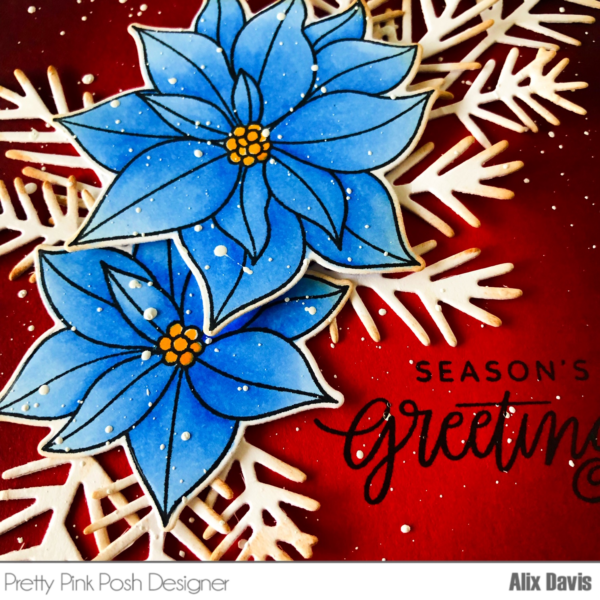
I assembled colored images and die cuts onto the background and splattered white paints to create snowflakes. At last, I stamped the sentiment “Season’s Greetings” from Decorative Ornament Stamp set using Versafine Oynx Black ink. This is a card that you could mass produce for Christmas. I highly encourage you to give it a try!
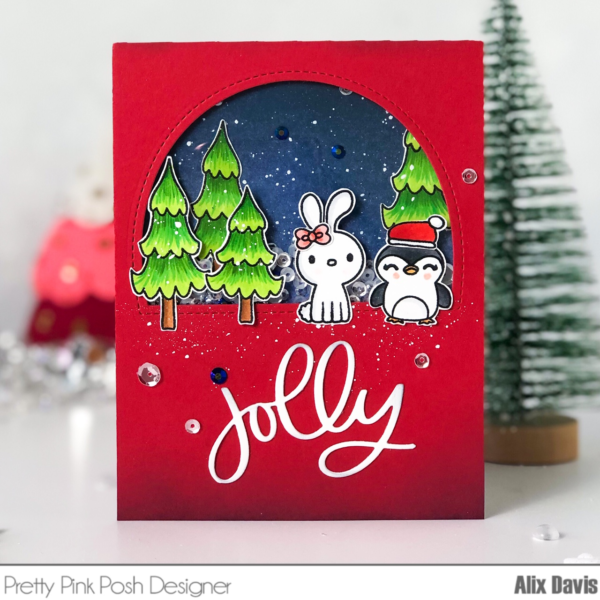
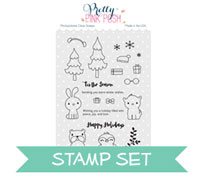
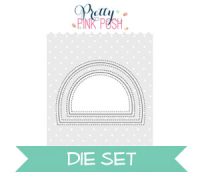
After finishing my first card, I suddenly fell in love with red background. So that is how I started this card. I cut another A2 panel out of a piece of red heavy weight card stock. Then I cut a window using Window Frames Dies. In order to create a shaker window, I adhered a piece of acetate paper underneath the window I cut out and added Foam tape to create shaker space. I also Copic colored images from Holiday Pals stamp set and hand cut them with scissors. To speed up the process, you could cut with using Holiday Pals Coordinating Dies.
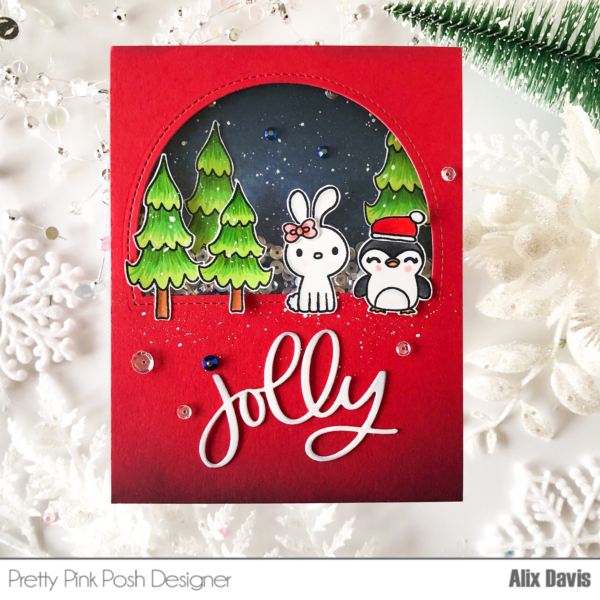
To create the background, I grabbed another piece of cardstock and ink blended the top surface with Tim Holtz Distress ink in Faded Jeans and Black soot. I added colored images and splattered white paint over. Then I poured all my shaker elements (4mm Sparkling Clear Sequins,Marshmallow Sequins and Midnight Black Jewels) and I added top panel to close the shaker window.
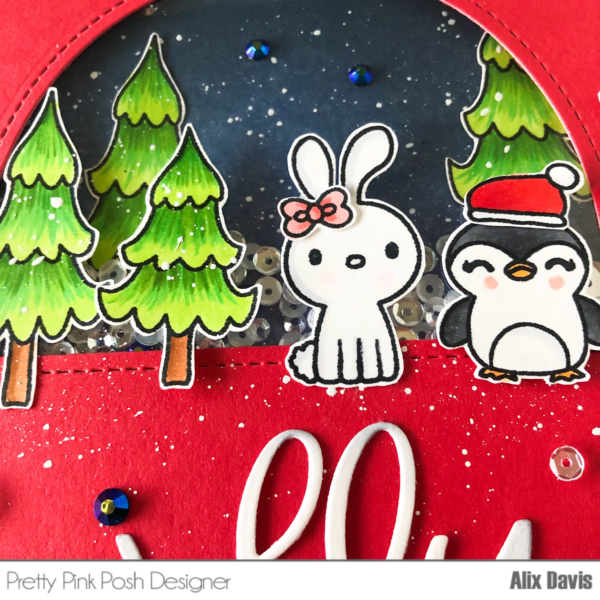
I decided to use a script die cut as the sentiment for this card. I cut from a white cardstock using Ornament Shaker Die. Then I hand cut the script word “Jolly” out of the original shape of die cut. I adhered it onto the lower part of this card. After I arranged colored images around the window, I embellished the front panel with Midnight Black Jewels and 4mm Sparkling Clear Sequins. To make this card looking not so flat, I ink blended with Black Soot onto the top and bottom edges of front panel along with the script die cut. I also splattered white paint at the bottom of window to create some snow on the ground for critters to stand on.

Wow!! Fabulous cards!! The first one is super gorgeous with the bright red and blue flowers :) And I’m totally in love with the snow effect!! :) <3
The second is so cute :)
I really like how you made the pine needles. I always try to BLEND, but the trees NEED needles. Thank you for showing the close up detail so I can be reminded that I shouldn’t always blend. I am not artistic, so I need to be taught these things….
The blue flowers are so unusual, they look great. Very eye catching. Great job.
These are so wondrous!! Stunning red she off the beauty of the blue poinsettia and adorable shaker and critters! Beautiful cards and love PPP images!
Fantastic cards ! I love the blue poinsettias, a non usual color, but the result if amazing, I’ll keep it in mind. Thank you for sharing.
Very pretty. Love the colors and the awesome images and dies. The little critters are precious. Love them and the fun scene.