Sneak Peek: Elegant Holly
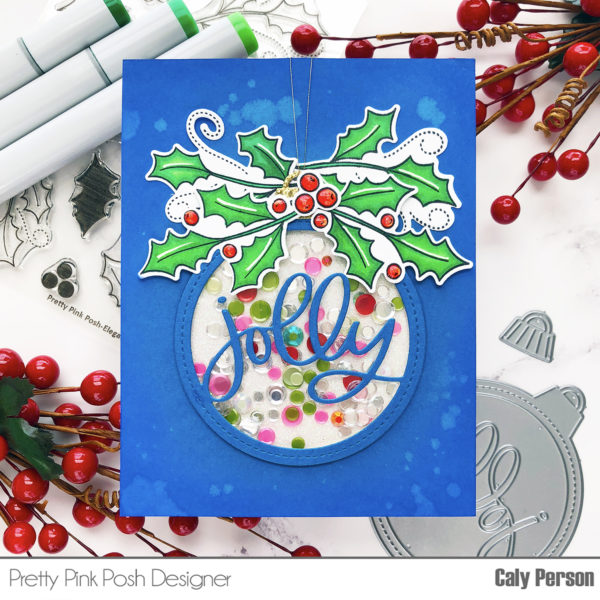
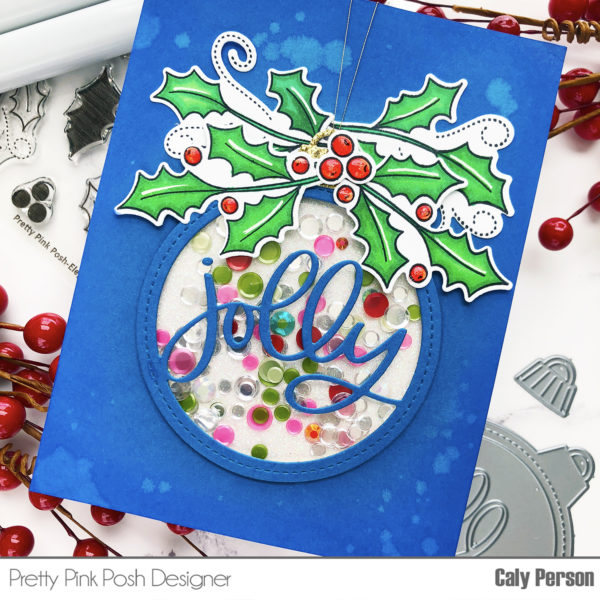
Hello! This is Caly and I’m sharing a card using the brand new Elegant Holly stamp set along with the new Ornament Shaker die today. The images from the Elegant Holly set are beautiful by themselves, but I thought I would use them on my project today to adorn on an ornament.

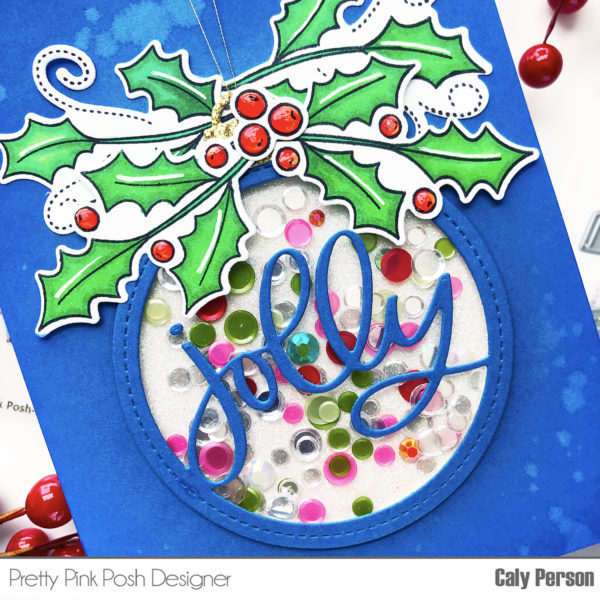
I started by stamping the images on Neenah Solar White 80 lbs cardstock using Memento Tuxedo Black Ink. Then I colored the images using various Copic markers and die cut them out using the coordinating Elegant Holly dies. The following Copic combinations were used: R05 and R29 for the reds, YG07, G03, and G09 for the greens. I added white gel accents to the images and glossy accents over the berries and set them aside to work on my card front and shaker.

Yana has been making beautiful cards using colored cardstock lately and inspired me to make this one using a blue cardstock. I started by die-cutting the Ornament Shaker towards the bottom 2/3 of the card front, knowing I would use my holly images towards the top of the ornament to decorate it. I also cut the ornament cap using some gold glitter cardstock. After die-cutting, I carefully ink-blended some Blueprint Sketch Distress Oxide Ink around the ornament, stopping before I reached the ornament. Then I splattered the cardstock with some water droplets to remove ink to give the top panel more interest.

To create the shaker portion, I added a piece of transparent material that I cut from a storage pocket (that’s right, you don’t always have to use acetate). I cut it down to size to adhere to the back of the shaker frame, then added 3M foam tape to hold the sequins and gems inside. I backed the ornament with some white glitter cardstock and glued down a few jewels from the new Holiday Jewels Mix. Then I filled the area with some Sparkling Clear Confetti Mix along with some sequins from the new Berry Bright Confetti Mix. To assemble my card, I used a piece of gold thread and treaded it through the gold glitter ornament cap and started adhering the holly images around the ornament top. I parted the gold thread a bit towards the top so you can see them better and held them in place using simple scotch tape on the backside before adhering the entire card front to a card base.
I hope you have enjoyed today’s project and will join us tomorrow as we do the full reveal!

THis is just darling! And I love shakers; love that die!!
Oh how festive… love that it is a shaker. Nicely done.
What a great card Caly, nothing says Christmas like a glittery shaker card. So festive.
Fantastic ! Very cheerful, bright & seasonal. I love your shaker word & frame shaker dies Very much & this looks as marvellous as the others in the collection, congratulations on the latest awesome release.
Fantastic card!!!!
Beautiful shaker card! :)
The blue background makes the leaves pop so well! beautiful!