Sneak Peek: Penguin Pals
Hello Pretty Pink Posh fans, Alix here sharing a sneak peak of this wonderful stamp set in our coming November release called Penguin Pals. I am so so in love with it as you could tell I made total of 3 cards to introduce it to you along with other new goodies!
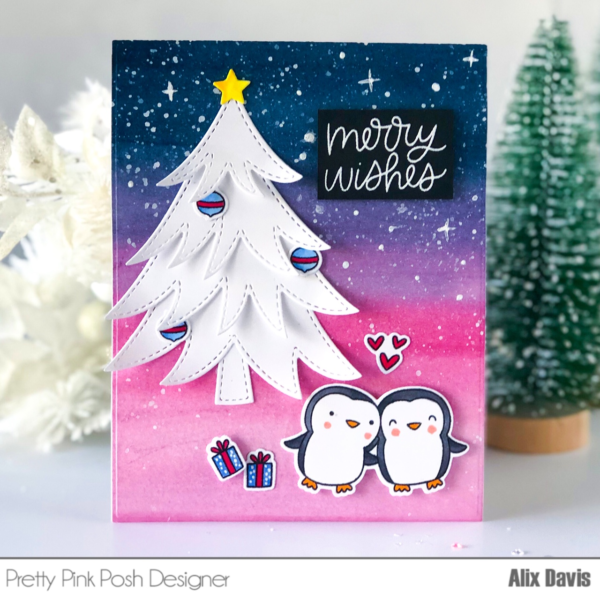
I stamped all images from the Penguin Pals onto Copic friendly cardstock paper with Memento Tuxedo Black ink and die cut them with the Penguin Pals coordinating dies. Then I cut my background panel from a piece of watercolor paper and colored with watercolor paints in Indigo and Quinacridone Pink blended together. Once the top surface was dried, I flicked white paint over it to create starry night effect. I manually added some bigger dots and stars by drawing them with a white gel pen.
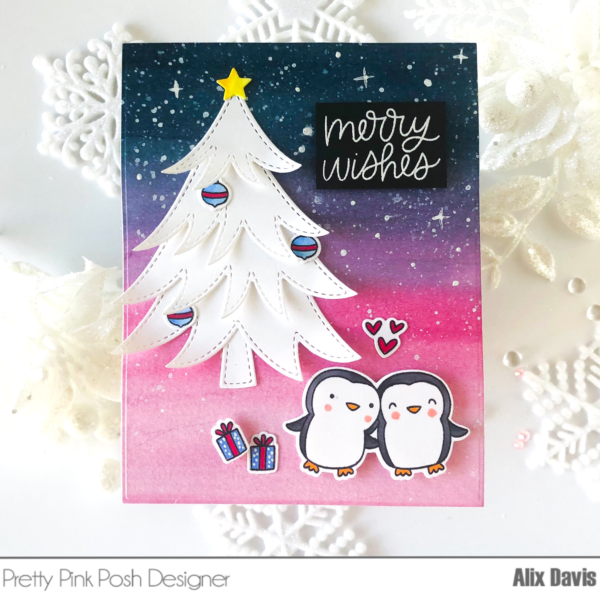
I cut paper pieces from Layered Tree Die and assembled them into my white Christmas tree. I then copic colored the star to decorate the tree top. After I placed the tree onto the background panel, I arranged all colored images from Penguin Pals to selected places.
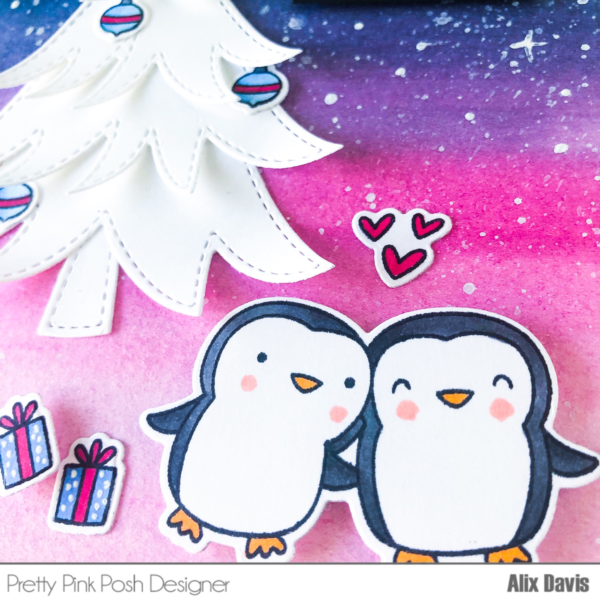
Since my background was busy enough, I stamped sentiment “Merry wishes” onto a piece of black cardstock paper and cut it into rectangular shape. I finished my first card after to popping my sentiment out by adding a piece of Foam tape..
On to my second card, I got inspiration from some google searches. You can not go wrong with Black, Red, White and Blue color combo.
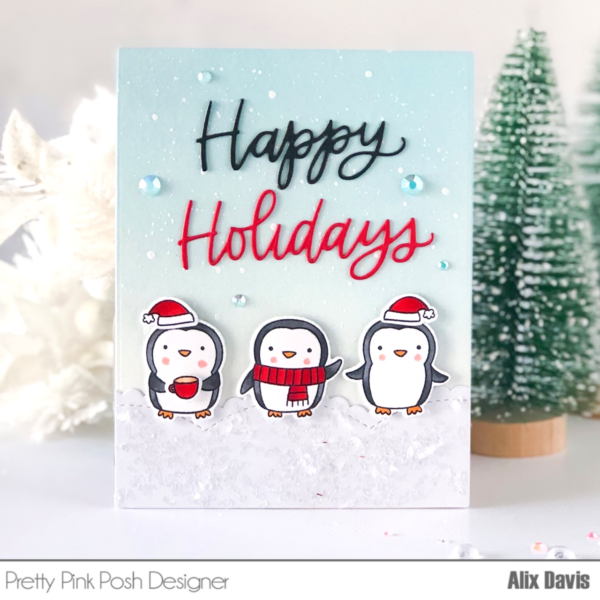
I started to ink blended onto an A2 sized watercolor panel with Tim Holtz Distress Oxide ink in Tumbled Glass. Then I splattered white paint to create snow in the air. I needed to have some platform for penguins to stand on. So I cut the white border using the Scallop Borders 1 Dies. After attaching the border onto the lower part of panel, I glued some Glass glitters to create snow banks.
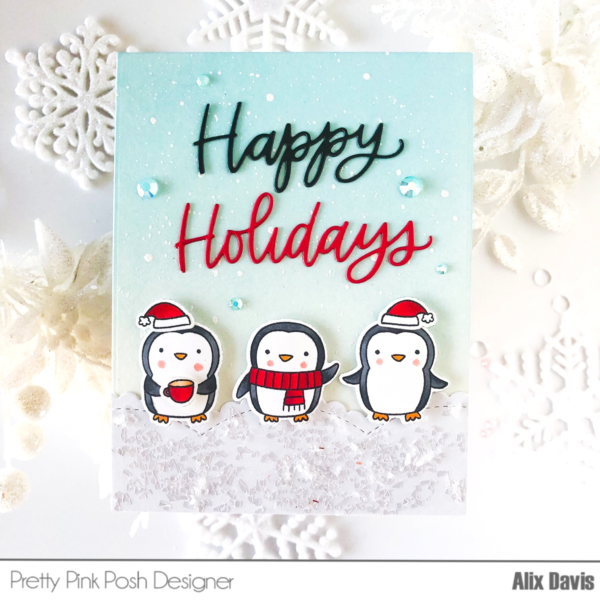
For the sentiment, I die cut Black and Red cardstock paper 3 times using Happy Holidays Script Die and glued them together to create better dimensions. Once it’s done, I attached it onto upper part of panel. At last, I added my cute penguins that I colored earlier and embellished the background with jewels from the Starry Sky Mix (new color from November release).
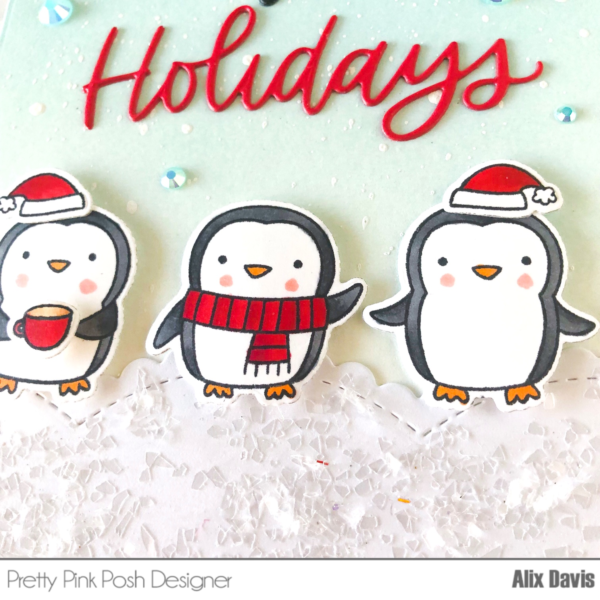
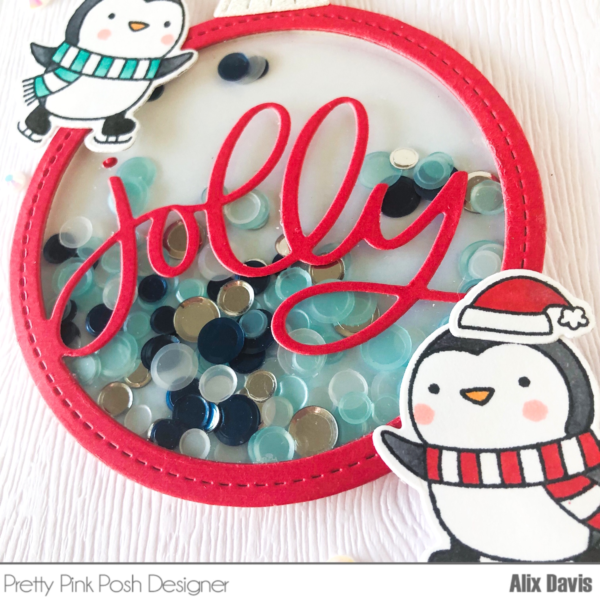
Pretty Pink Posh has the best shaker card supplements ever! How can I not make a shaker card?!
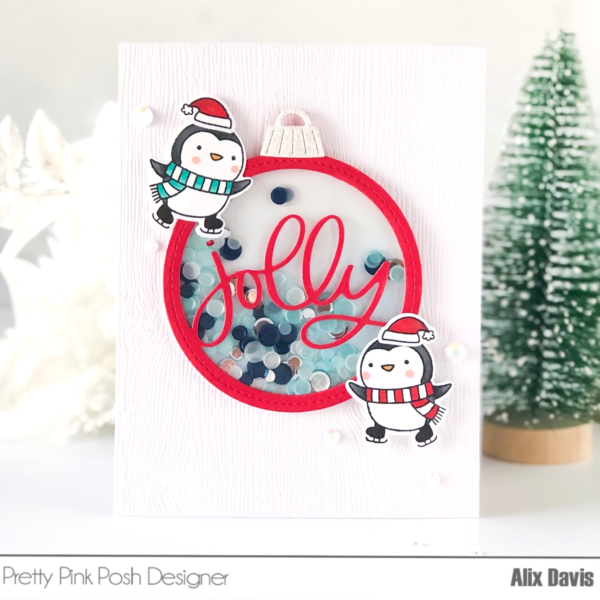
This card came together fairly straight forward. I wanted this shaker window to be the focal point of the card. So I did not do any background color blending but cutting a piece of A2 sized panel from white woodgrain cardstock paper.
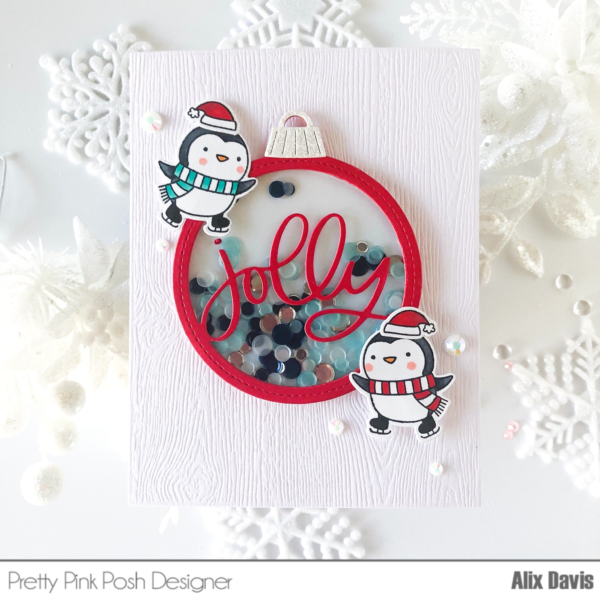
To create the shaker window, I used Ornament Shaker die and cut my frame from red cardstock paper. For the top part of this ornament, I went for white glitter cardstock paper instead to make it more interesting. I attached a piece of acetate paper right under the cut out frame and added foam stripe to create dimensions for me pouring some Winter Days Confetti Mix. Then i attached this ornament onto the background to seal the window. I simply added two colored ice-skating penguins to decorate this ornament.
Now you have it! There is no way that you could pass on this stamp set and other new products which will be released on November 5th. Be sure to come back to check out more sneak peak projects from my teammates so you can get ready to shop!

okay, these are just way too cute! Loving these sneaks!
Great cards Alix, the penguins are so cute. Looking forward to seeing the new release in full.
Great cards! I love the Christmas tree.
Aww I love the adorable penguins!! :) So sweet! :)
Oh Alix your cards are seasonally wonderful. That playful penguin is a heart stealer. Nicely done.
Adorable cards! The penguins are so sweet. And I’m loving that ornament shaker die! Great new release so far!
I LOVE THESE PENGUINS! GREAT CARDS
I am so excited, I love Penguins and these are adorable!
awww, they are so sweet!! both cards are gorgeous (and I love shakers!)
Those Penguin Pals are so stinking cute!!! Your cards are so fun, so sweet.
adorable! Beautiful coloring and of course the shaker just completes the card!