
Make Die-Cut Drinks Look Like Glass
Hi friends, Charlene here! Have you ever wondered how to make a die-cut drink glass actually look like glass? Today I’m sharing a simple vellum trick that adds translucency, definition, and a surprisingly realistic finish.
Watch the video above | Watch the video in HD on YouTube
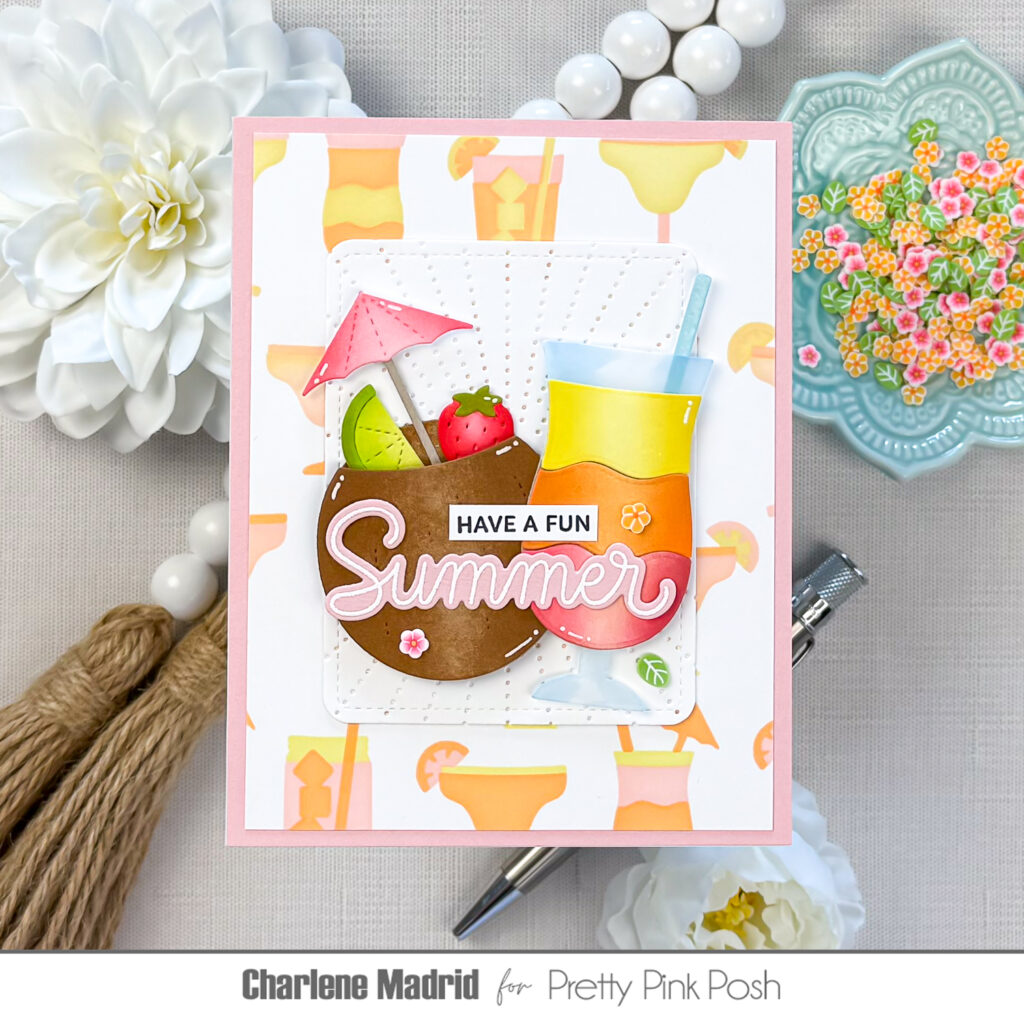
Summer Cocktails Dies
Layered Summer Drinks Stencils
Sunburst Pierced Plate Die
Happy Summer Stamps
Happy Summer Coordinating Dies
Summer Blooms Clay Confetti
I began by die cutting the coconut from kraft cardstock and adding light brown ink around the edges. Keeping the center lighter creates a natural highlight and helps the coconut appear rounded instead of flat.
I used the same idea for the colorful drink layers. Each piece received a light layer of ink followed by a darker shade blended inward from the sides. Leaving a lighter area through the center creates a consistent highlight across the pink, orange, and yellow layers.
The vellum glass is the star of this card. I die cut the glass from vellum, then used a very light blue alcohol marker to flick color inward from the outer edges. I left most of the center translucent so the piece would retain that clear, glass-like appearance. After attaching the colorful drink layers behind the vellum, the glass immediately looked more dimensional and realistic.
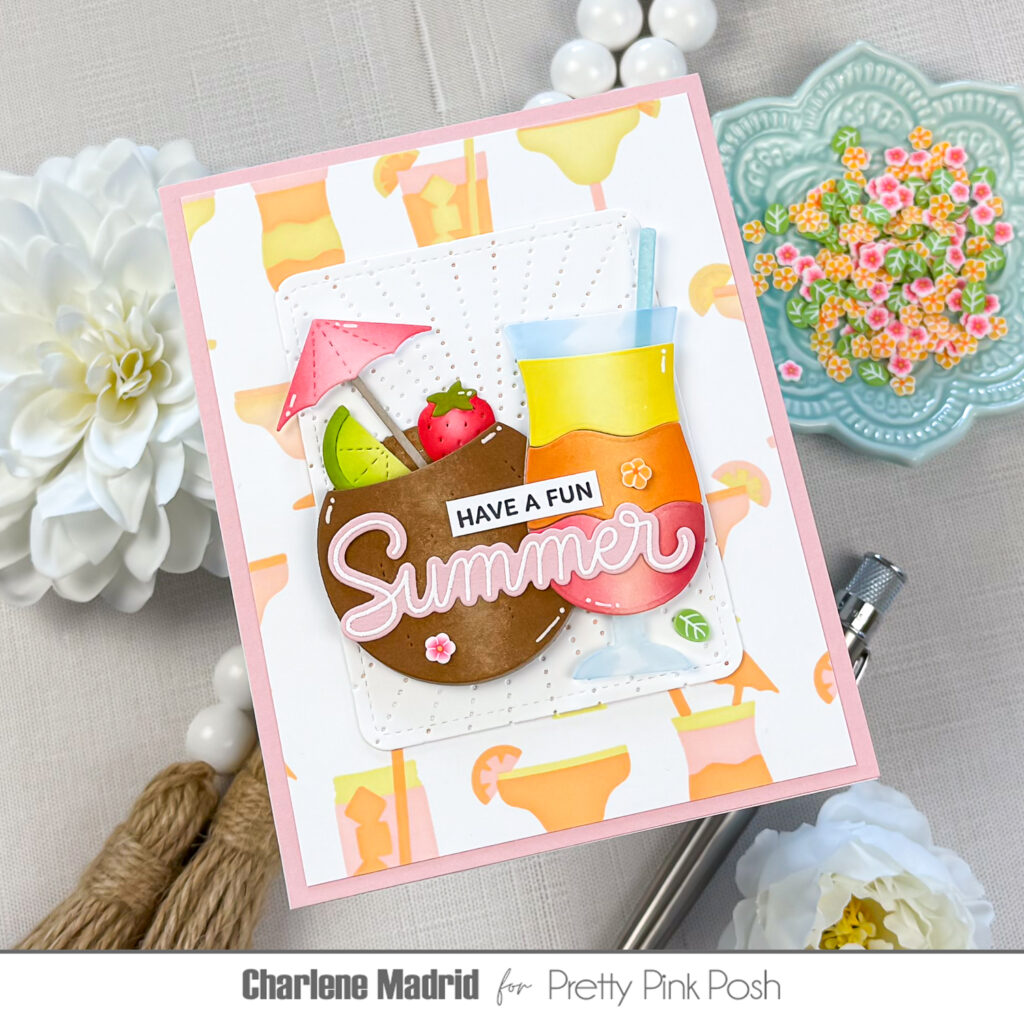
To keep the design cohesive, I repeated the same colors throughout the smaller die-cut details. The pink umbrella coordinates with the bottom drink layer, while the strawberry, lime, and aqua straw add playful pops of color. I tucked the fruit and umbrella inside the coconut and used foam squares beneath the top layer to give the drink extra fullness.
I also positioned the umbrella and straw at similar angles. Repeating those diagonal lines helps balance the two drinks and gives the finished scene a relaxed, easygoing feeling.
For the background, I blended pink, orange, and yellow ink through the Layered Summer Drinks Stencils. I changed the order of the colors on each stencil layer, creating plenty of variety while keeping the palette consistent with the focal images.
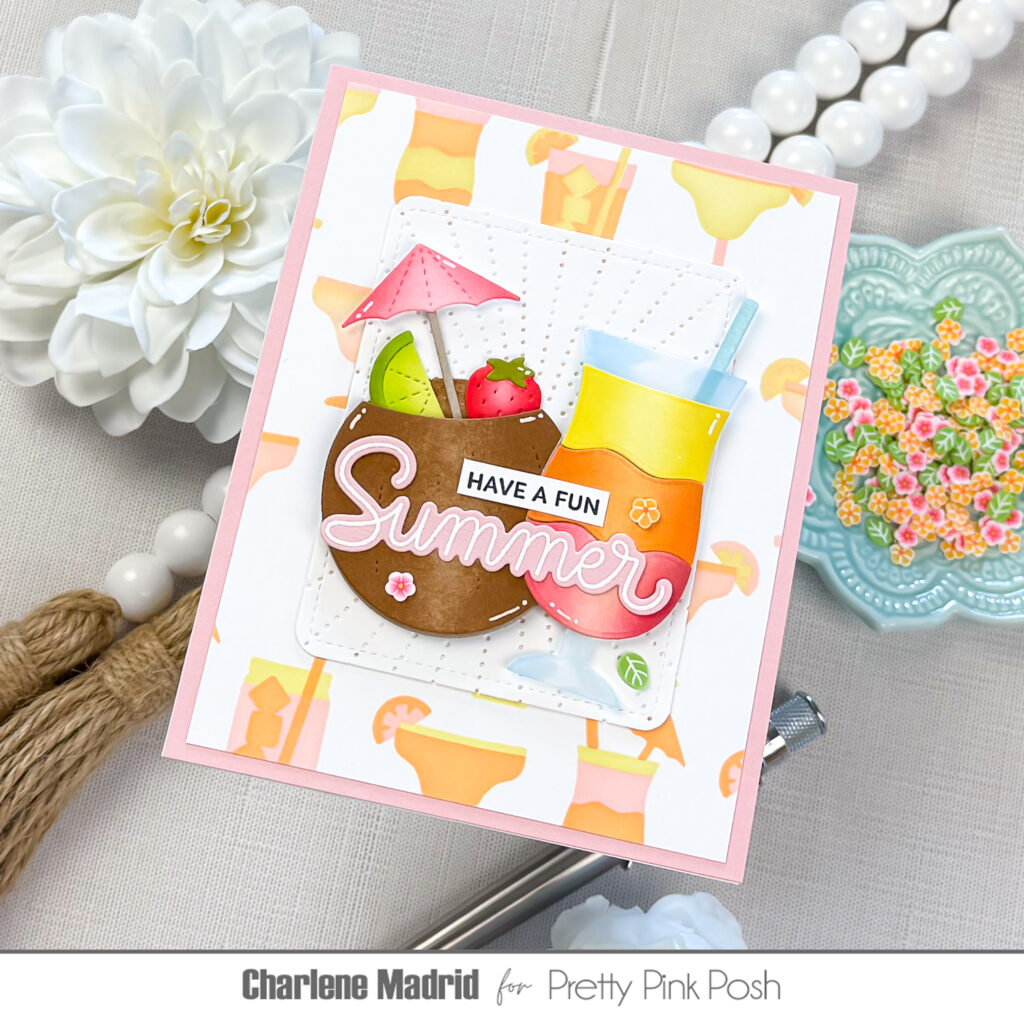
Because the background has so much color and movement, I added a white rectangle to give the drinks a quiet place to rest. I ran the panel through my die cutting machine with the Sunburst Pierced Plate Die for subtle texture that would not compete with the colorful die cuts.
The sentiment combines a small stamped strip with the larger die-cut word from the Happy Summer stamps. I stamped “HAVE A FUN” in black, then heat embossed “Summer” in white on pink cardstock to connect the sentiment with the other pink details.
To finish the card, I added a few pieces of Summer Blooms clay confetti and drew white gel pen highlights onto the die cuts. Those small details add shine and make the finished drinks feel even more polished.
I love how one simple vellum detail completely changes the appearance of the drink glass. I hope this inspires you to try vellum the next time you create a die-cut beverage!
Thanks so much for stopping by today!
One Comment
Comments are closed.