
Pastel Winter Igloo
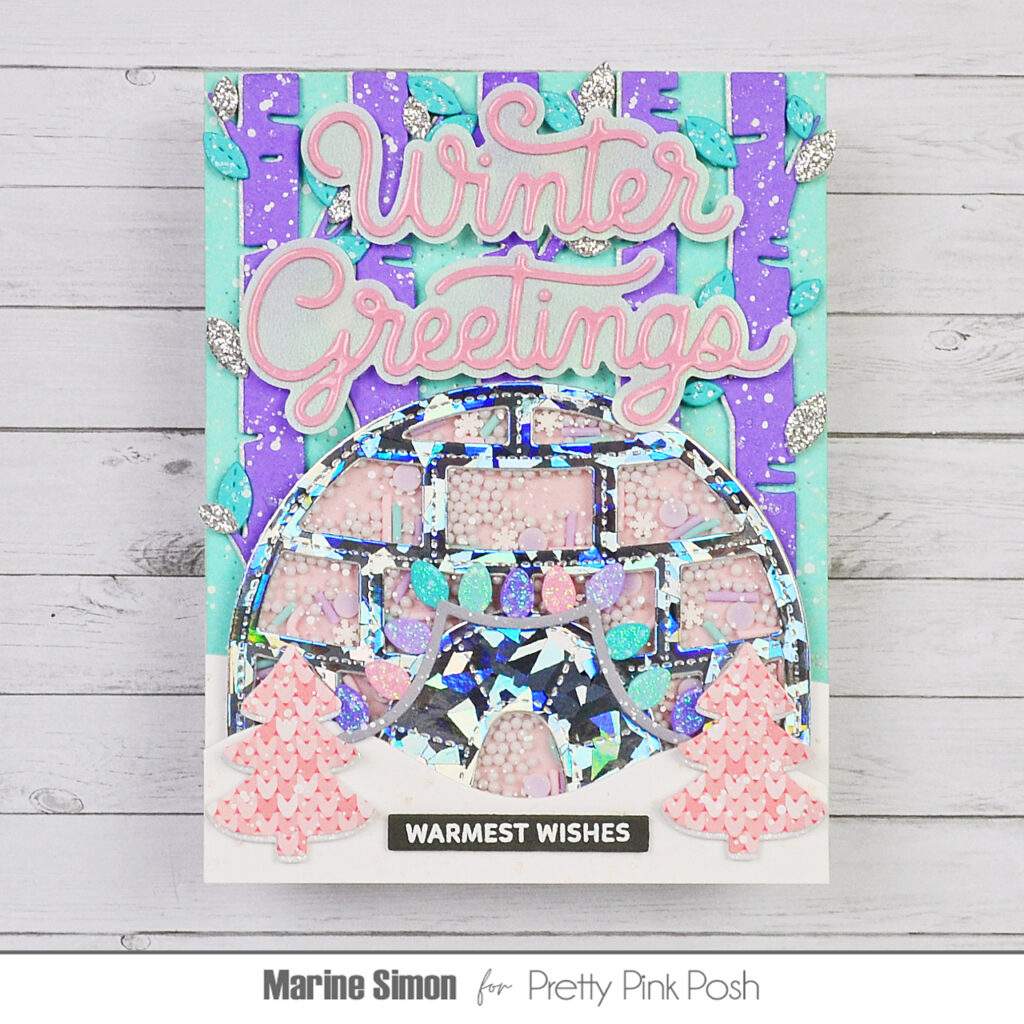
Hi crafty friends, Marine here, I’m so very happy to be back on the blog with this shiny pastel winter card showcasing multiple items from the Pretty Pink Posh November release. How fun it was to put this Igloo Shaker together and create this magical purple Birch Trees background! Hope you like it!
And speaking of the background, I worked on it first and cut a Pierced Snowflake panel out of Strathmore bristol smooth cardstock. I covered it with salvaged patina oxide ink, mixed copic opaque white ink with water, added white splatters all over the panel, and then did the same with liquid stardust. While my panel was drying, I cut five Birch Trees out of purple cardstock, and five more out of white glitter cardstock. I added white splatters and liquid stardust splatters to each purple tree, and once they were dry, I attached a purple tree to a white glitter tree using liquid glue, shifting the trees a bit to get a white border on the left side of each of them. And I wanted my Birch Trees to still have some leaves attached to them, so I used Nature Essentials dies to cut them out of aqua cardstock and silver glitter cardstock to make my background even more magical. I added white splatters and sparkling splatters to the aqua leaves, and then attached the Birch Trees and leaves to my Pierced Snowflake panel using 1mm foam squares.
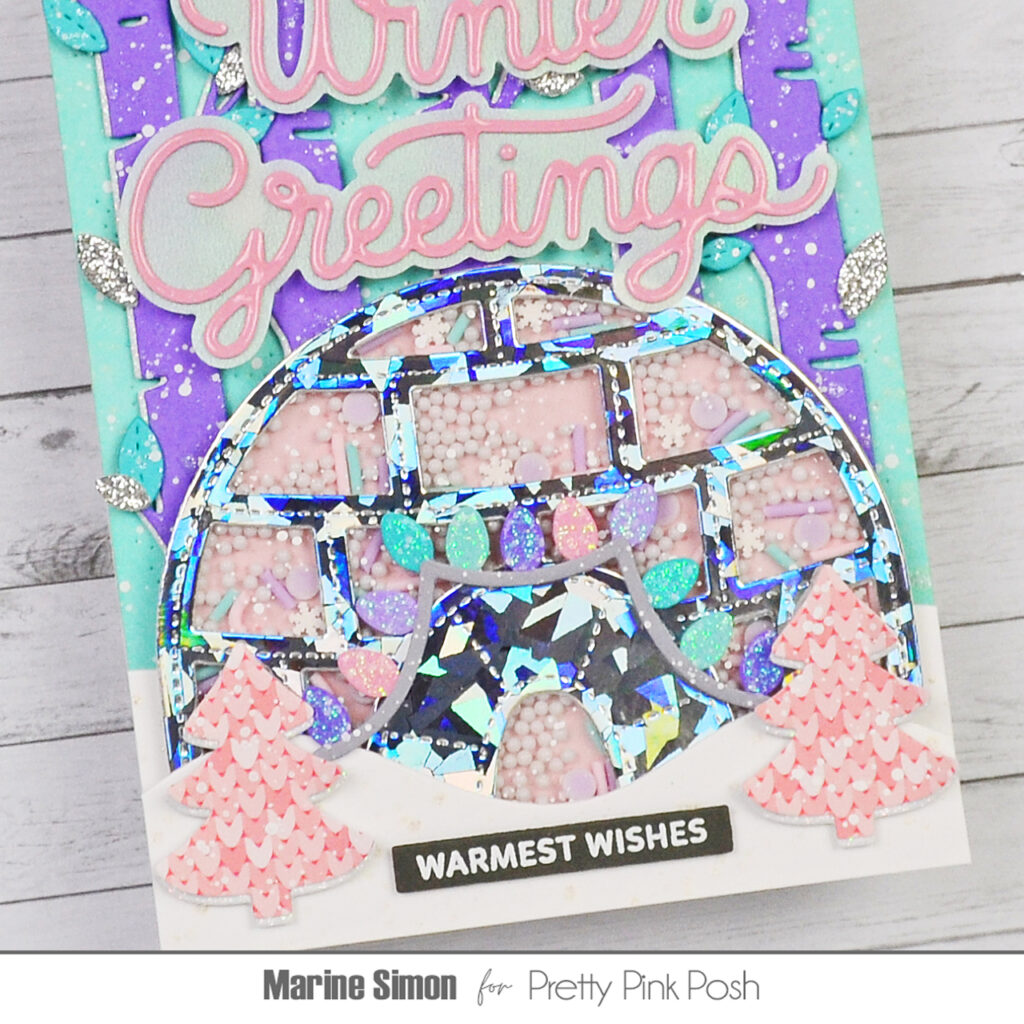
To ground my Igloo Shaker, I cut a 4,25 inches piece of white cardstock, cut two Snowy Hills Borders out of it, one being taller than the other one, added liquid stardust splatters to both pieces, and set them aside to dry. And even though my Igloo Shaker wasn’t built yet, I knew I wanted to decorate it with lights, so I used Christmas Holder Additions dies to cut a string out of grey cardstock and lights out of purple, pink and aqua cardstock. I added white splatters to the string, attached the lights to the string using liquid glue, and then applied white blizzard nuvo drops to each light. And with the card I had in mind, I also knew that I would need something at each bottom corner, so I used another Christmas Holder Additions die to cut two trees out of a pink pattern paper, two more out of white glitter cardstock, I attached a pink tree to a white sparkling tree using liquid, and then set everything aside to finally work on my Igloo Shaker, following those steps:
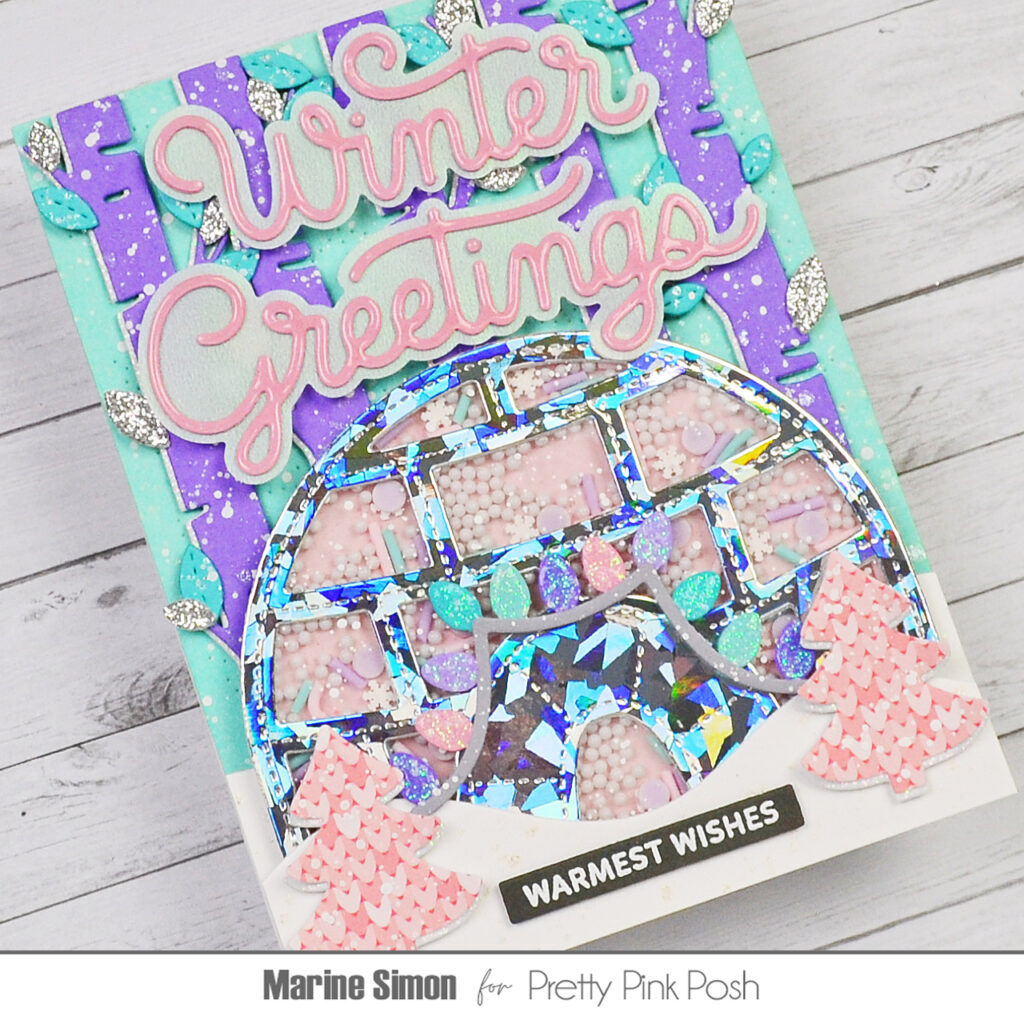
1. I cut an Igloo Shaker frame out of holographic cardstock using both dies from the set,
2. I cut a whole igloo out of acetate, added white splatters all over it, and once dry, attached it at the back of the holographic igloo frame,
3. Still at the back of the igloo, I attached foam strips all around it, following the rounded shape, and also on each little dividing section of the igloo,
4. I poured Pastel Blizzard confetti and Marshmallow shaker beads inside each section,
5. I cut another whole igloo out of a light pink pattern paper, peeled all the backing papers off the foam strips, and attached that pink igloo to the strips to close my Igloo Shaker.
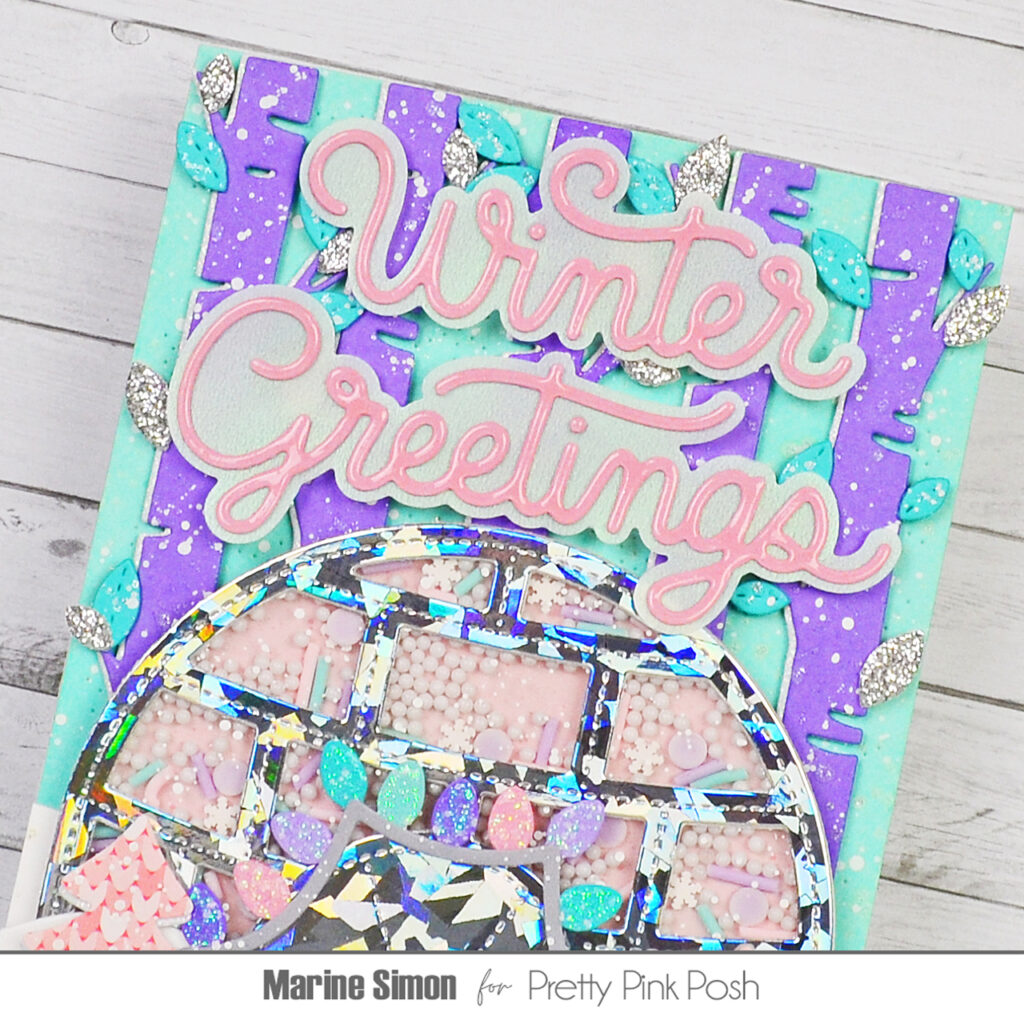
Next I assembled a few things on my panel, starting with the taller Snowy Hills Border that I attached directly to the bottom sections of the trees using liquid glue. Next I stuck my Igloo Shaker using liquid glue at the bottom and 1mm foam squares at the top, and then the smaller Snowy Hills Border using 2mm foam squares. I attached the string of lights and trees using foam squares again, and then worked on my greetings. I white heat embossed “Warmest wishes” from Sentiment Strips: Christmas on dark grey cardstock, cut it into a slim banner using a Sentiment Strips die, and then attached that banner at the bottom of my card using 1mm foam squares. I used the Winter Greetings Shadow die set to create my giant greeting. I cut “Winter greetings” out of pink cardstock, and cut the shadows out of pearlescent vellum. I stuck the pink words to the shadows using liquid glue, attached them both right above the Igloo Shaker, and finally applied glossy accents to the words to make them super shiny and pop against the purple Birch Trees.
And that’s it! I hope that you like the lovely color palette of this card. Thanks so much for stopping by, and see you soon!