
Poinsettias & Christmas Bells
Hello crafty friends, Marine here, I’m thrilled to be back on the blog with this bright Christmas card. When it comes to holiday cards, I love all the styles, whether it be with die cuts only, cute critters or elegant themes, I like them all! For today’s card, I went for an elegant themed card featuring stuff from the Christmas release like the Christmas Bells and previously released items like the Poinsettia Corners. I think that these two are just the perfect match!
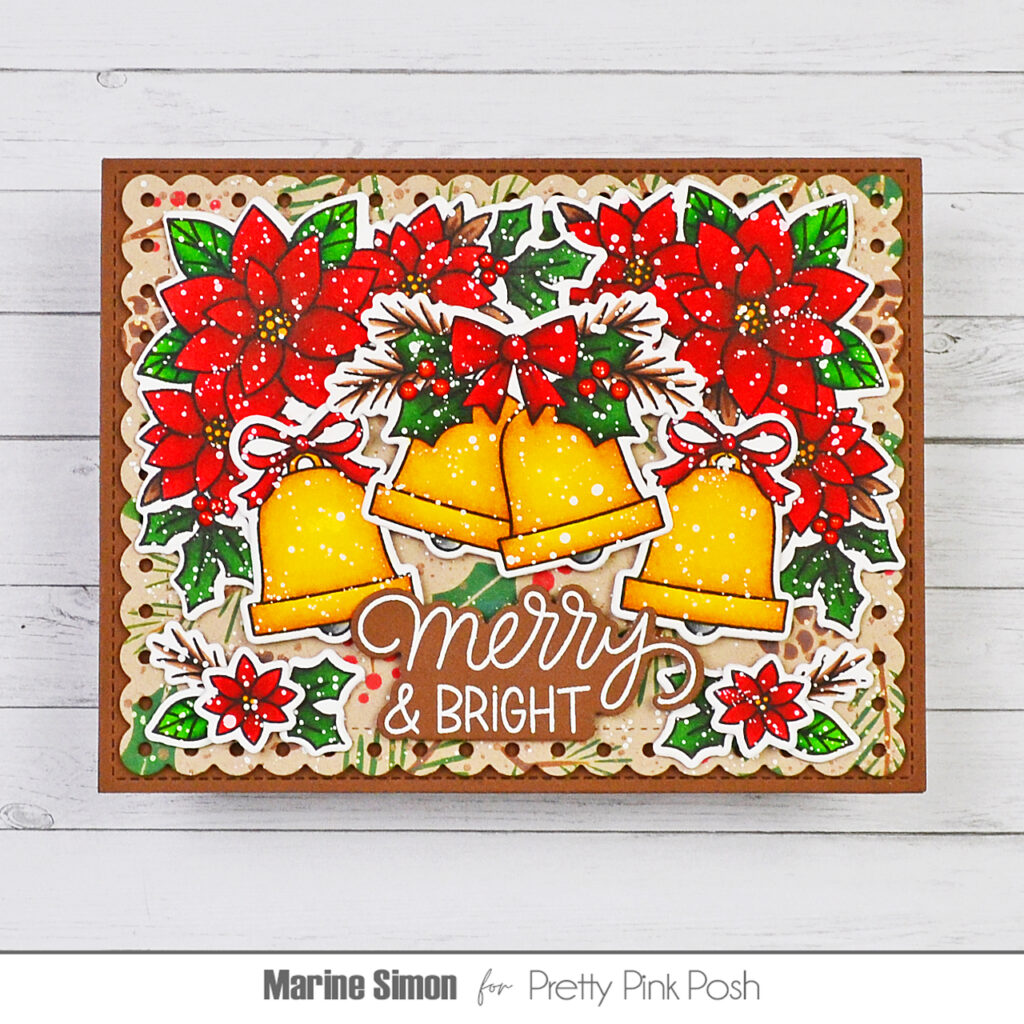
As very often, I started off by stamping the images on 110lb Neenah solar white cardstock using Memento tuxedo black ink. I used the coordinating dies to cut them all, and then colored everything using my Ohuhu markers in a traditional red, green and gold color palette. The images I colored are from two stamp sets only: the bells and mini clusters on each side at the bottom are from Christmas Bells, and the poinsettias are from Poinsettia Corners. When the coloring was done, I added a dot of glossy accents to each holly berry, and when I color images, I like to use a white gel pen to add details and highlights to each of them, but this time I didn’t feel it, so instead, and once the berries were dry, I mixed some copic opaque white ink with water and added white splatters to the images.
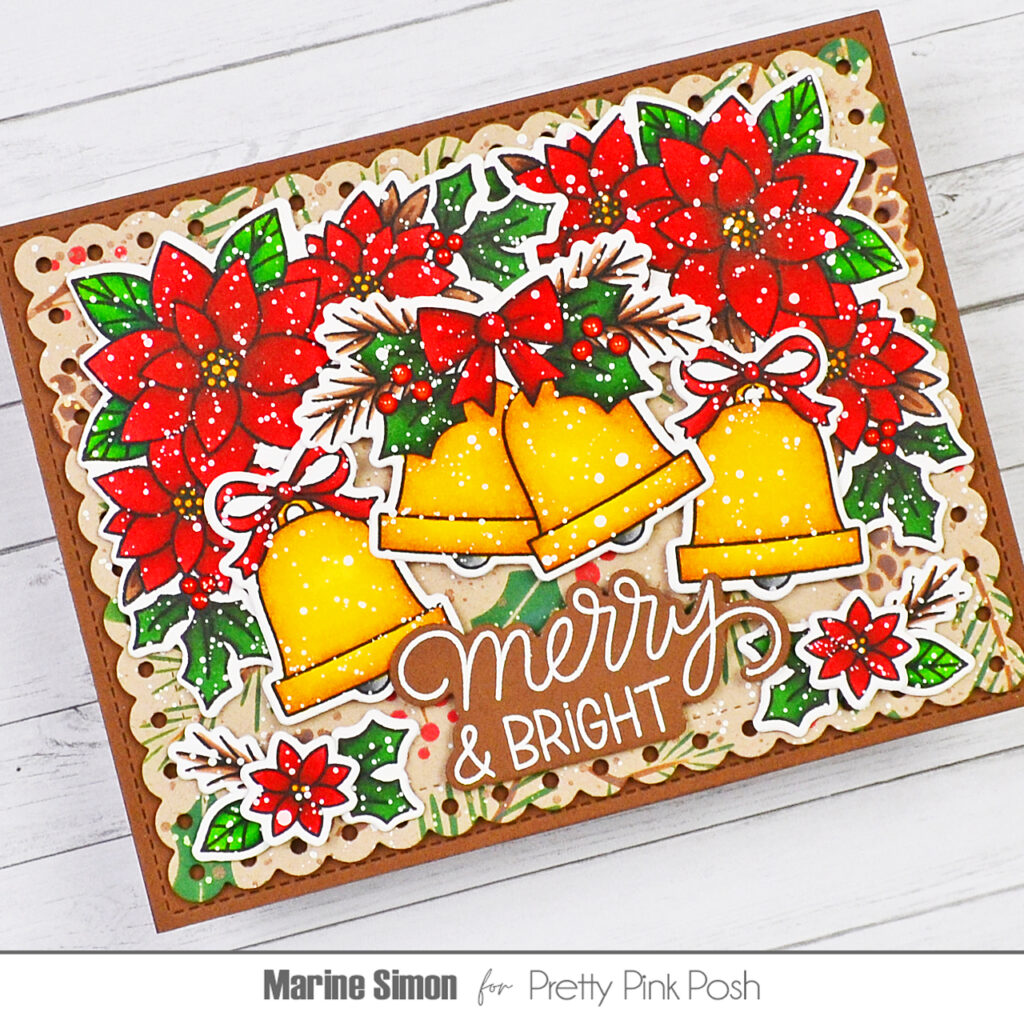
For the background, I cut a large Eyelet rectangle panel out of light kraft cardstock and created a holiday pattern on top using the Layered Winter Foliage stencils along with vintage photo, candied apple and rustic wilderness oxide inks. I added white splatters all over the panel, mixed vintage photo distress spritz with water and added sparkling droplets to my panel. When it was dry, I attached it to a 5,5 x 4,25 inches dark brown panel using 1mm foam tape, and then the whole thing to a matching card base.
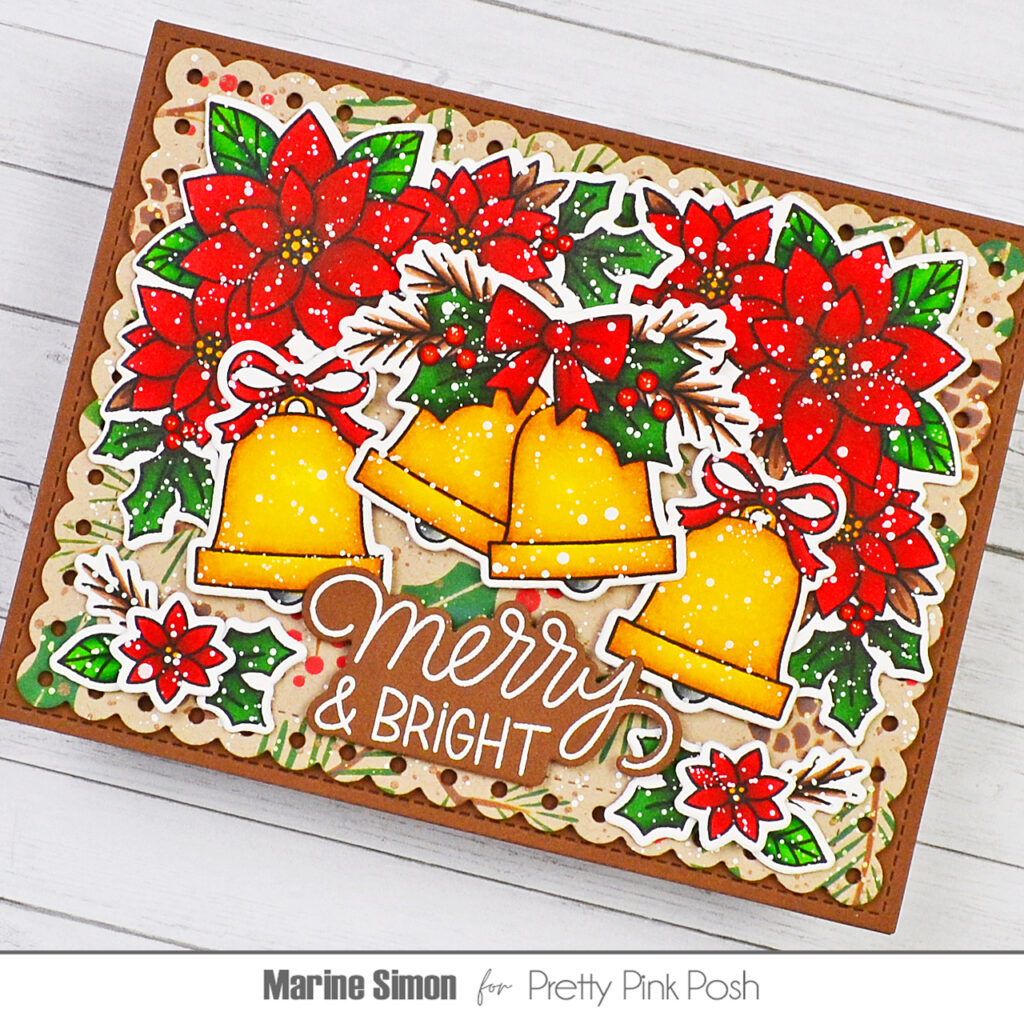
I stuck my images to the card using 1mm and 2mm foam squares, leaving enough space at the bottom for my sentiment. I white heat embossed “Merry & Bright” from Winter Greetings on the same dark brown cardstock as the back panel, cut it with the matching die, and finally attached it to the card between the small clusters using foam squares again.
And that’s it! Thanks so much for stopping by, and see you next time.
2 Comments
Comments are closed.