
Happy Fall Envelope
Hello and welcome! It’s Leica here and today I am sharing a Fall card using the Fall Borders and Mouse Friends stamp sets. This is easy and fun to recreate. Let’s get started!
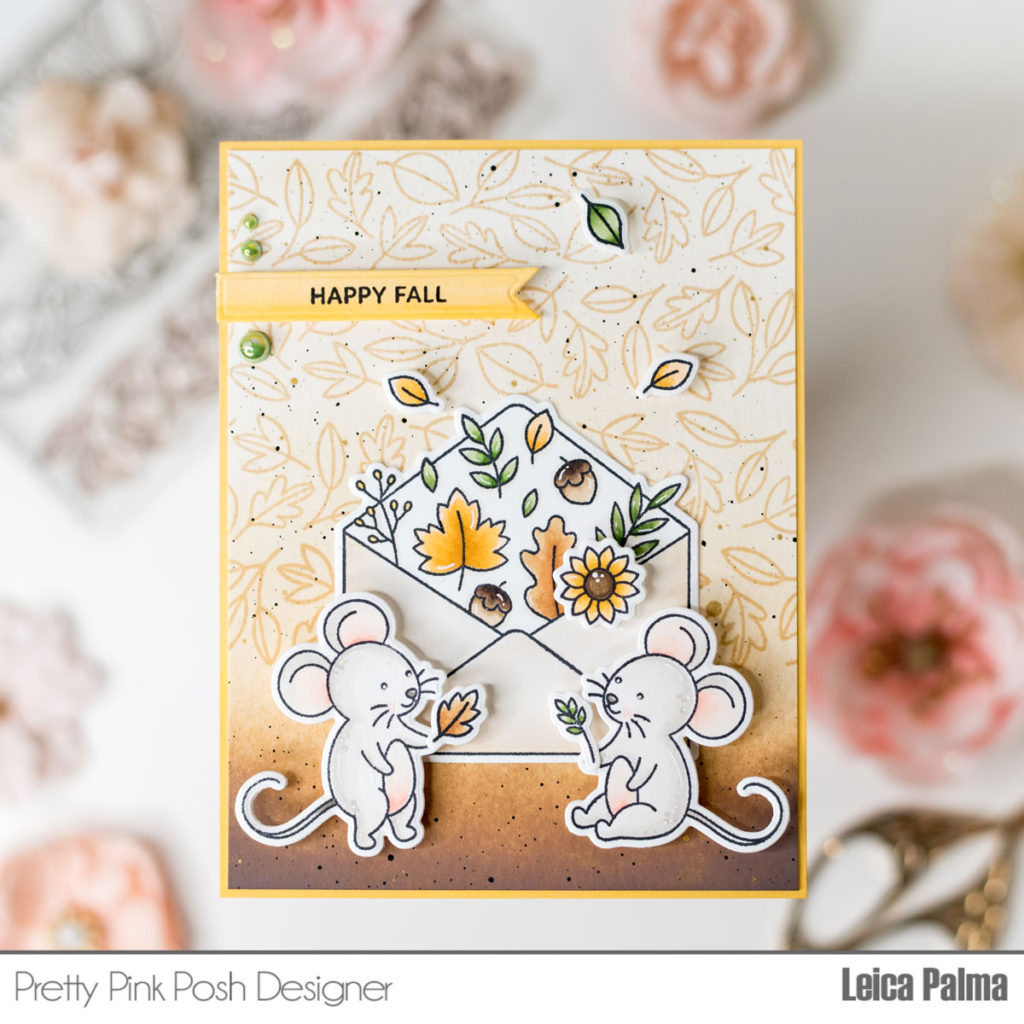
I first cut a panel slightly smaller than A2 size in white cardstock. I made the background by stamping one of the Fall Borders 4 different times in Altenew Sand Dunes ink. Next, I ink blended the bottom part of the panel in Gathered Twigs and Vintage Photo Distress Oxide Inks. I then splattered some black and gold acrylic paints for added interest.
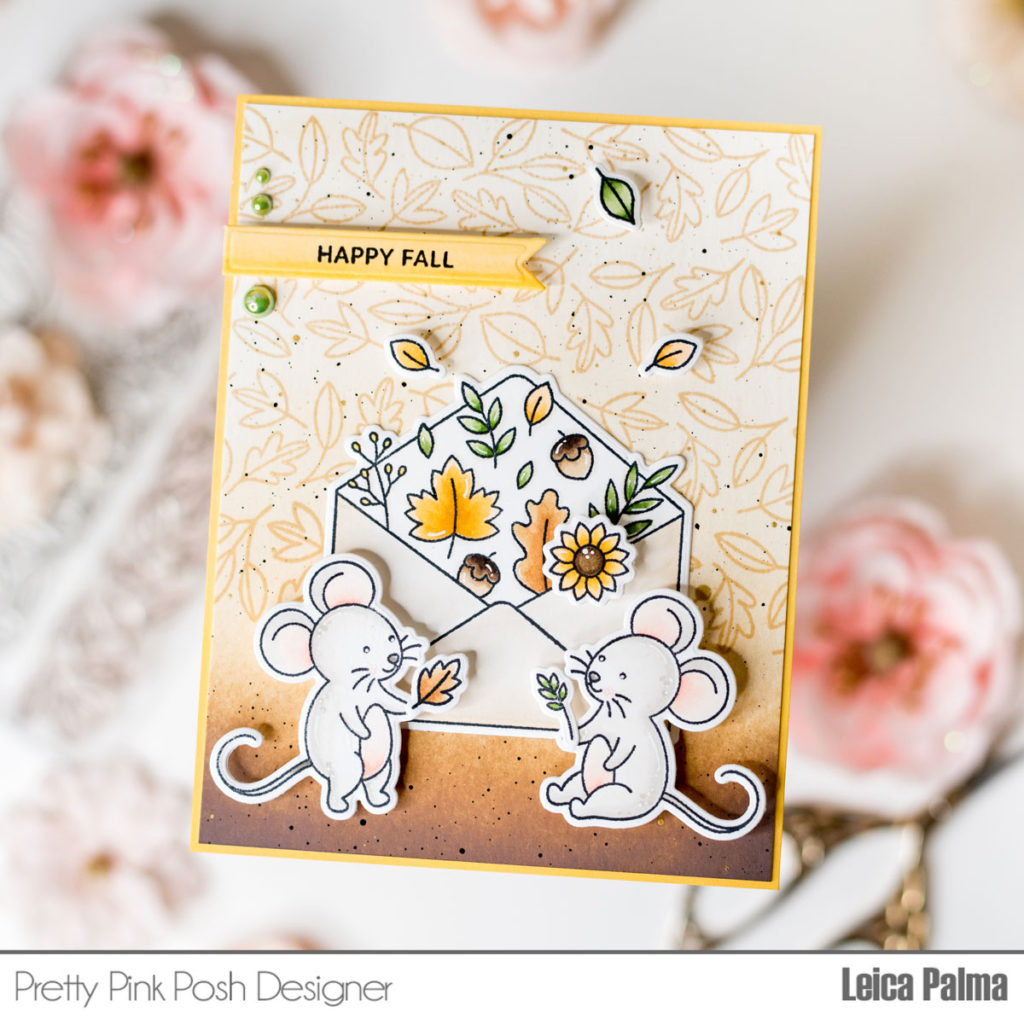
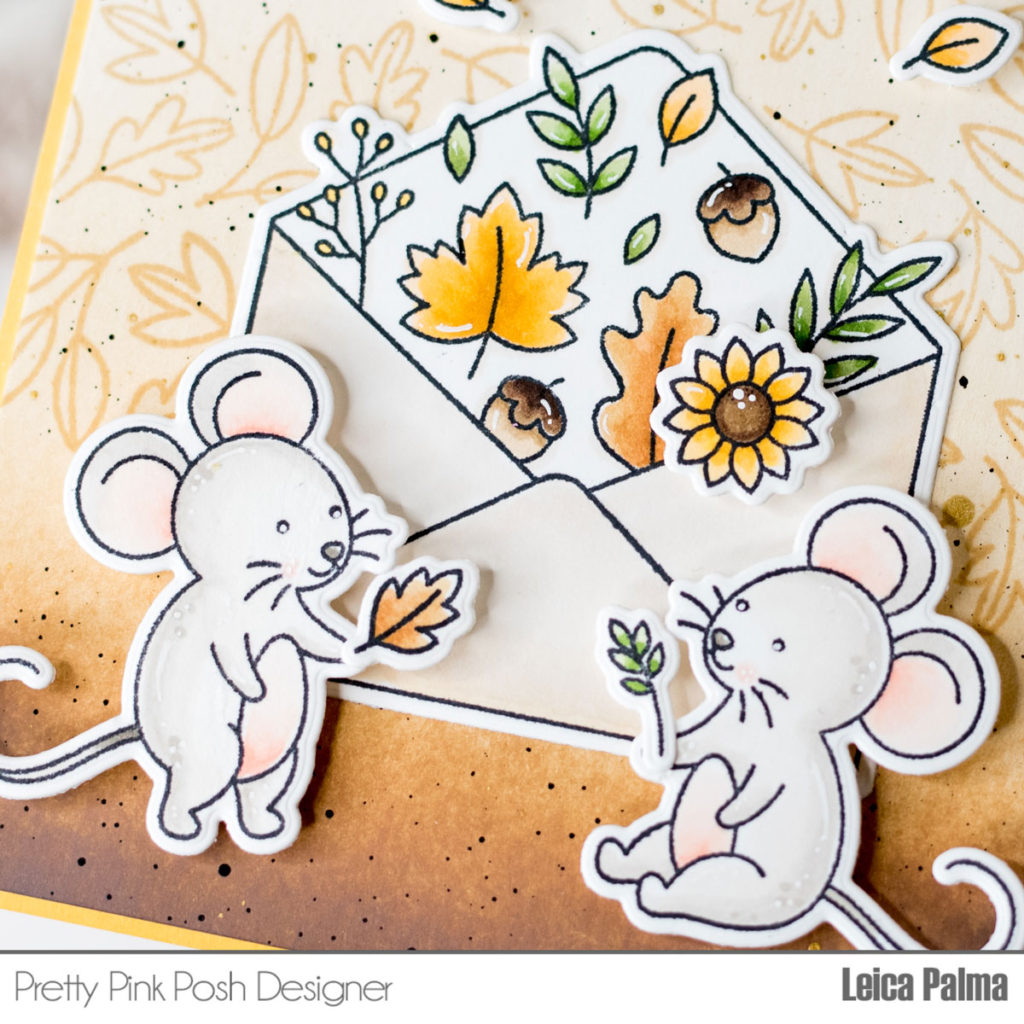
Next, I stamped, colored, and cut the images from Fall Envelopes and Mouse Friends stamp sets. I adhered the envelope onto the card panel and foam mounted the mice on top. The sentiment is stamped onto a banner strip, included in the Fall Envelopes coordinating dies. For added texture, I adhered 3 of the Pistachio pearls by the sentiment.
Lastly, I adhered the panel onto a yellow cardstock and adhered the panel onto an A2 sized card base.
That’s all for this card. Thanks so much for stopping by!