Valentine Theme Week- Day 4
Hello crafty friends. It’s Lisa Mears here. Today I’m going to make a card using some fun new products from Pretty Pink Posh.
Watch the video above I Watch the video in HD on YouTube
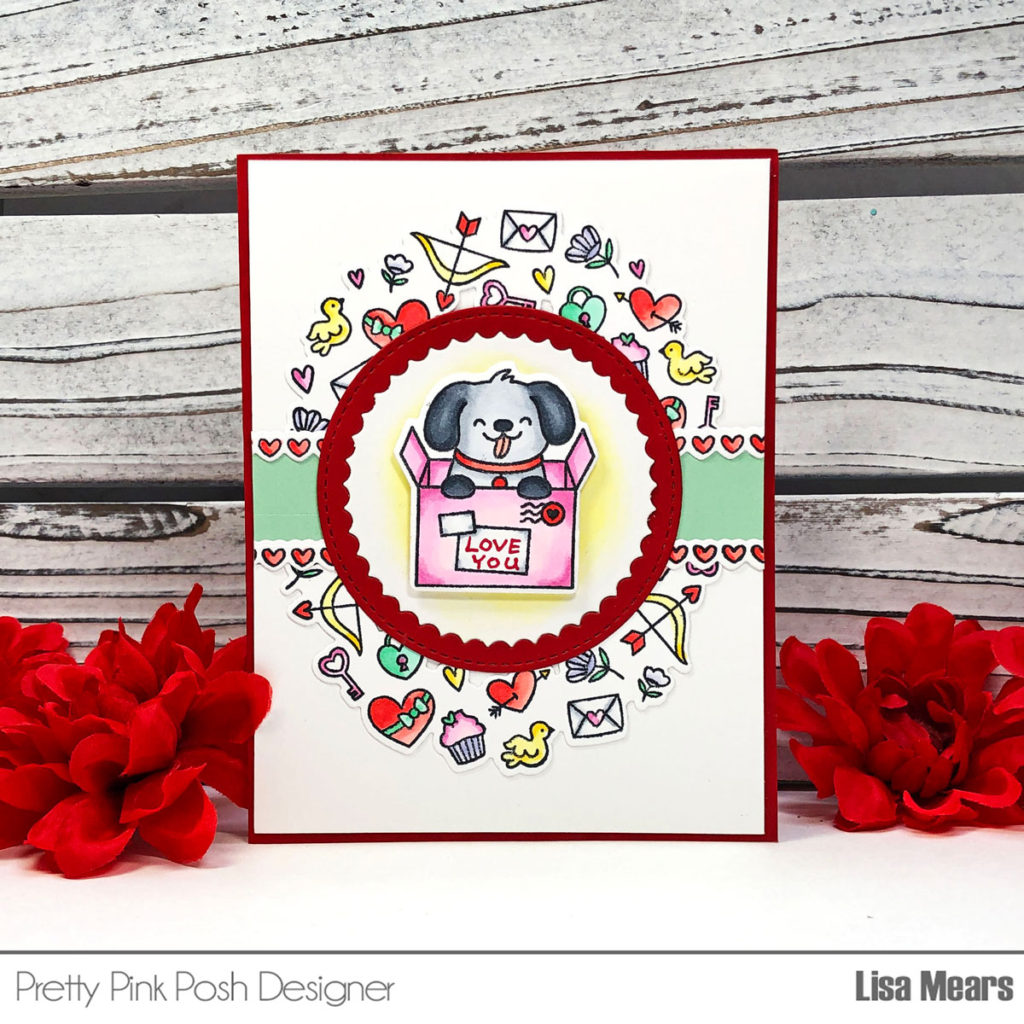
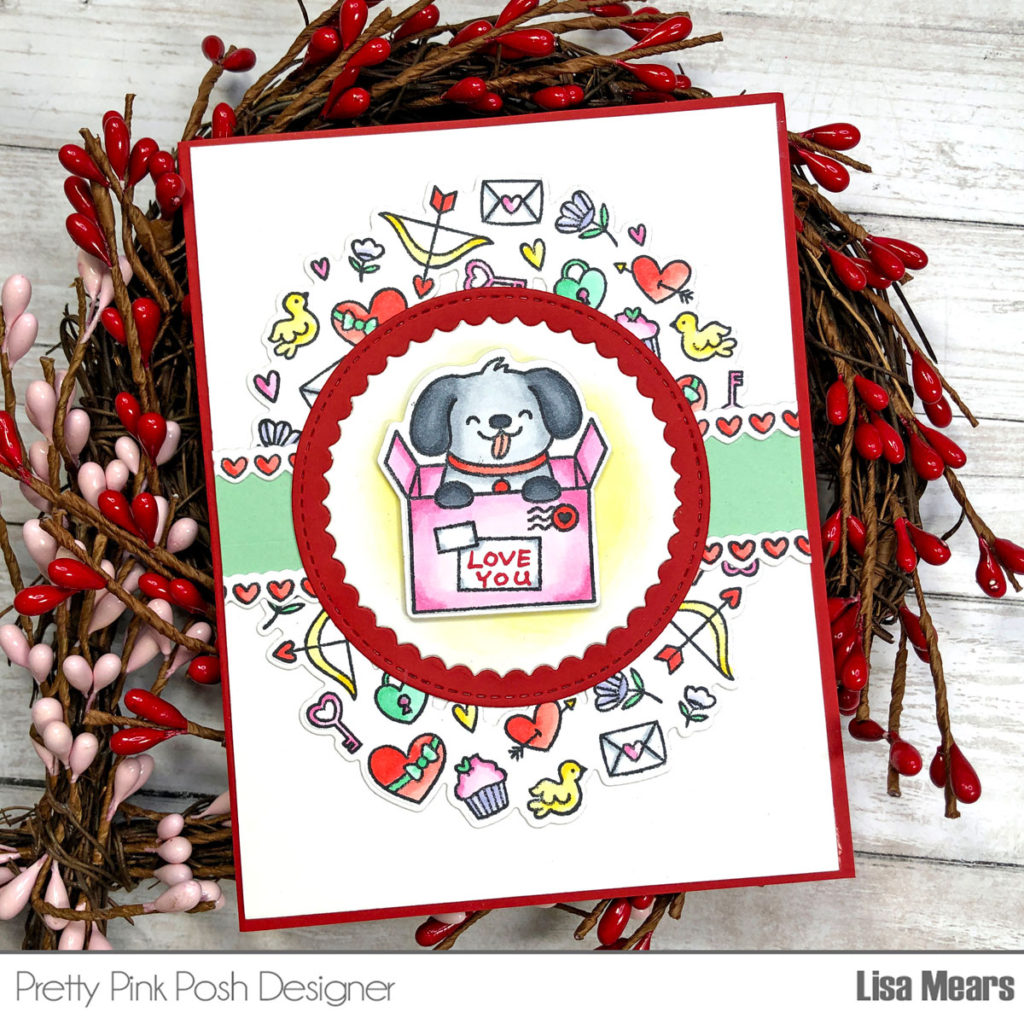
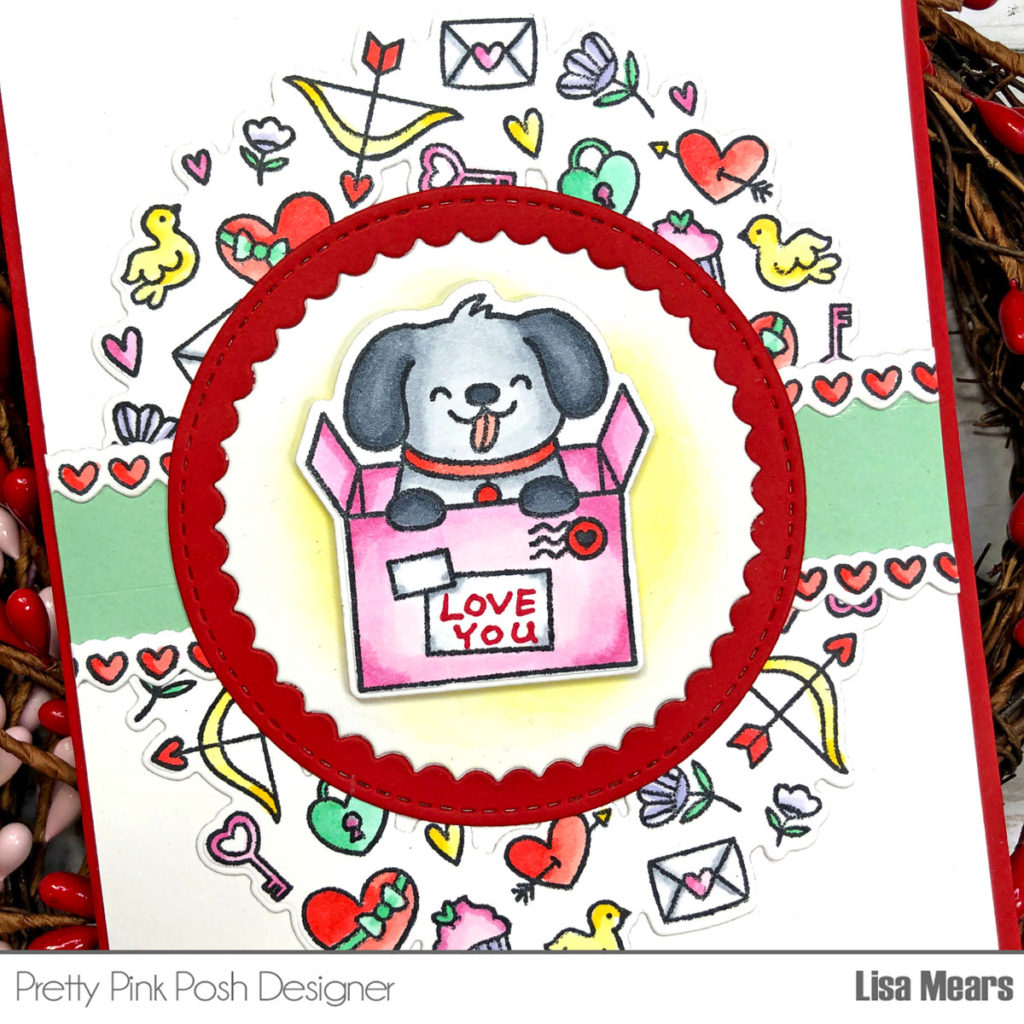
For my card, I used the following stamp sets: Valentine Wreath, Love Borders, and Sending Love. I started off by coloring the stamps using Copic markers.
Below is a list of Copic markers that I used.
Wreath
Red – R21, R22, R24
Gray – CO, C4, Blender
Purple – BV000, BV01
Green – G00, G02
Pink – RV00, RV52, RV55
Yellow – Y11, Y13, Y15
Dog
Ears (Dark Gray) – C4, C5, C7
Body (Light Gray) – C0, C1, C3
Paws – C5, C7
Nose – C7
Tongue – R20
Collar – R22, R24
Box
Pink – RV00, RV52, RV55
Gray – C0, C4, Blender
Red – R24
After I finished coloring the stamps, I die cut them with the coordinating dies.
Next, I die cut a Scallop Circle Die two times – once with red cardstock and once with white cardstock. I used the red piece for the outside of the frame and the white piece for the inside of the frame. I added Squeezed Lemonade Distress Oxide ink to the center of the white piece.
The trick to make the wreath look larger is to cut the wreath in half. Make sure you cut the wreath down the horizontal center at 1.75 inches so that you end up with a top half and bottom half.
Next, I cut a piece of green cardstock that measures 4 1/8” x 1” and adhered it to the center of a piece of white cardstock that measures 4 1/8” x 5 3/8”. Next, I added each piece of the wreath so that the flat edge of the wreath is touching the green strip of cardstock. Then I added two heart borders – one at the top of the green strip and the other one at bottom of the green strip.
To finish my card, I added the scallop circle die cut frame to the center and added the dog stamp on top of the scallop circle. Finally, I added the card layer to an A2 size red card base.
Thank you so much for stopping by today. Head to the Valentine’s Day section to save 15% on all those products during theme week!


