Christmas Theme Week- Day 5

Hi friends, it’s Elaine from Pink Peppermint Cards on the blog today. I absolutely love Christmas crafting so I’m super excited to be here on the Pretty Pink Posh Christmas theme week!
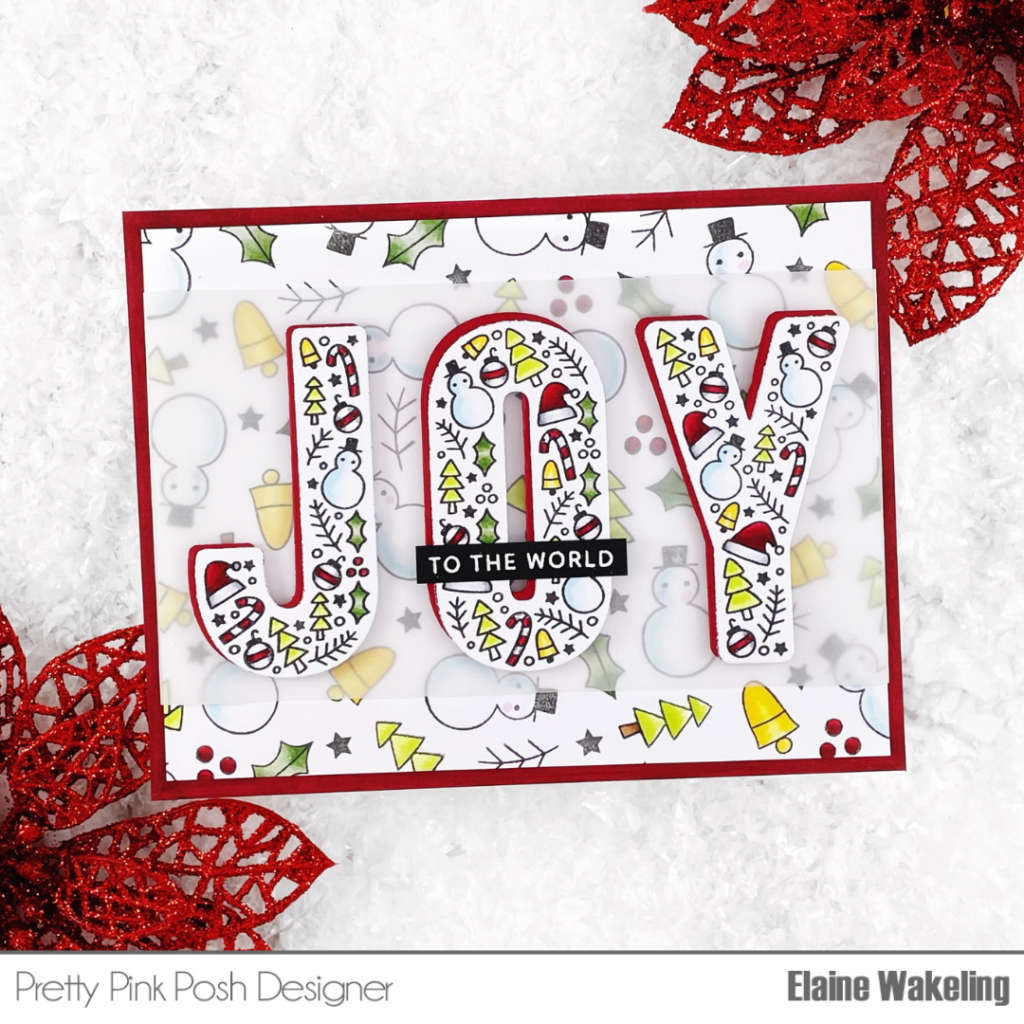
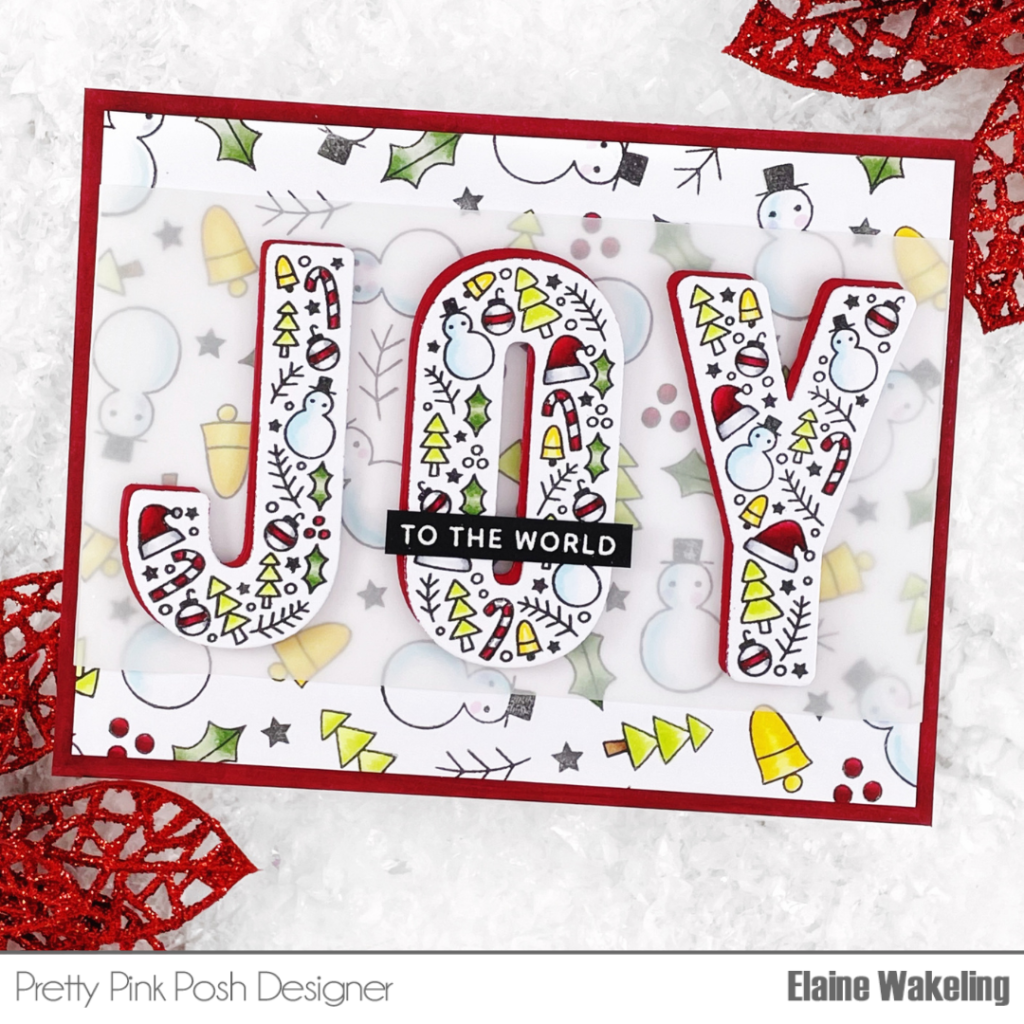
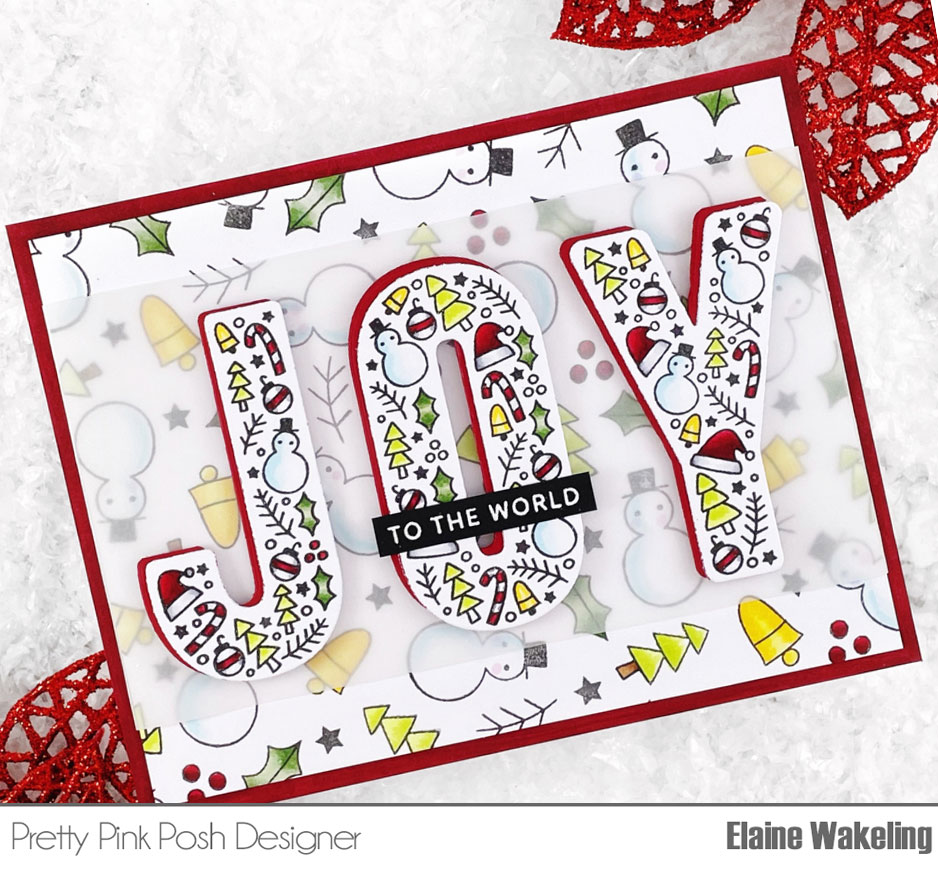
For my project today I have used the Joy stamp and die set to create a colourful and eye-catching card with traditional Christmas colors.

For the background design I took a piece of copic friendly cardstock cut to 5.5” x 4.25”. Taking the snowman from the Joy stamp set, I secured it to a small acrylic block and randomly stamped it on to the panel with a black copic friendly ink. I made sure to rotate the snowman into different directions and go off the page to give a random look to the stamping. I repeated this technique with the bell, tree, holly, sprig, berries, and star stamp in the set. I like to start with the biggest image and move down to the smallest, that way you can ensure you have enough space for all your images and the littlest ones can be used to fill in the gaps!

Before moving on to the coloring I also stamped the large Joy stamp on to another piece of copic friendly cardstock with the same black ink. Then it was time to color all the lovely images!
I colored all the images with copic markers. I often like to know what color combinations other artists use so I’ve listed the ones I have used here:
Snowman: C7 C5 C3 B01, B00, B0000
Bell: Y17 Y15 Y13
Holly: YG67 YG6, YG61
Berries: R59 R39 R29
Tree: YG07 YG03 E27 E23
Santa Hat: R59 R39 R29 C3 C1 C00
Candy Cane: R59 R39 R29 C5 C3 C1
Once the coloring was done I cut out all the images with the co ordinating Joy die set. I took a pieced of red card and cut it to 5.5” x 4.25” and from the centre of it I cut the J, O, and Y and used them to place behind their co-ordinating coloured image at a slight offset. I then took a piece of vellum and cut it to 6” in length (extra to wrap around the back of the panel) and 3” in height. I trimmed the background panel down to 5.25” x 4”. I secured the J, O and Y letters to the centre of the vellum strip with foam adhesive and scored both ends of the vellum at 0.5”. Before securing both ends of the vellum, I also popped a few small dabs of glue behind the letters to help the vellum adhere to the background panel. The vellum strip was then secured in place with double sided adhesive. The panel was glued to the red cardstock base layer.

I used a sentiment from the same Joy stamp set and inked it with a clear sticky ink on to a powder prepped piece of black card and heat embossed with white embossing powder for a clean crisp look. Once cooled, I trimmed the sentiment down to a thin strip with my guillotine trimmer and adhered it on to the O. The whole thing was then secured to an A2 white card base.
I hope you enjoyed this card project and all the projects created by the talented design team during this Christmas Theme week! Happy Christmas crafting!
Hugs, Elaine x
