
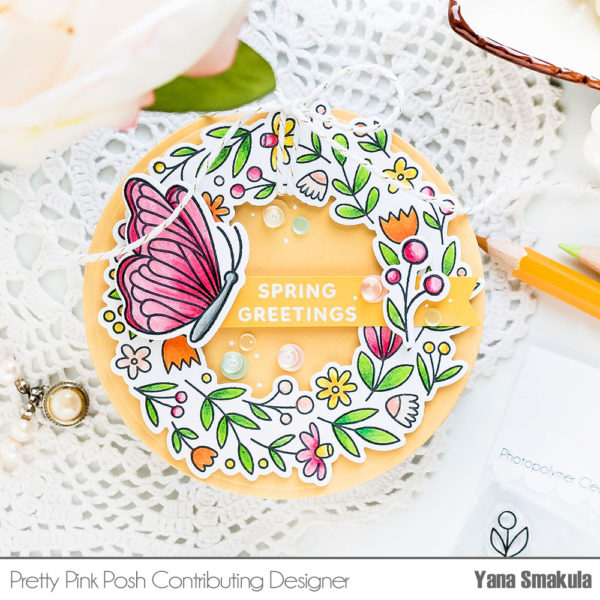
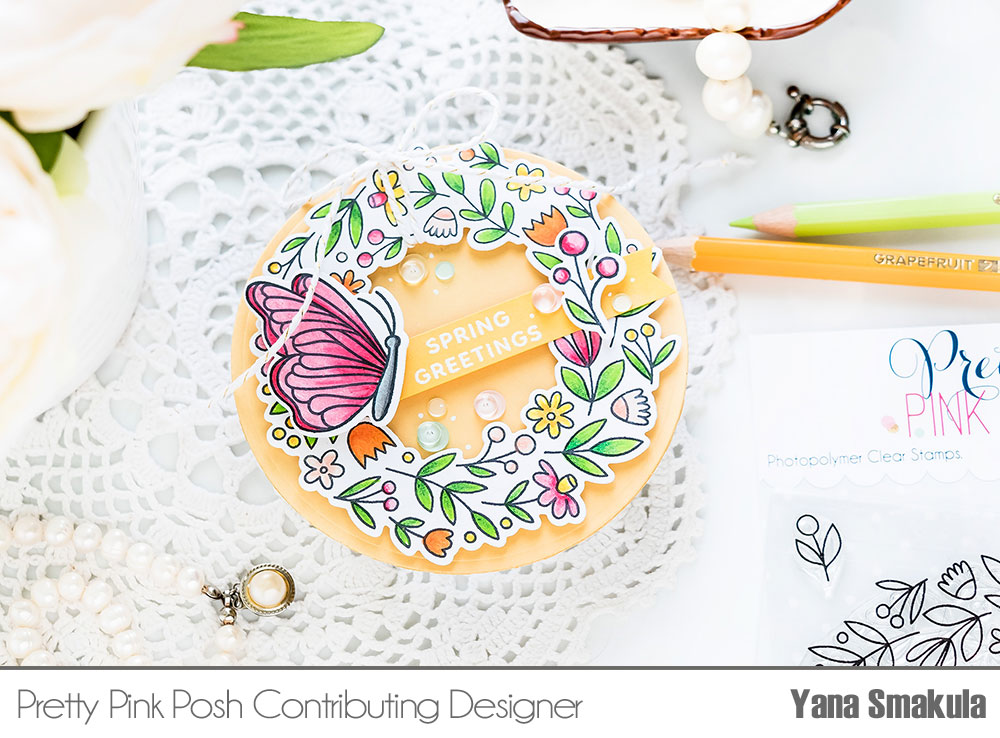
Circle Shaped Spring Wreath Card
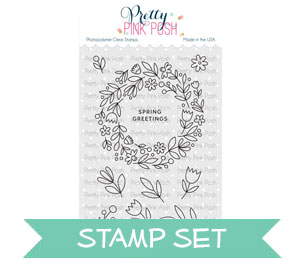
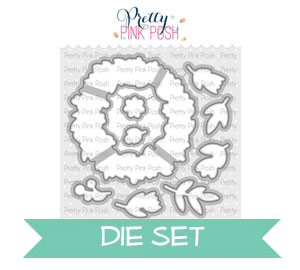
Hello, Pretty Pink Posh fans! This is Yana Smakula. I rarely make shaped cards now and frankly, this is something I really miss from my early card making days. When I saw the Spring Wreath stamp set by Pretty Pink Posh I knew it was perfect to use for a cute little circle card. It’s like it was made just for that!
If you are not into shaped cards and prefer regular A2 card size and format you can easily incorporate my today’s idea into a traditional format card.
Watch my video tutorial below to learn how I made this card.
I started working on my project by stamping the Spring Wreath in black ink on regular white paper. I wasn’t sure which coloring medium I wanted to use for this card, but having just received a set of Dual Ended Chameleon pencils in the mail I wanted to give them a go. For this card, I picked just a handful of colors to test these pencils out.
If you are not into colored pencils, you can, of course, color this wreath using any coloring medium you like, the images here are small and don’t require a lot of work, so it’s a great image to color quickly or on the go.
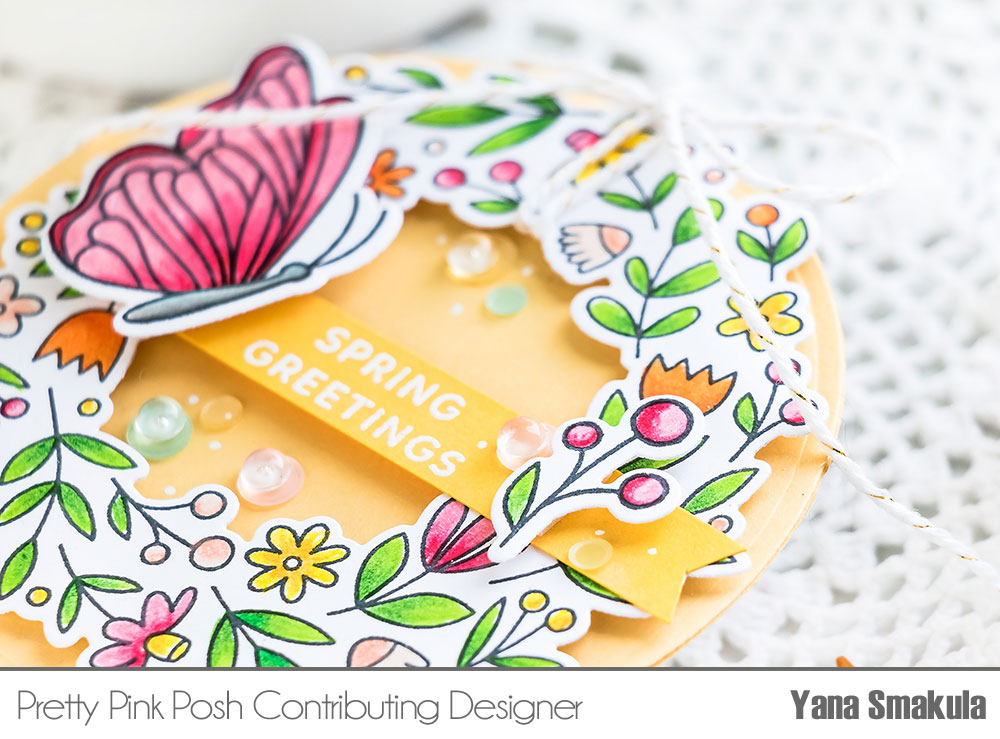
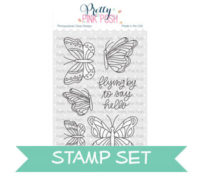
Once my wreath was colored I also stamped a darling butterfly from the Beautiful Butterflies set and another separate flower from the Spring Wreath set and again colored both images using same dual ended Chameleon pencils.
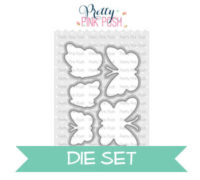
There are coordinating dies available for both of these stamp sets, I used mine to cut the wreath, individual flower and also the butterfly out.
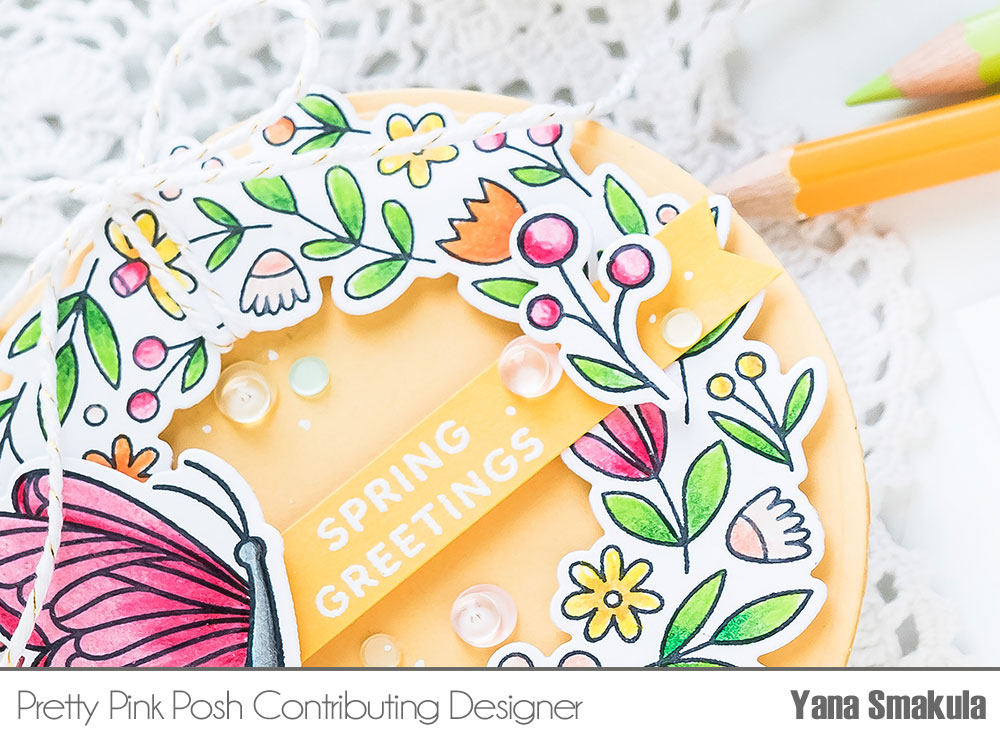
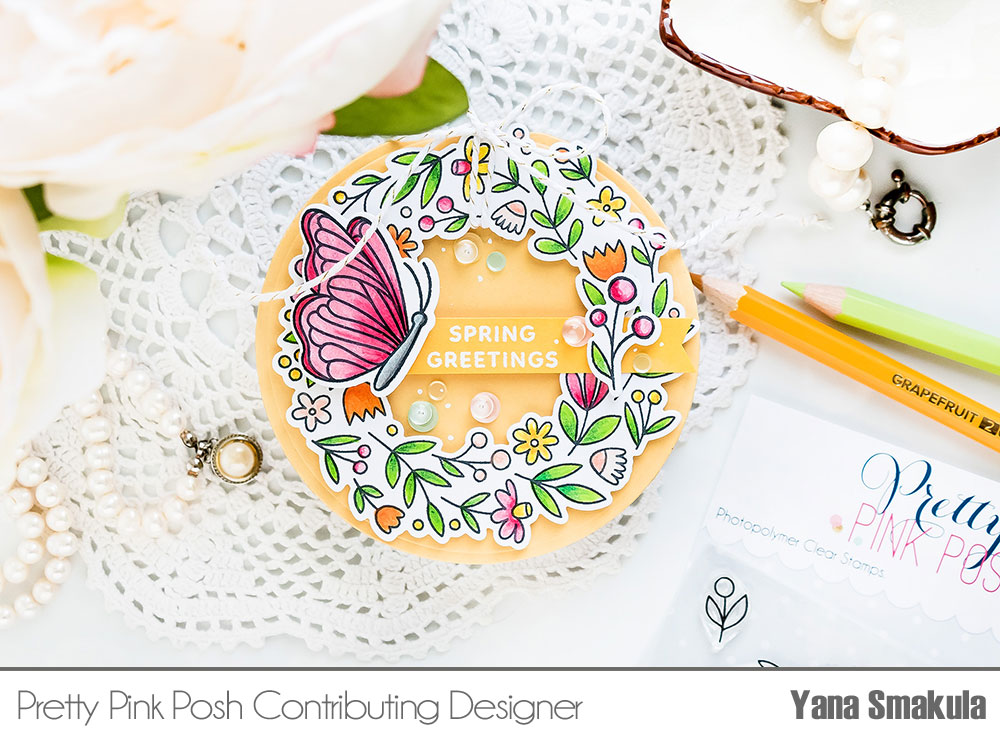
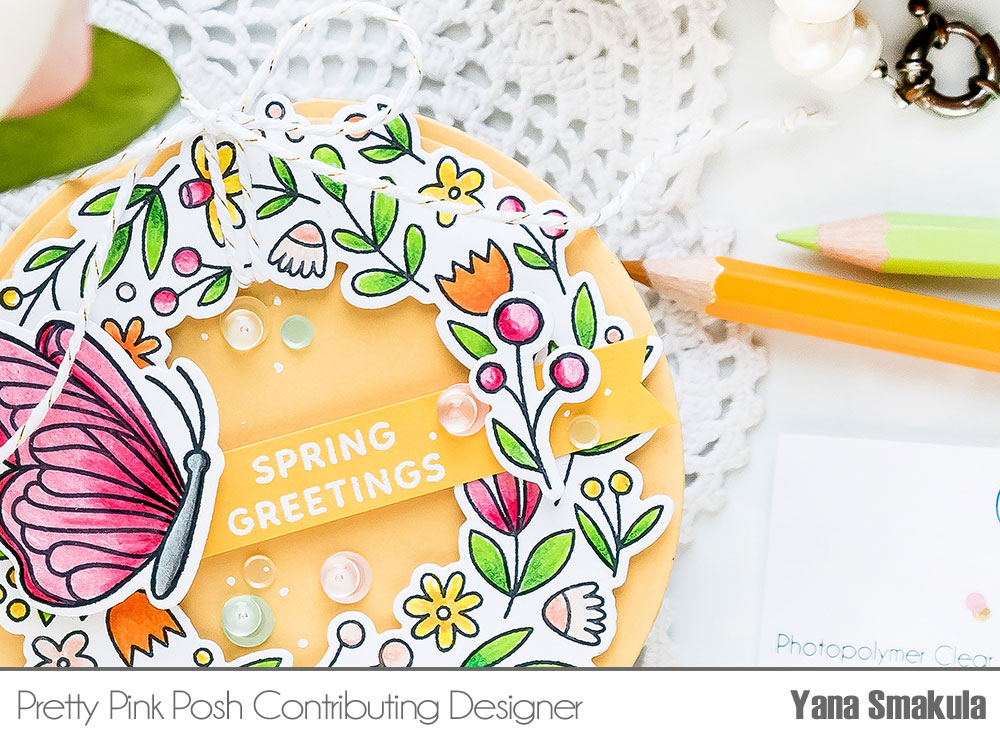
Next, I stamped a sentiment for this card that reads Spring Greetings, it comes from the Spring Wreath stamp set. I stamped it on dark yellow cardstock and heat embossed in white embossing powder, once it was ready I trimmed t into a skinny strip.
From this point, if you prefer a standard format card you can create a regular A2 card base and follow the tutorial. I however wanted to make a circle card so I die-cut a circle card base using a regular circle die. I first created an A2 card base out of light yellow cardstock and next used the die to cut it into a circle. I made sure the die blade went outside the fold of the card so that I didn’t just die cut 2 circles, but rather a circle card base.
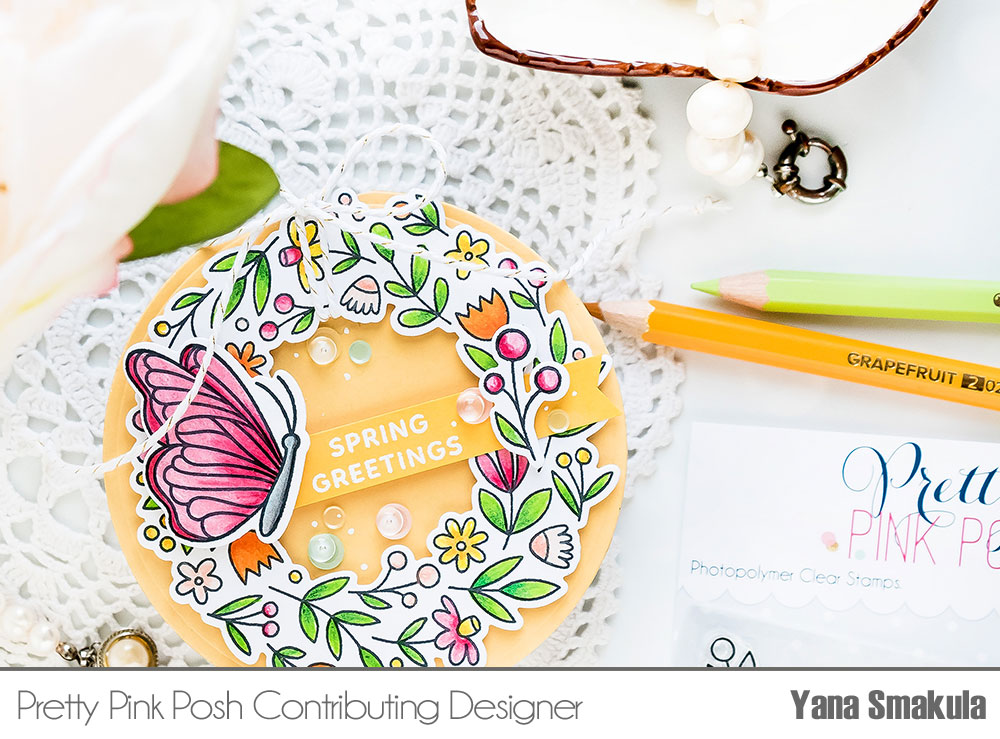
Next, I used lots of foam adhesive squares to foam mount the colored wreath on to the card. Before I adhered it in place I added some white twine to be able to tie it into a bow later. It just adds a nice finishing touch to the card.
I made a V-shaped cut on the right-hand side end of the sentiment strip and having figured out the placement I adhered it in place using glue, I only added glue where the strip overlapped the wreath. I used different shades of yellow of cardstock for the card base and sentiment strip so that they won’t blend together.
I also shaped the butterfly a bit and adhered it onto the card using foam adhesive to pop it up above the background. I also foam mounted the individual flower I had colored.
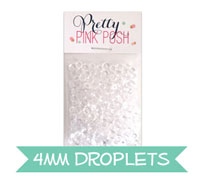
Finally, I used a mix of sequins from the Easter mix and also small clear droplets to embellish this card. I adhered them in place using liquid glue.
I think these cards turned out really beautiful. I hope you like them! Have fun stamping!
Such a beautiful wreath!! :)
Love shaped cards and just got this set the other day. You have inspired me to try to make the card. Your card is gorgeous so wish me luck.
This is so sweet and cute. I love the wreath–all of the little flowers. I am hope that PPP makes more wreaths because I love them. I am going to get the autumn wreath stamp set, too. LOVE these. I like your coloring. You have inspired me to get into my craft room today.