Bubble Watercolor Technique
Hello everyone, Eloise here and today I have a fun card using the Bee Friends stamp set. This stamp and die set is available through the month of March with qualifying purchases (it will be available for purchase starting in May 2017). You will receive the stamp set if you spend over $80 and the die set if you spend over $125. This is before shipping and taxes and also while supplies last. This stamp set is super fun and I encourage you to try and get this stamp set while you can.
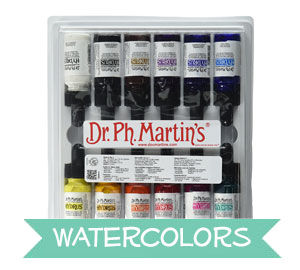
To begin my card today I’m starting off with my background. To do this technique your going to need a bowl – I’m using a large round bowl that’s not very deep and this worked great. Some water, dishwashing liquid, liquid watercolour – I’m using Dr. PH Martins in the video, but Distress Re-Inkers or other Dye Ink Re-Inkers should work great here too or any other liquid watercolour and of course, a straw and watercolour paper.
I first filled my bowl around 1/3 of the way with water, added quite a bit of dishwashing liquid, since I want there to be lots of bubbles and I then blew bubbles into the water, using my straw. Once I had lots of bubbles, I dropped some of my liquid watercolour on top. You typically want your watercolour to be quite liquid-y. Since mine was a bit thick at first, it popped the bubbles and didn’t give me the look I wanted. I tried again once I got rid of the thick watercolour and then pressed my paper onto the top of the bubbles, lifted up and heated it with my heat tool. You should be able to see here the startings of the watercolour look. The lighter colour I used wasn’t giving me the results I wanted, so I took a darker blue and repeated the process and got great bubbly results. I absolutely love this, I can’t wait to do this more! Once I repeated the steps and got to where I wanted it, I dried it completely with my heat tool and moved onto my images.
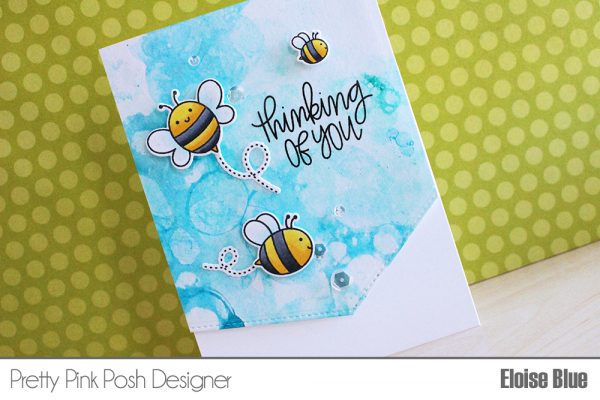
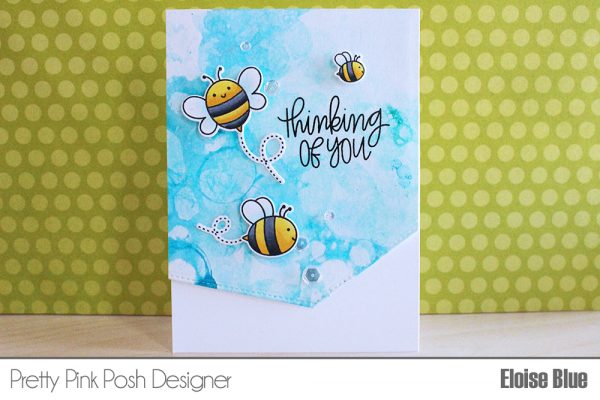
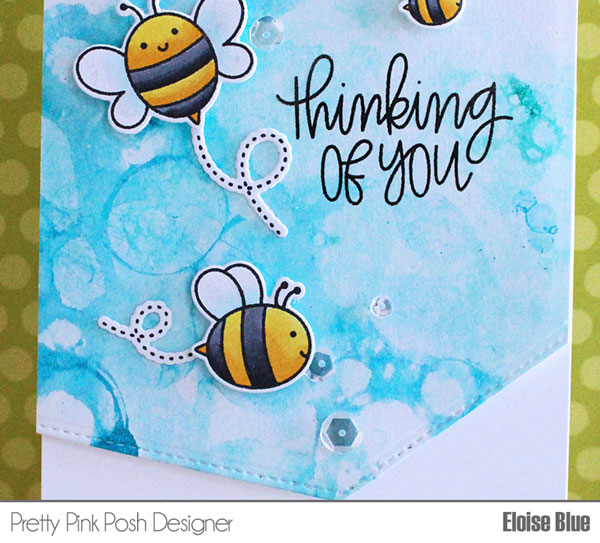
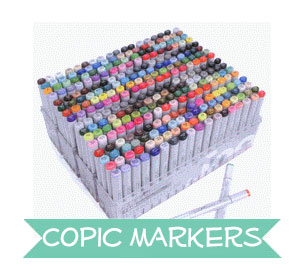
I stamped out all my images using the Bee Friends stamp set and used Copic Markers to colour them in. Bee’s are so easy to colour, I love colouring any size of image – but this is just so quick and easy, it’s so nice for it to be fast once in a while. Once all my images were coloured I used the coordinating dies to cut them all out. Once my images were ready I could assemble my card. I used the ‘Thinking of You’ sentiment from the same Bee Friends stamp set and stamped it with black ink onto my background.
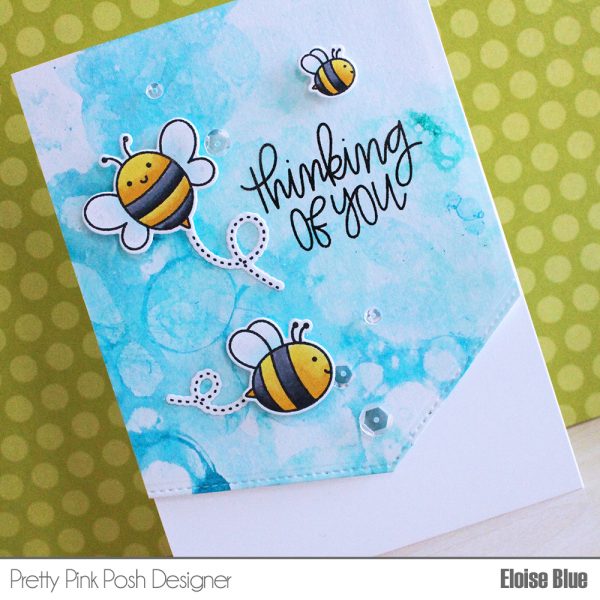
I used the Stitched Notes die set and used one of the angled dies in the set and die cut the bottom of my watercoloured panel to create a fun angle. I then used foam tape to adhere my panel onto my card base. I then used foam tape and liquid adhesive to adhere my bee’s into place. Then for a finishing touch I used a Wink of Stella brush pen to give my bee’s some sparkle and then scattered some Sparkling Clear Sequins on top of my card.
Thanks so much for stopping by!

Stop it. That BG is amazing! I need to try this. TFS!
How fun, love your card and video!
Hi Eloise, Your bubble background is wonderful!! Thanks so much for the awesome tutorial. Your card is so cute and magical!
Fun technique and very cute card! Thanks for sharing.
Never heard of this before, I really like it! Adorable card.
I LOVE this look! Thanks for sharing your technique!
I absolutely love this Eloise, it never occurred to me to try this. DAH! SO beautiful!
This is a adorable card, and I love that technique
I love the look of the bubbles. I have not done this and will be trying it. Great look. those bees are so cute and love that there are dies. Sweet card.
I did enjoy your card, thank you!
This is so clever! I want to try it!
Love the pretty background!! Absolutely adorable!
Love this card and technique but wondered what type of paper you used. Was it glossy or watercolor or just plain card stock. I sure want to try this technique. Thanks for sharing.
Such a fun technique…need to try!