Valentine Theme Week- Day 4
Hello, there! It’s Marge here with you today. I’ve already shared a few Valentine cards so far, but today I’m going to share somewhat different technique from my usual styles. But don’t worry, it’s easy, clean and simple to make, as always.
To make Valentine themed cards, I wanted to make bold and bright red colors, so I decided to use alcohol inks this time. Do you feel comfortable using alcohol inks? Unfortunately, I’m don’t. As a mother of two young children, keeping and using flammable materials in the house is not easy at all. So I try to use alcohol inks as simply as I can! If you are feeling the same way, I hope today’s post will help you a little as I’m a beginner, too.
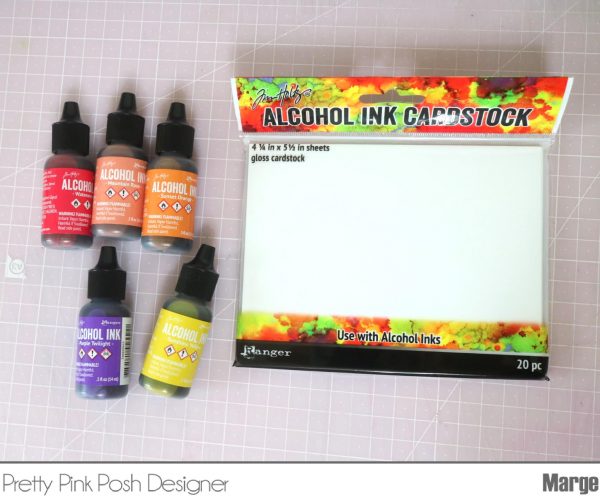
Here are what I used for making alcohol inks background. You only need some colors that you want and Yupo paper. I used Watermelon as a main red color, and some other colors: Mountain Rose(coral), Sunset Orange(orange), Purple Twilight (violet), Sunshine Yellow (yellow), and Hazelnut (brown).
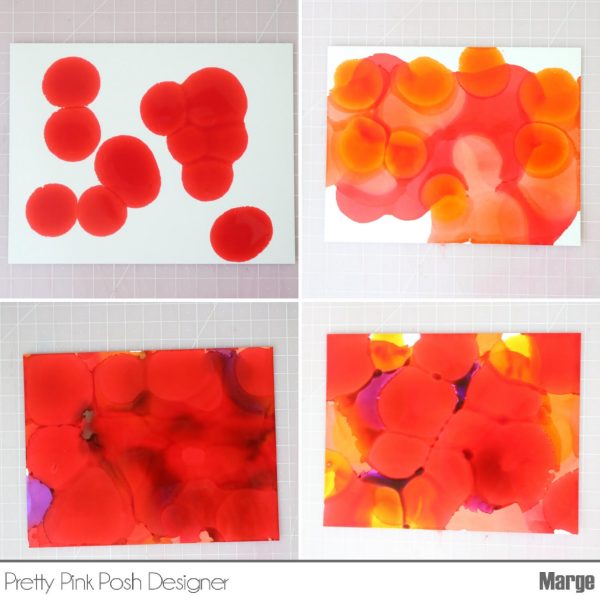
To begin, I opened the ink cap, and just dropped several drops here and there on Yupo. I repeated the process using the same or different colors. Then I wait while the drops spread and fuse each other and finally covered the entire panel. (See the photos in clock-wise direction)
If you want to make some patterns, brushing or sponging using pure alcohol or blending solution will help. I just wanted to let you know dropping inks only will work or you may tilt the panel before inks are dryup, so the fluid can flow on one side and make some patterns. Again, my point is that you don’t have to buy all those supplies they say to enjoy alcohol inks.
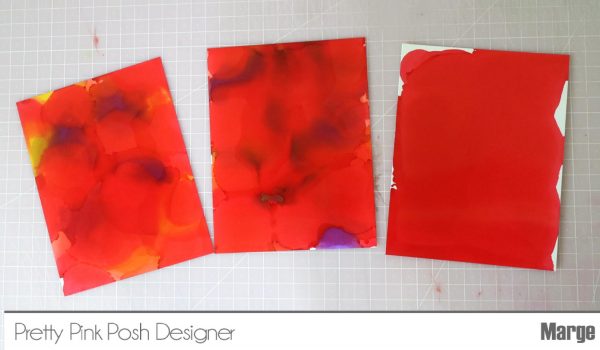
Here are three panels I made in just 3 minutes. I used several inks listed above for the two panels, then I used only Watermelon for the last.
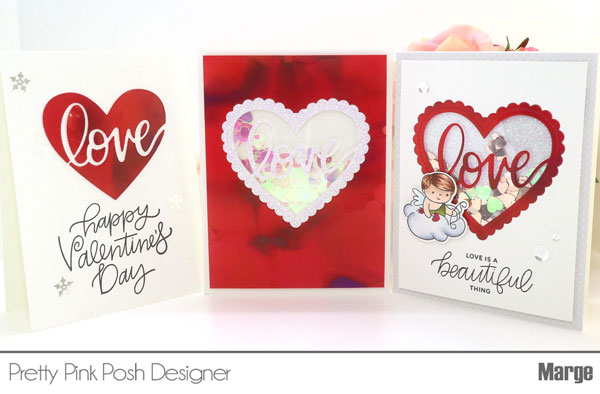
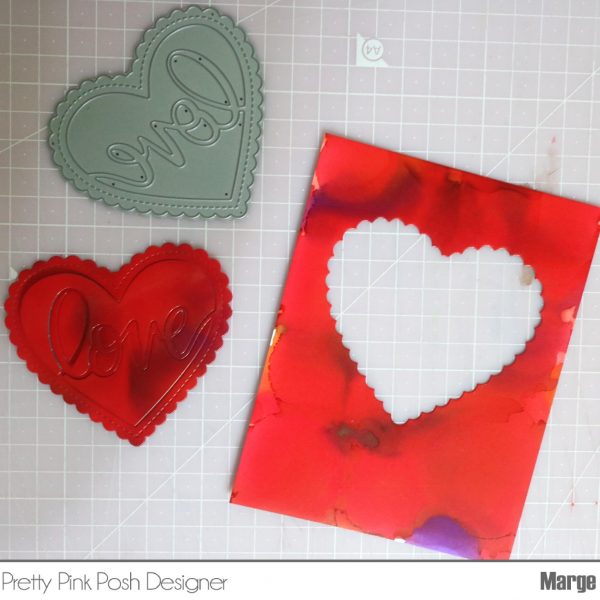
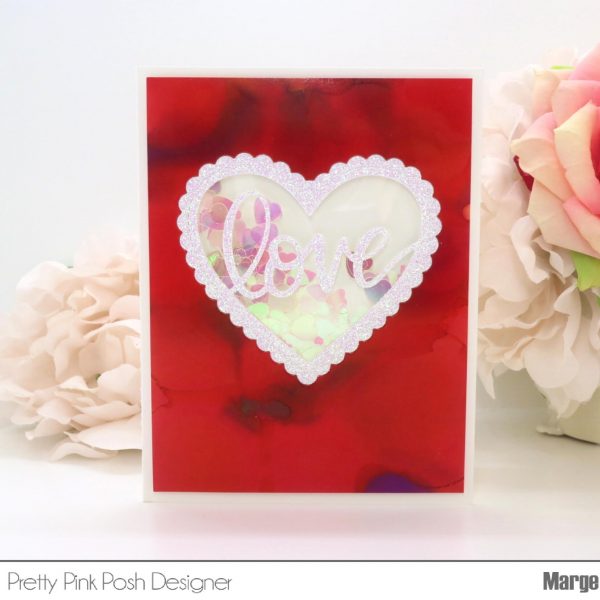
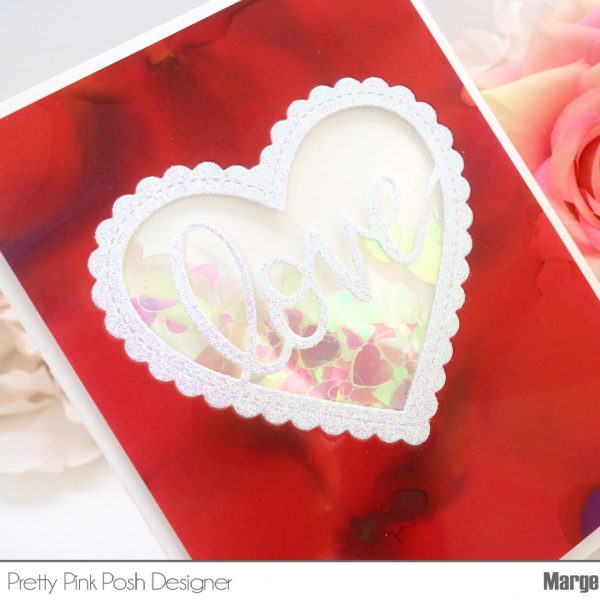
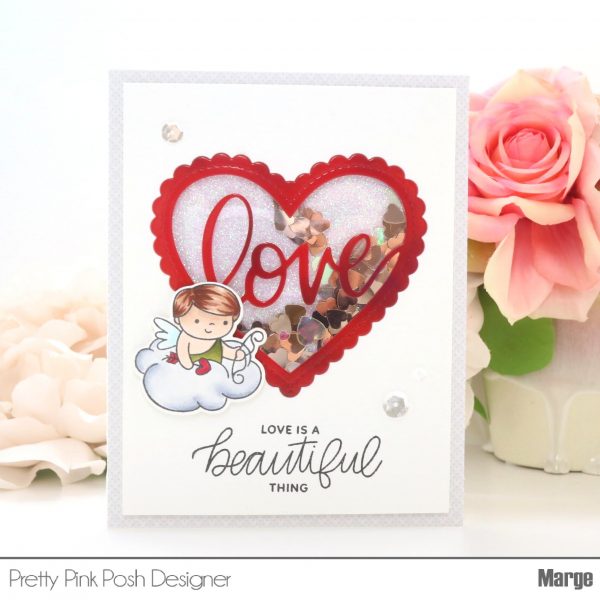
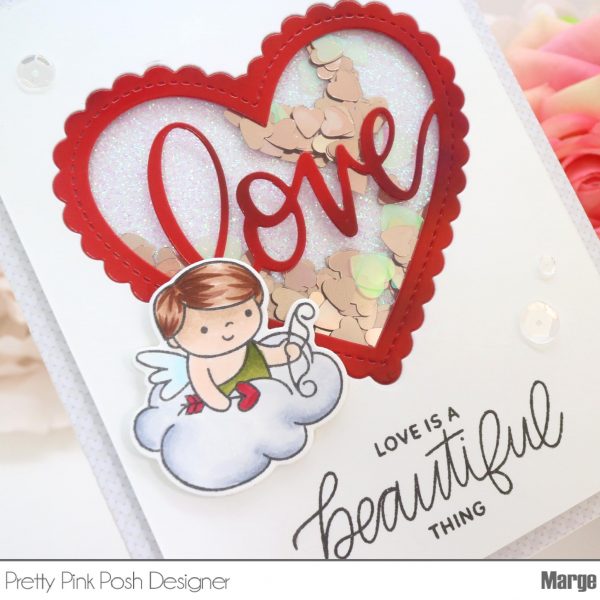
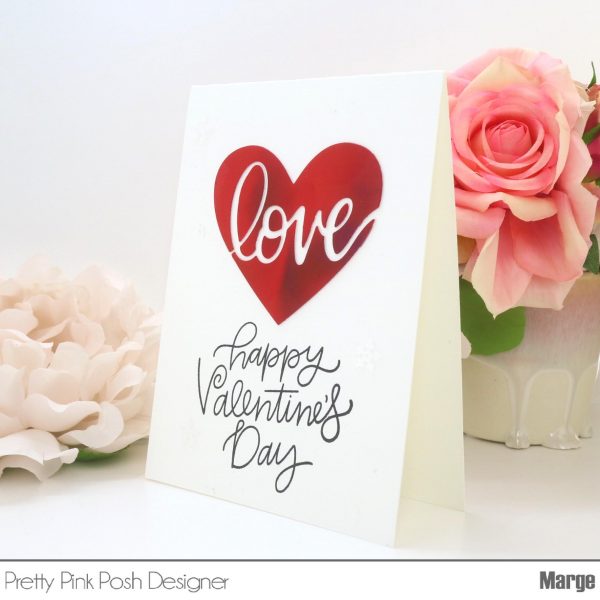
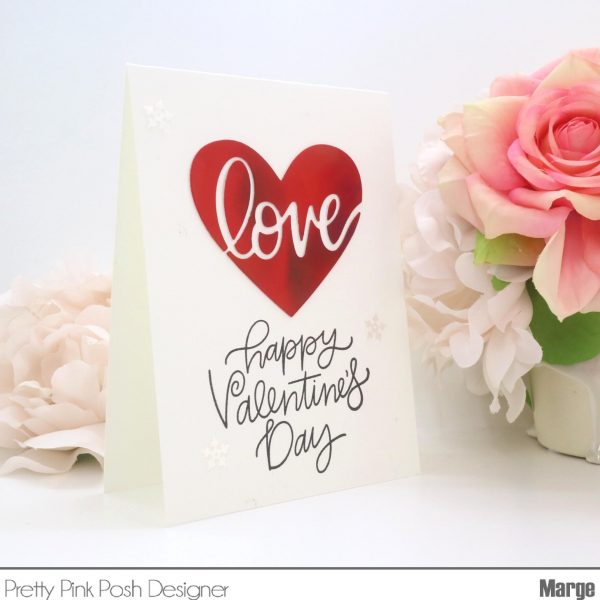
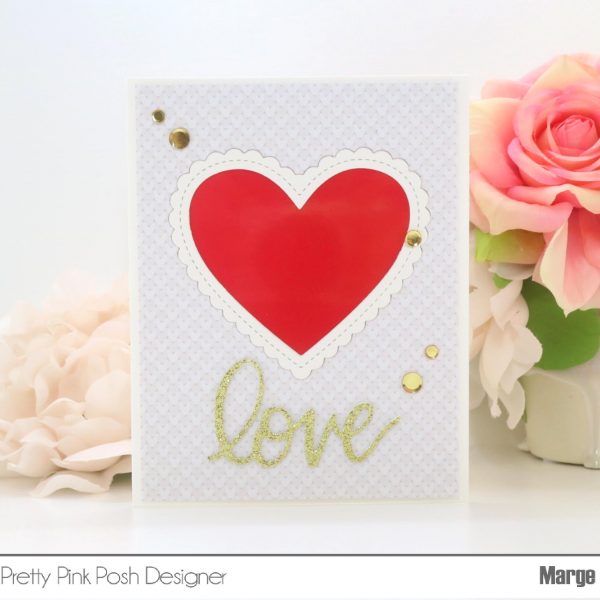
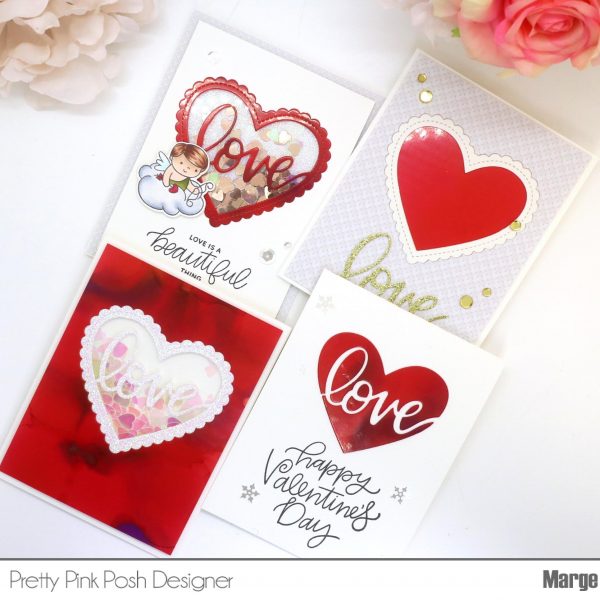
I’ve shown how to make a couple of simple designed cards from just one alcohol ink panel! So excited, isn’t it? I’m showing you one more card for your interest.

Great backgrounds with alcohol inks!! Darling cards perfect for valentines :)
Beautiful cards. Thanks for sharing…
Great way to stretch your supplies and make multiples !!! Beautiful cards!!!
Great alcohol ink cards! The Love die is so gorgeous!
What a sweet and cute post!
The colors are so deep and romantic and really pump up the vibe of the cards!! Gorgeous cards by the way!