Joyful Reindeer
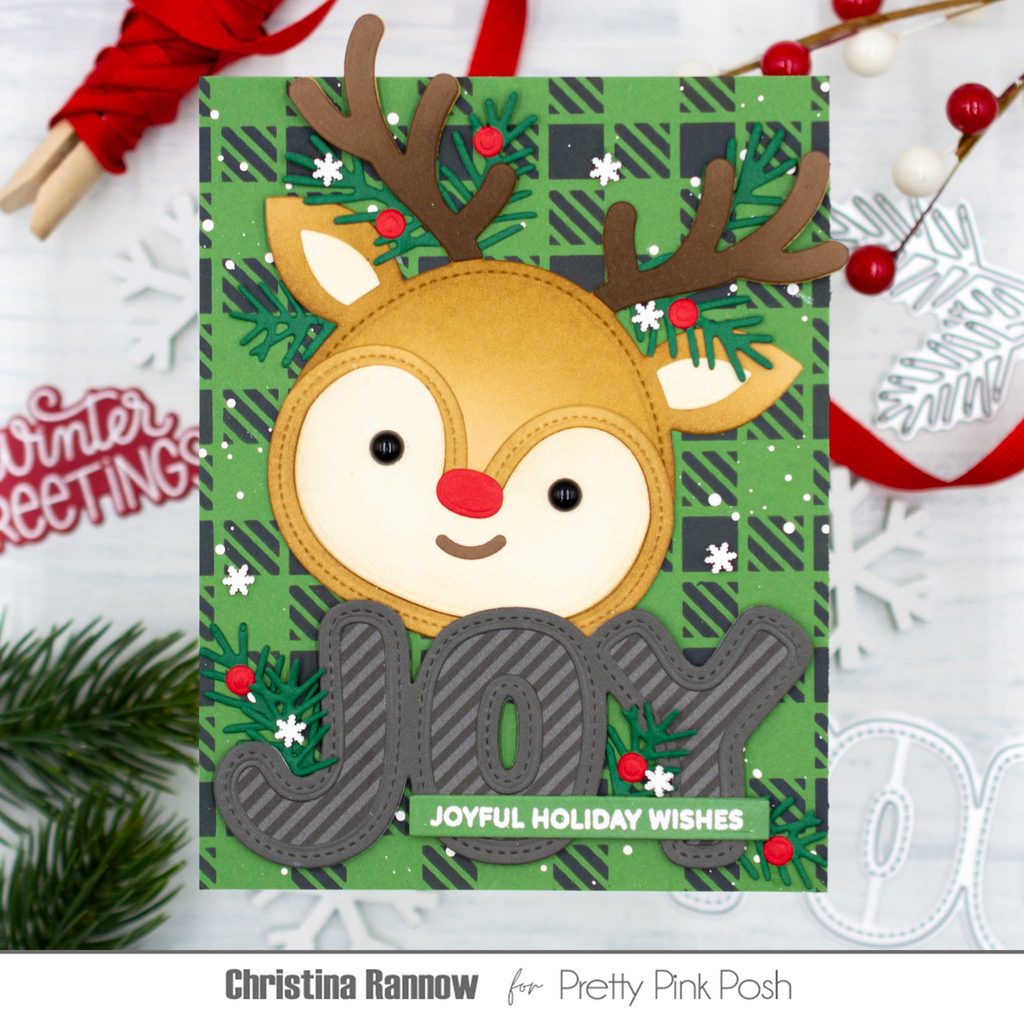
Hello! Christina here, and I’m delighted to share a joyful holiday card with you today featuring two new shaker die sets from the latest collection. I paired the Reindeer Face Shaker with the Joy Word Shaker but used them as regular dies. That’s the best part about these shaker dies: you can use them as regular dies, so you don’t have to fuss with constructing a shaker element if you don’t want to! I chose a more masculine color palette for this card and incorporated some previously released favorites to round out my design.
Reindeer Face Shaker Dies
Joy Word Shaker Dies
Gingerbread House Dies—small circle dies I used as berries
Pine Sprigs Dies
Gingham Stencil
Sentiment Strips: Christmas Stamp Set
Merry & Minty Clay Confetti
Onyx Pearls
I started by creating the stenciled background panel first. I chose green cardstock trimmed to 4.25 x 5.5 inches and stenciled the gingham pattern using Black Soot Distress Ink for a classic Christmas buffalo check pattern. Then I splattered the panel with white splatter medium and set it aside while I worked on the other elements.
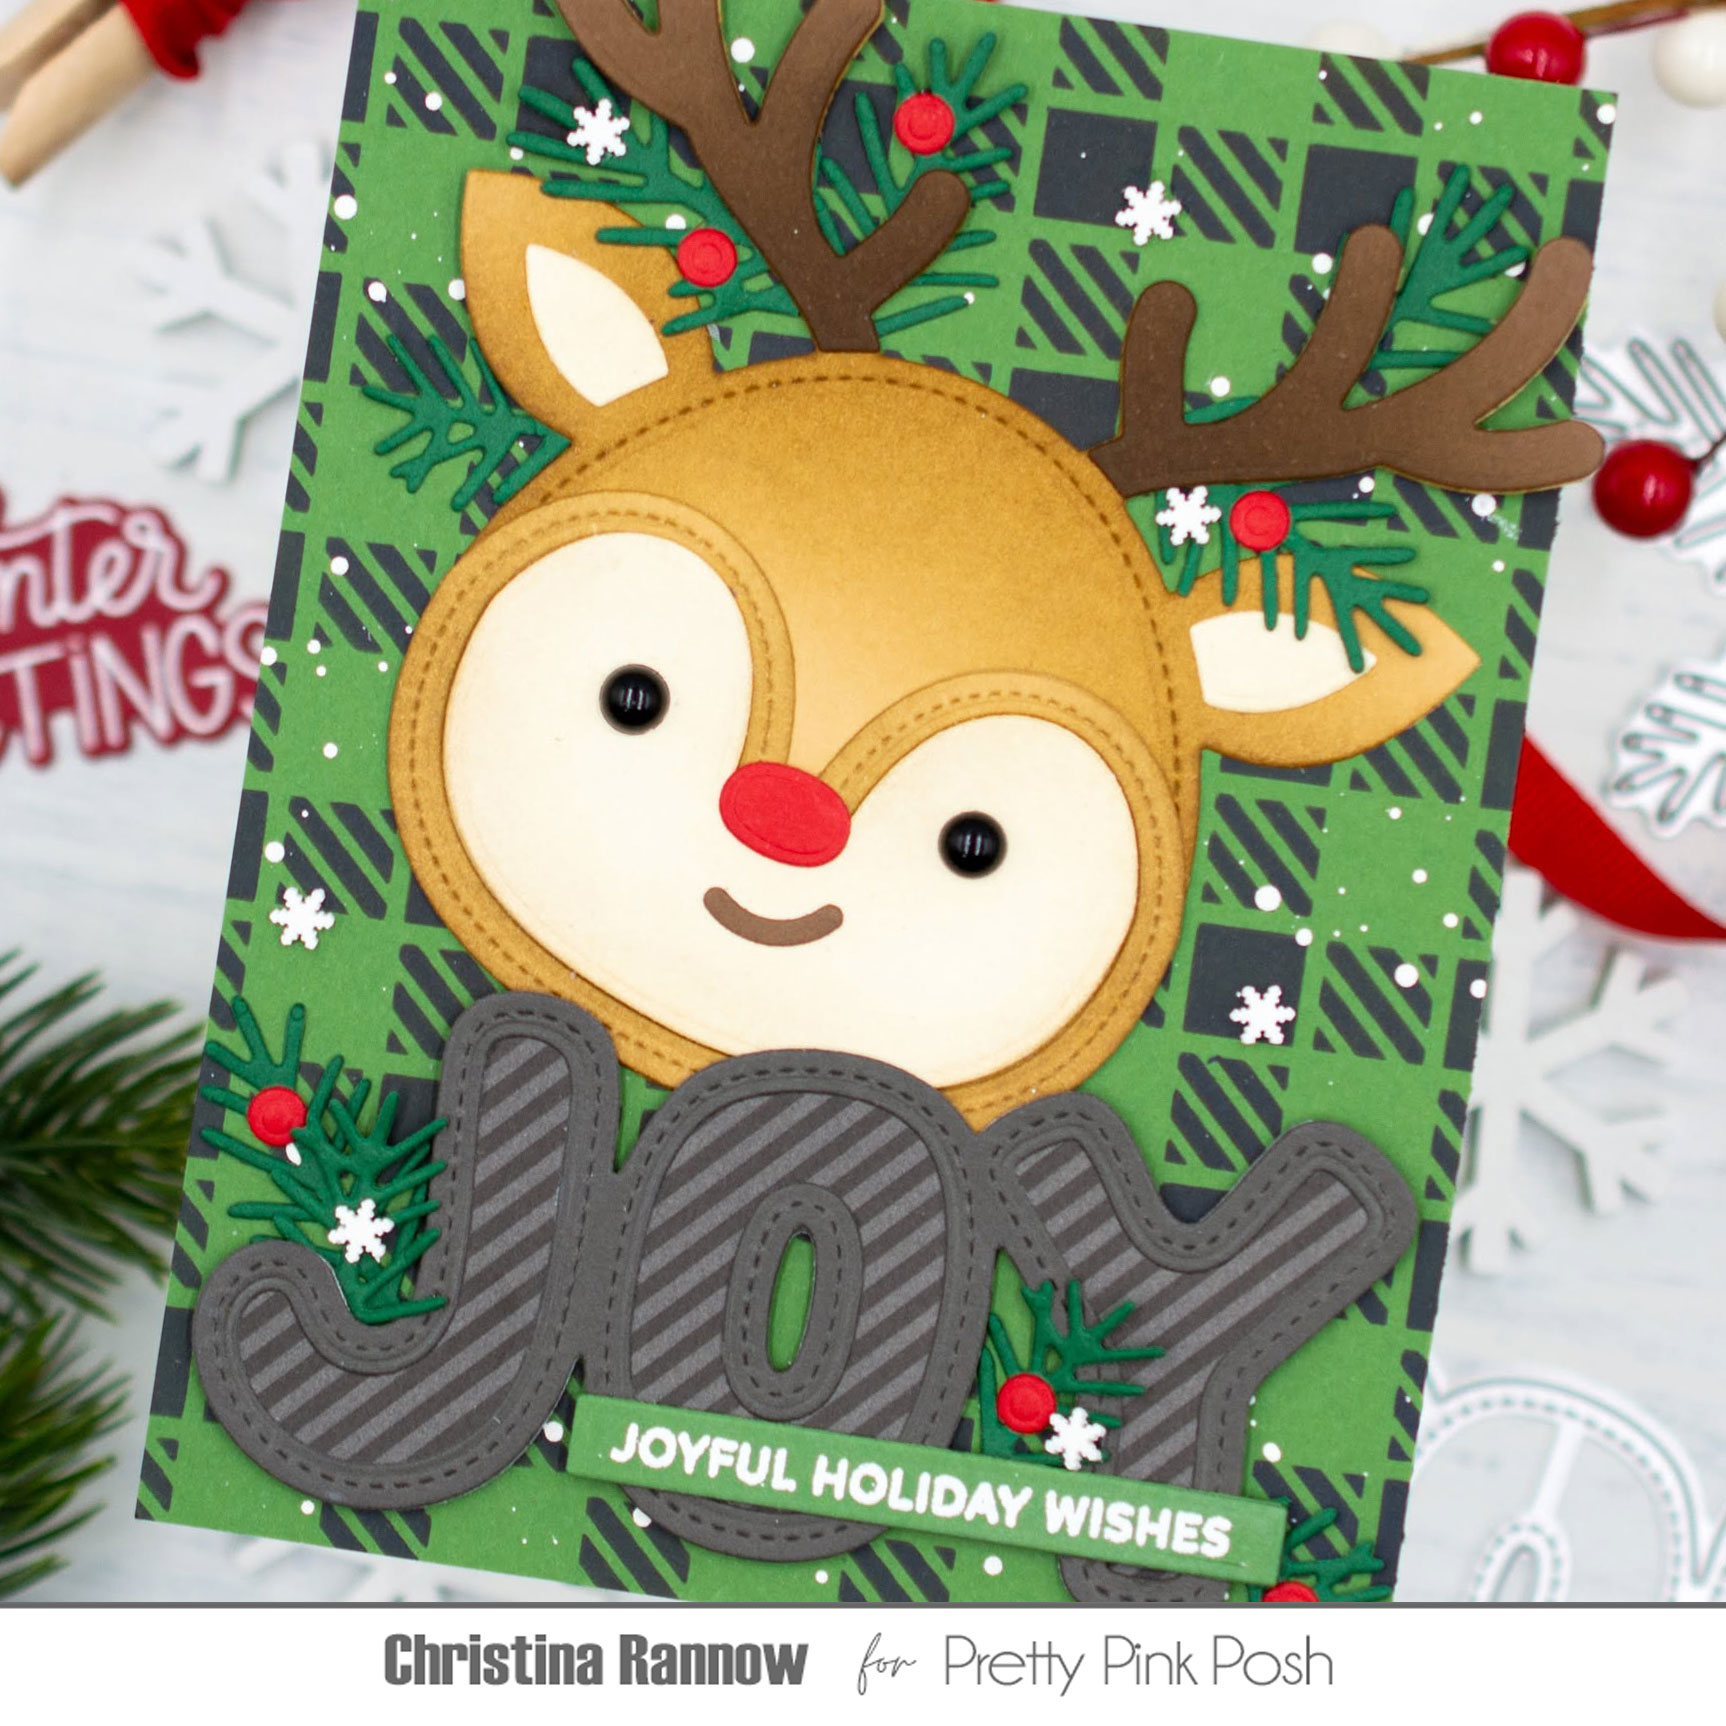
For the Reindeer Face, I started with colored cardstock, light-brown and ivory, and added shading to the pieces using a small or medium blending brush and darker coordinating ink colors. Then I assembled his face, adding a red nose and Onyx Pearls for the eyes. For the Joy Word Shaker element, I chose a gray and black striped pattern paper for the main body of the text and a solid gray to outline it. Next, I arranged the reindeer and “Joy” on my background panel securing the reindeer with liquid adhesive and “Joy” with foam squares.
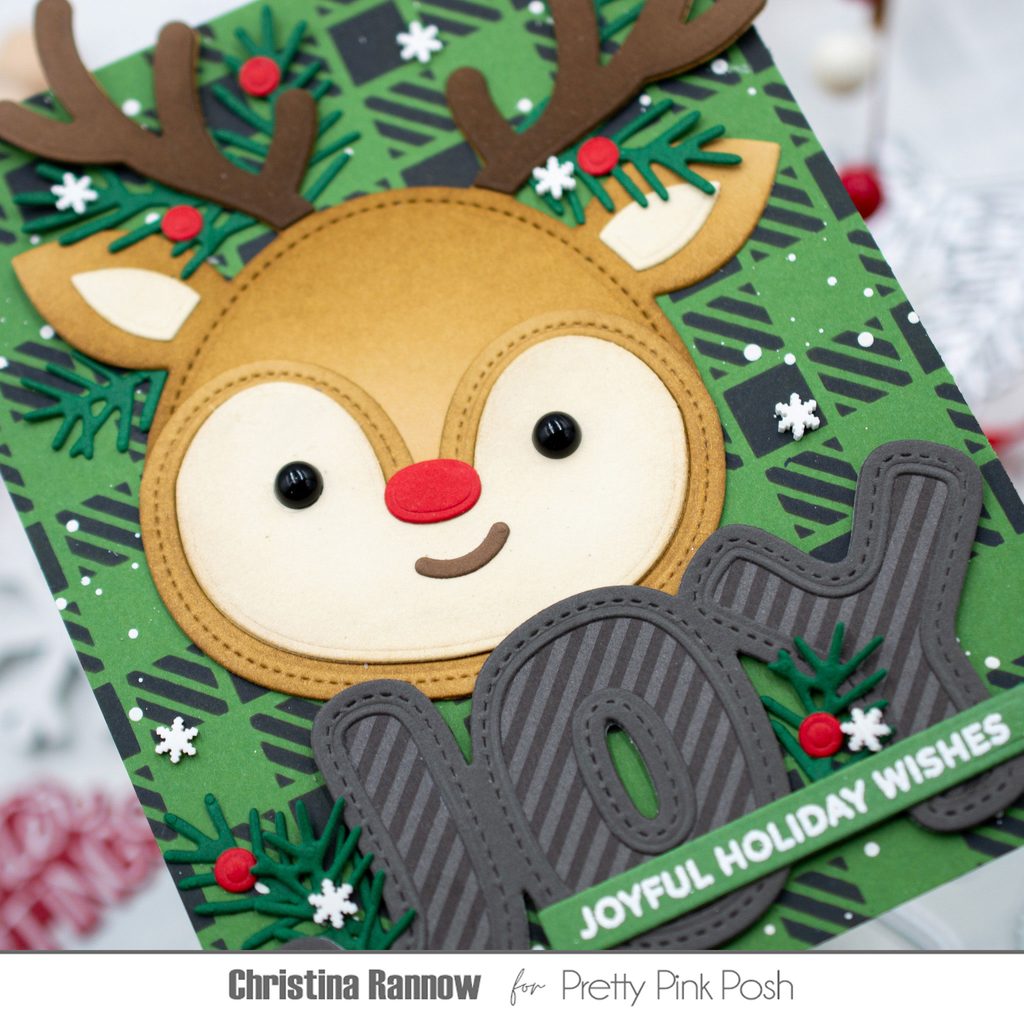
My next steps were to add a sentiment and a little embellishment to the card. I heat-embossed a sentiment with white embossing powder on green cardstock and die-cut it with a sentiment strip die before attaching it across the bottom of the word “Joy.” Then I die-cut numerous Pine Sprigs, because you can never have too many pine sprigs, and tucked them in around the reindeer and the word “Joy.” I added red berries to the greenery and finished with a scattering of white clay snowflakes. My final step was to attach the finished card front to a top-fold card base.
Thank you so much for checking out my joyful holiday card I created using some of the festive new products from the latest release! See you again soon!