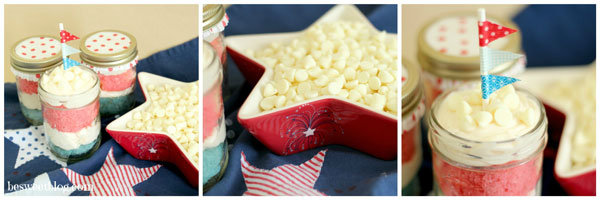
4th of July Mason Jar Cakes
Hey y’all! I am so happy to be sharing another recipe on this beautiful Monday!
As you know, I’m living in NYC for the summer, and I’m loving every minute of it. There is so much to do, and I feel like every moment is busy, busy, busy. I’m gearing up for lots of visitors in the weeks ahead, including next weekend for the 4th of July! Grant is coming for the long weekend, and we have so much to see, explore, and taste. Luckily, he’s a foodie like me, so you can bet our days will absolutely be revolving around food!
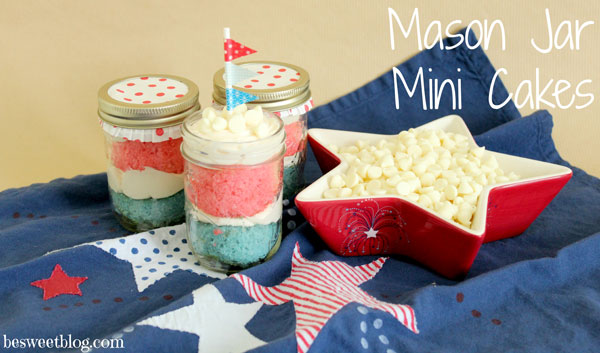
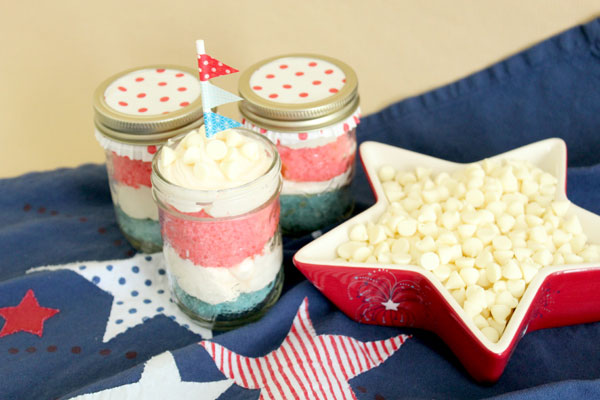
In honor of my second favorite holiday that’s just 10 days away (Thanksgiving is my all time fave), I am sharing my recipe/DIY for Mason Jar Mini Cakes! Some of you may have seen these on my blog, and I hope you enjoy them as much as I do!
I’m not sure about you, but I need something super simple and just as cute to bring along to picnics and parties next Thursday! You can’t go wrong with cupcakes, but I wanted to step it up a notch, while still keeping it easy. I’ve also been wanting to do something with mason jars for the longest time, so this was the perfect opportunity! These mason jar mini cakes will be sure to wow your guests and keep the kids happy!
How-To: Mini Mason Jar Cakes
{Disclaimer: Yes, I am using boxed cake mix, and yes, sometimes you just need to keep it semi-homemade. There is nothing wrong with it!}
Step 1– If you’re using boxed cake like I did, prepare the batter according to the directions. However, if you have a favorite cake recipe, by all means, make it!
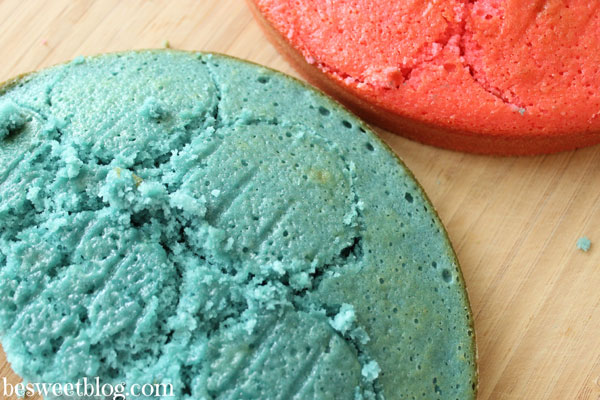
Step 2– Divide the batter into 2 bowls. Using food coloring, color one bowl red and the other bowl blue.
Step 3– Bake accordingly.
Step 4– Let cool completely. Once cool, place both cakes onto a cutting board or countertop. Using a circle cookie cutter that fits into the mason jar opening {or knife}, cut out circles of each colored cake. I used a measuring cup to trace a knife around because none of my cookie cutters were small enough. Be sure the cookie cutter fits into the jar, otherwise the cake circles won’t fit! You will need an even number of both.
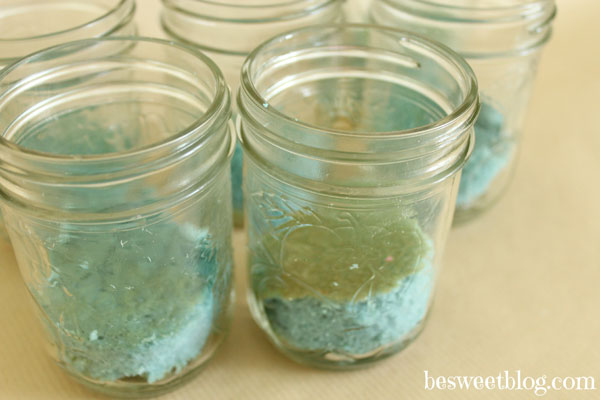
Step 5– Place one cake circle in the bottom of each jar. I chose blue as my base color.
Step 6– Make icing, or use store bought. I made a cream cheese icing, but any kind will do! Vanilla buttercream would be delish! I simply used a Ziploc bag and cut the corner off to pipe the icing on top of the blue cake. Use enough icing to make a complete white layer.

Step 7– Place the other cake circle {red} on top of the icing layer.
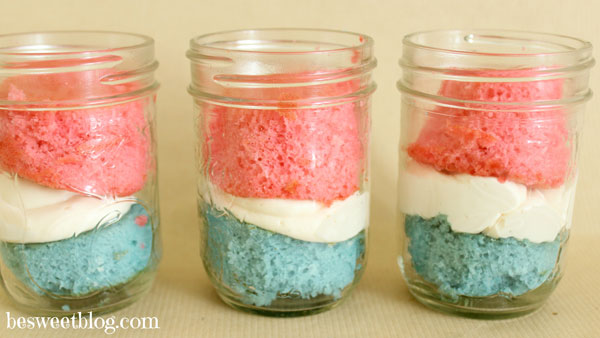
Step 8– Pipe icing on top of the second layer. In my case, this filled the jar to the top. If you’re using larger cups, continue this pattern until you reach the top of the jars.
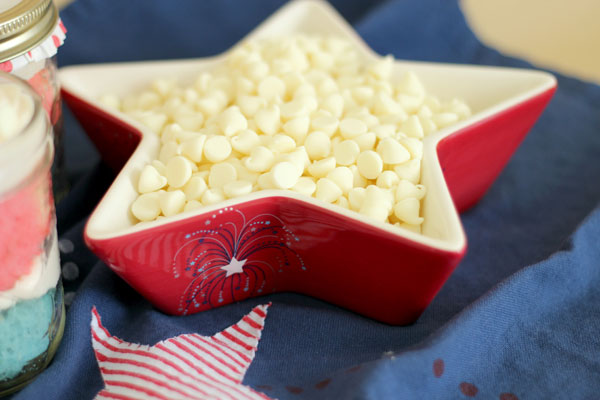
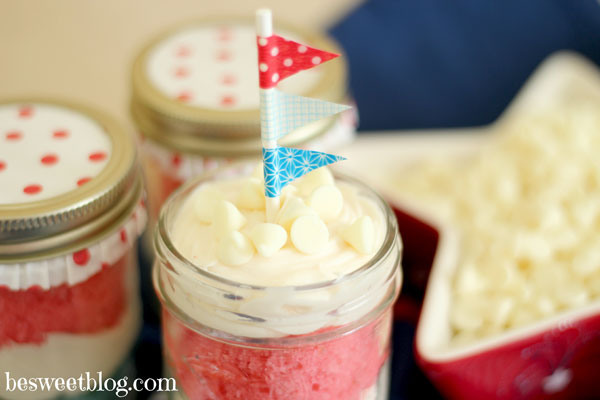
Step 9– Add sprinkles, white chocolate chips, or any decorations you’d like! I used washi tape to create the cute cupcake topper.
Step 10– If traveling, place the mason jar lids on top, and store in the fridge until you’re ready to go.
Tip: These can be made 1-2 days in advance! Keep the stress and rushing around down by prepping these a couple days ahead of time! To make them even cuter, I placed the top on, then a matching cupcake liner, then the twisty part of the lid. That way, you don’t see the shiny metal, but they still look pretty!
What are your 4th of July plans? I love that the holiday falls on a Thursday – I lucked out and have Friday off, do you? Don’t forget to follow me for a sneak peek into my world of sweets, entertaining, crafting, and NYC living! I’ll be back to my southern ways in just 7 weeks!
Enjoy the holiday ahead! I hope it’s full of food, friends, family and fun!